Here are simple yet innovative solutions for when your AirPods won’t stay put.
The AirPods’ design isn’t just iconic; it is also functional. In fact, Apple worked with Stanford to 3D-scan hundreds of ears to create a design that would fit the majority of the population.
Despite this, many people complain that their AirPods keep falling out of their ears. And this happens for all models: AirPods (1st, 2nd, and 3rd Gen) and AirPods Pro (1 & 2).
Fortunately, simple problems require simple solutions. From wearing them right to DIY hacks, here are the top five tips on how to keep your AirPods from falling out. Let’s dive in!
In This Article
1. Make Sure You’re Wearing Them Right
This first tip may sound a little too obvious, but there is a proper way to put your AirPods in your ears, which many people aren’t aware of. Needless to say, it doesn’t hurt to make sure that your AirPods and AirPods Pro are correctly worn at all times.
When worn improperly, earbuds are more likely to get dislodged. This is because the AirPods and AirPods Pro differ slightly in design.
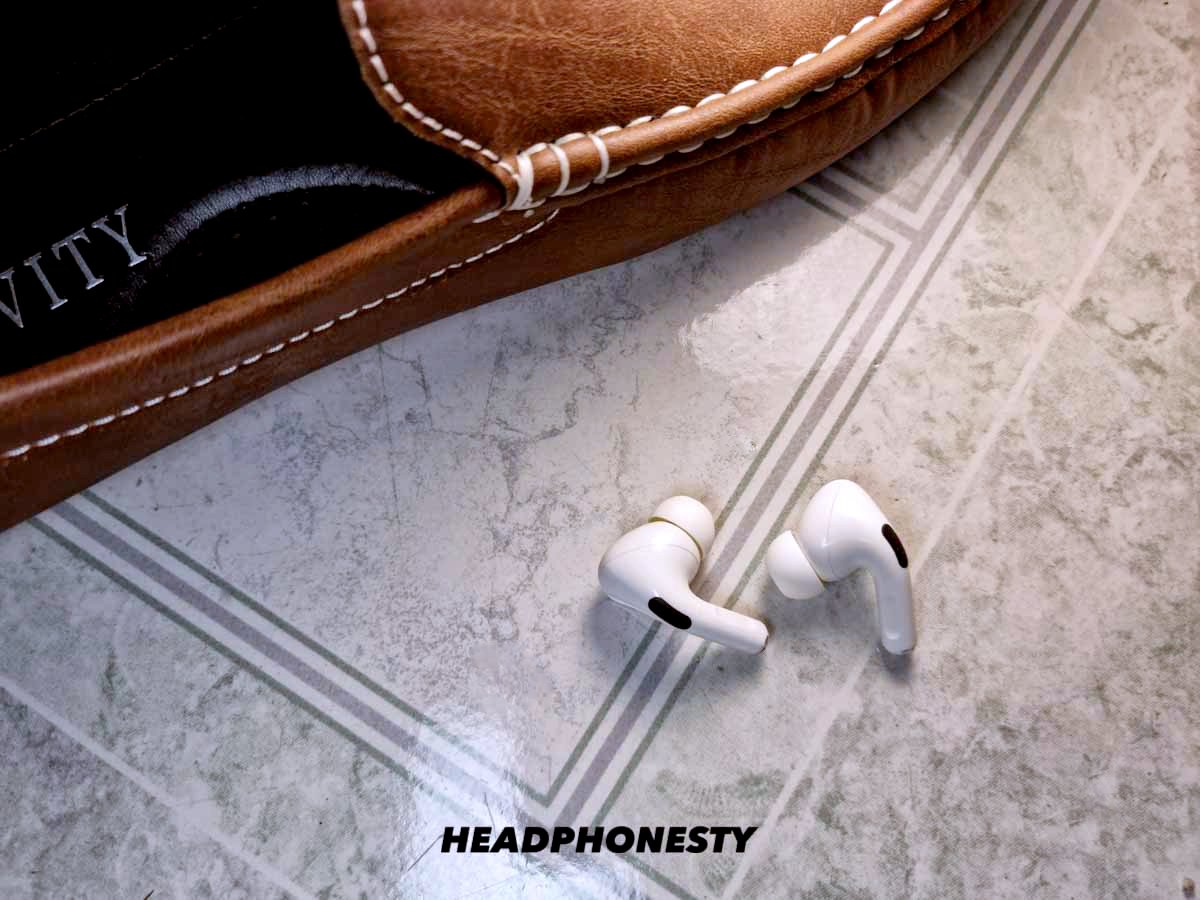
As you may already know, the AirPods 1, AirPods 2, and AirPods 3 are roughly the same size and shape as Apple’s wired earphones and sit more shallowly in the ears. On the other hand, the AirPods Pro features silicone tips that sit much deeper in the users’ ears.
This difference puts the two AirPod models in separate technical categories. The AirPods Gen 1, 2, and 3 belong to the “earbuds” family, while the AirPods Pro are referred to as “in-ear monitors” or IEMs.
Here’s how to wear each type correctly:
How to wear the AirPods Gen 1, 2, and 3 properly
Follow this step-by-step guide for wearing the AirPods 1, 2, and 3 properly:
- Wipe the speakers with a damp cloth. Clean off any oil, dirt, or residue from the ear tips of your AirPods, as they can cause your AirPods to slip easily. By ensuring the surface of the ear tips is “squeaky clean,” you’ll be sure to experience better grip when wearing them. Don’t wipe your AirPods with a soaking wet cloth as this could lead to water damage.

Cleaning the tail of an AirPod with cloth For a more detailed discussion, check out our ultimate guide to cleaning AirPods.
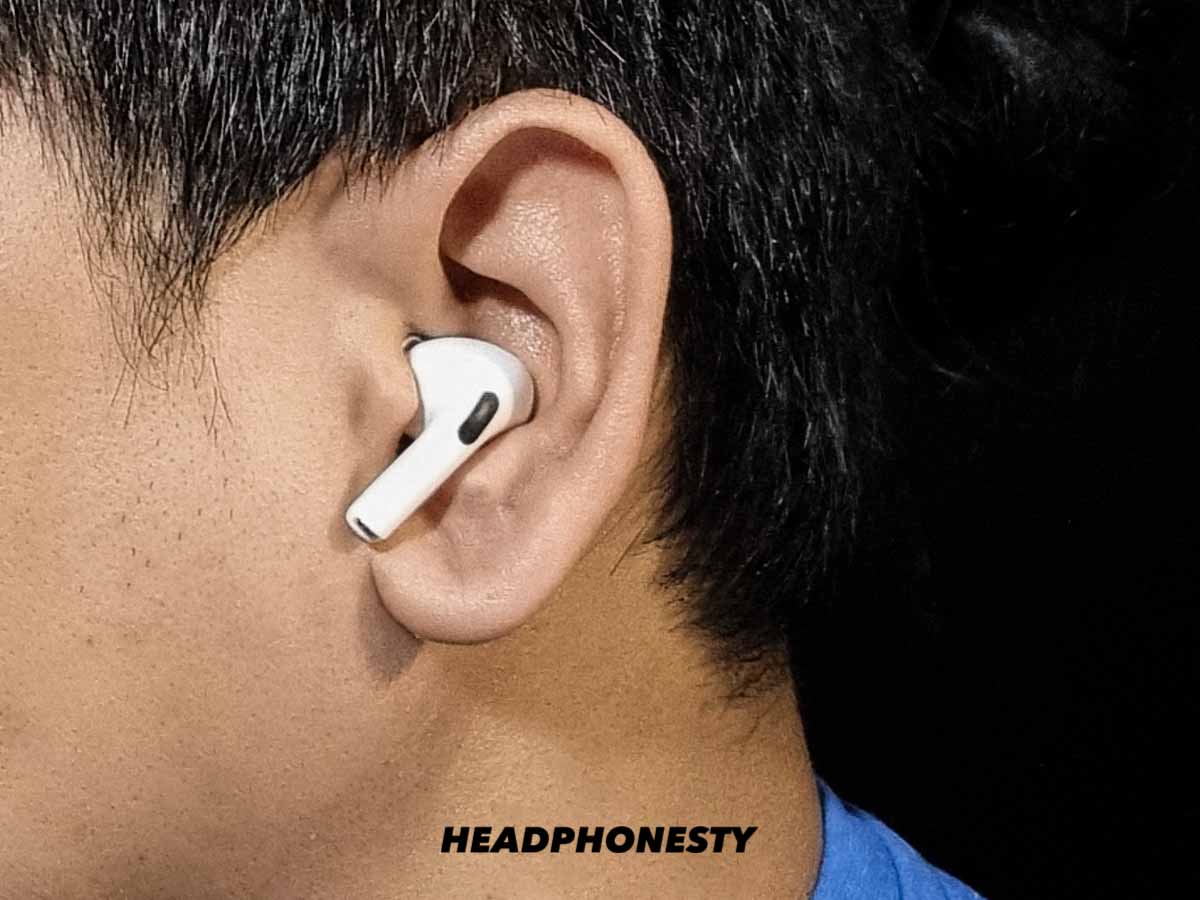
- Press the AirPods in gently. Once they’re all clean, press the AirPods into your ears, ensuring the stem is vertically aligned with your head or parallel to your face. This alignment is crucial for the next step of the process.Refrain from pushing the AirPods too deep to the point of discomfort. Doing so may lead to injuries and infections in your ear canal.
- Rotate and wedge in the AirPods to secure the fit. Lastly, rotate the AirPods until you reach the point where the earbuds feel tight and secured. You’ll feel this “locked” position happen when the stems of your AirPods are almost parallel to your jawline.
Once you’ve achieved this, see how they look in the mirror or take a picture to remember what the proper fit looks like. This will make the position much easier to replicate in the future.

How to wear the AirPods Pro properly
Compared to the standard AirPods, the AirPods Pro need a little more attention, mainly since they use silicone ear tips. Here’s a step-by-step guide to help you wear them properly:
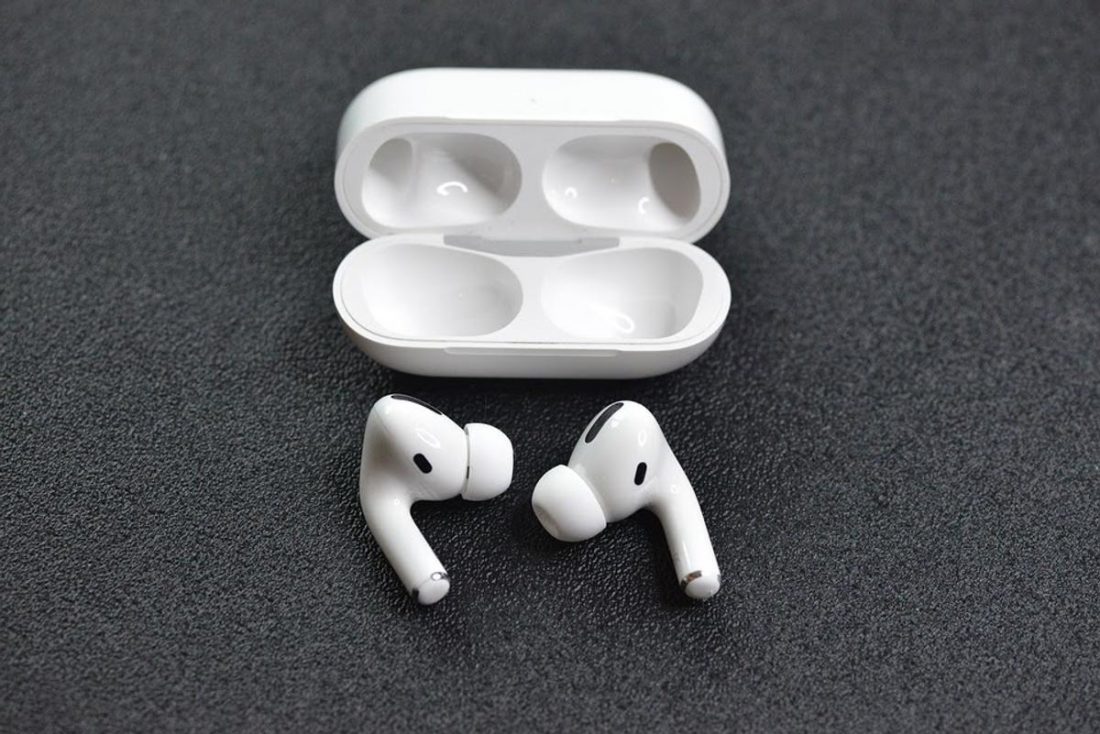
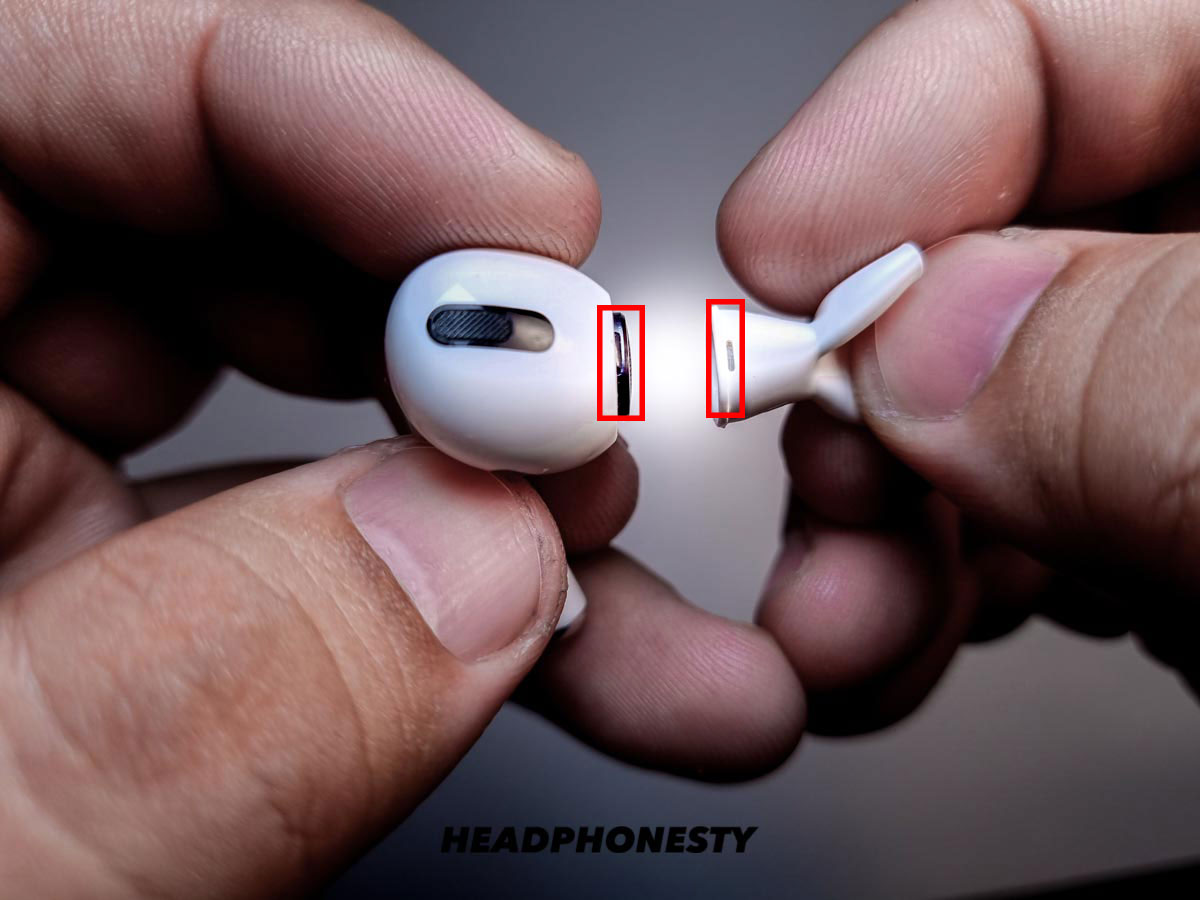
- Flip the silicone tips and check their size. Checking the size of the silicone tip you’re using is a vital step in this process, as not having the right-sized ear tips will render the next steps in this guide useless. Refer to Apple’s sizing guide to find out the best size for you.

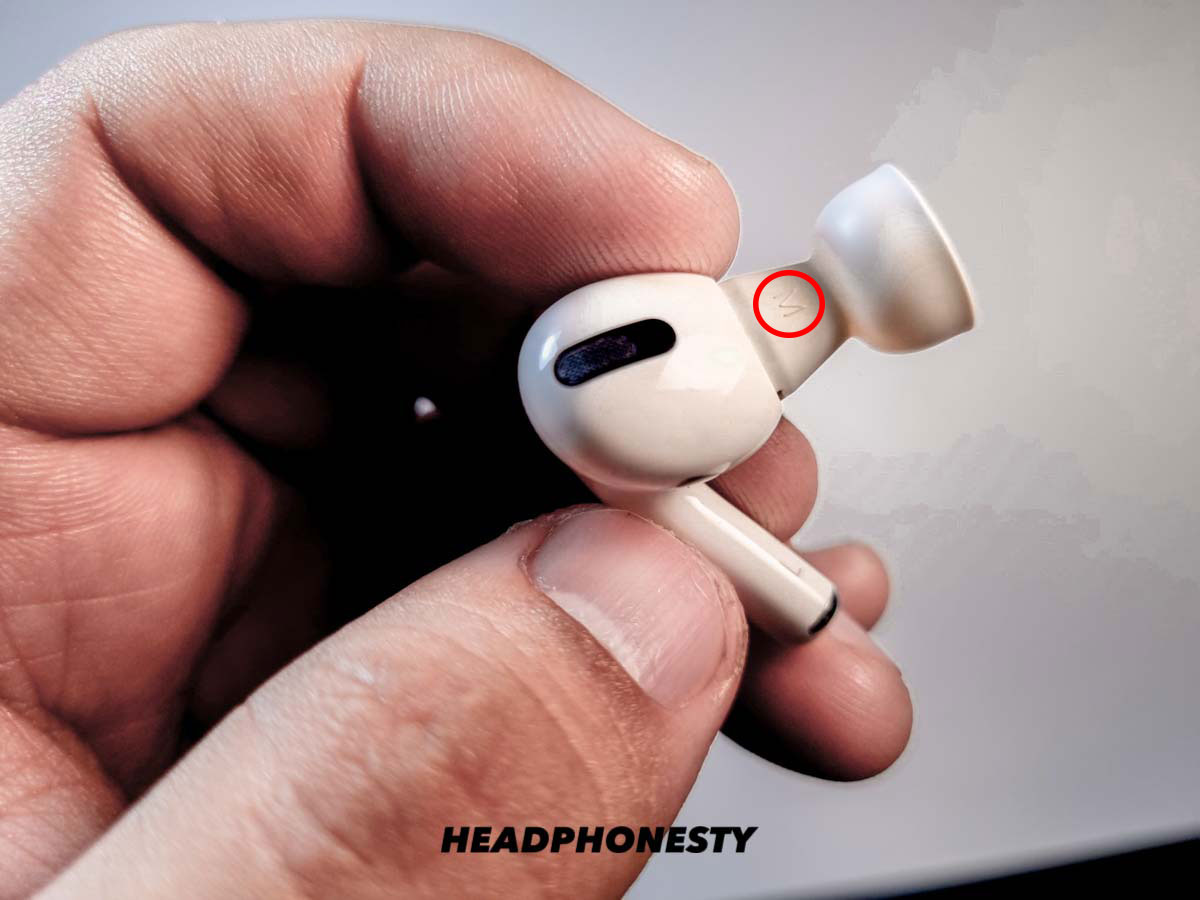
Size on AirPods tip The AirPods Pro come outfitted with medium ear tips right out of the box, but additional large and small ear tips are also included. - Align the sizing letter with the black vent. This step is so obscure that it’s almost a hack. For the best fit, make sure to align the sizing letter and the black vent. You should hear a click when you’ve turned them properly.
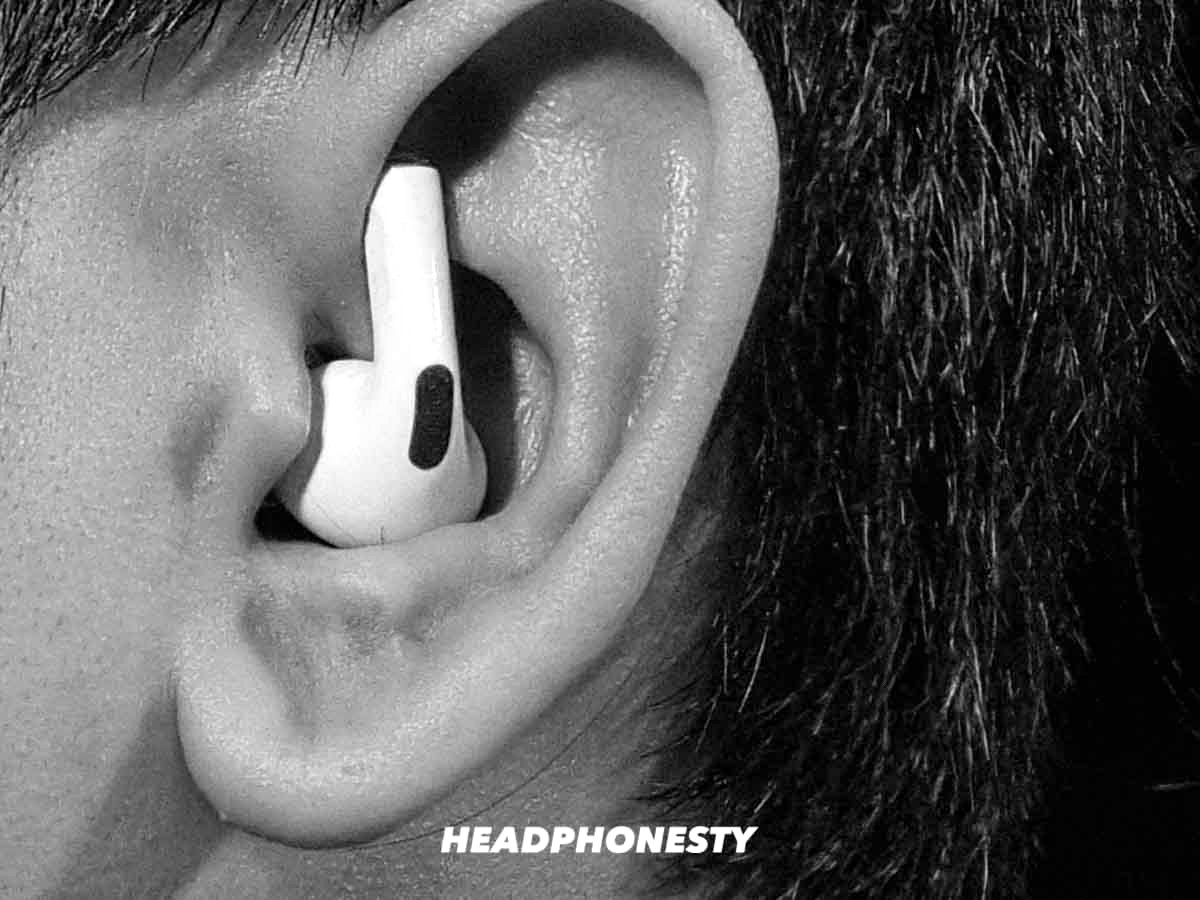
Alignment spots of AirPods Pro tip and head - Press in, rotate, and wedge. Much like its predecessor, correctly inserting your AirPods Pro into your ears requires the whole press-rotate-wedge motion. Press in the AirPods to a comfortable fit, then rotate the earbuds until you feel them wedge into your ear.
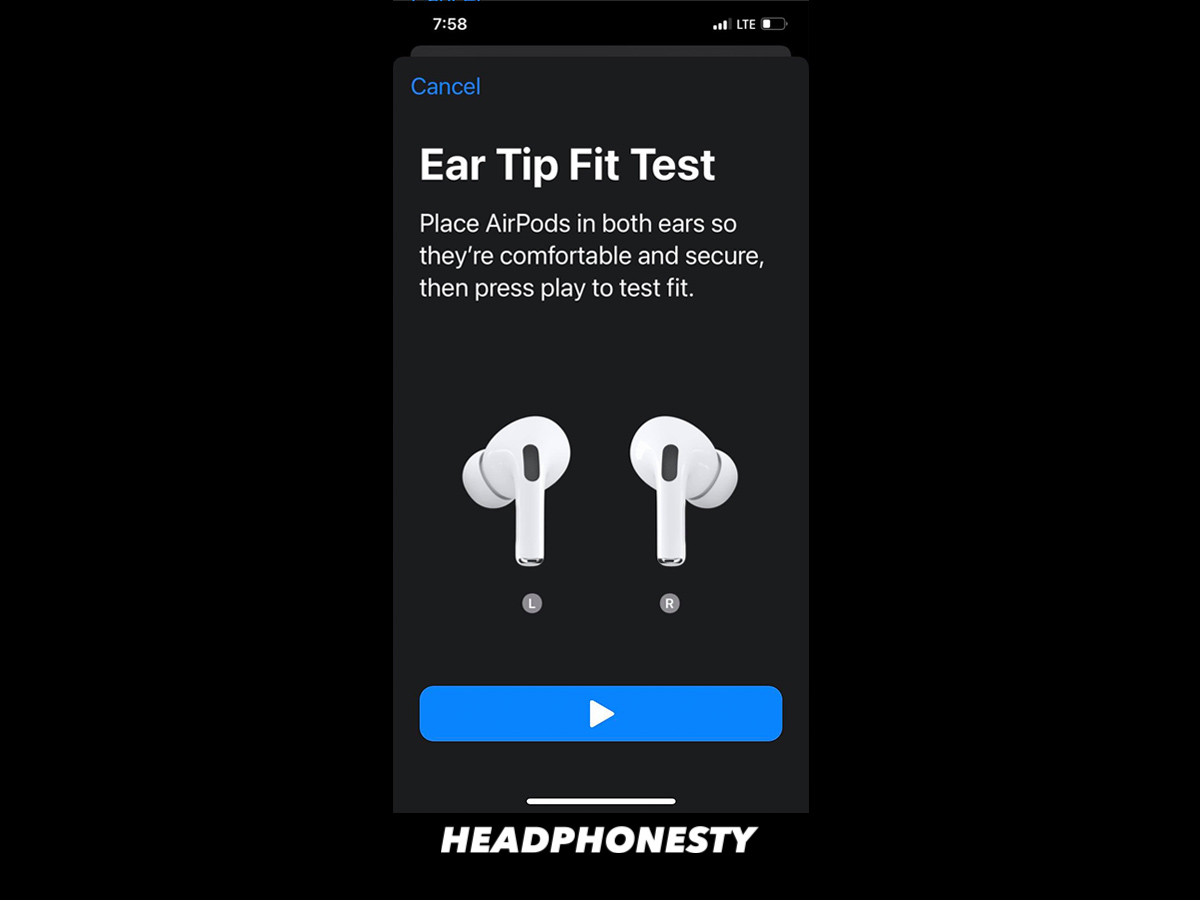
- Run an Ear Tip Fit Test. This handy feature from Apple helps you achieve a better seal with your earbuds. While wearing your AirPods, connect them to your iPhone and select Settings > Bluetooth. Click the information button beside the device and press “Ear Tip Fit Test.”
iPhone showing Apple Ear Tip Fit Test If the “Ear Tip Fit Test” option isn’t available on your device, your iOS is likely lower than version 13.2 and will need an upgrade.
2. Try Wearing the AirPods Upside Down
Here’s a unique tip on making AirPods fit better from a MacRumors user named Awimoway. According to him, wearing the AirPods upside down is something you should try out if the previous tricks did not work for you.
Admittedly, I’ve tried wearing wired earbuds upside down while jogging. This is a known trick used by runners that has seemingly faded with time because of wireless earbuds. Well, you can still do it! And while it may look strange, there’s no harm in trying it out to achieve a better fit that’ll prevent your AirPods from falling out.
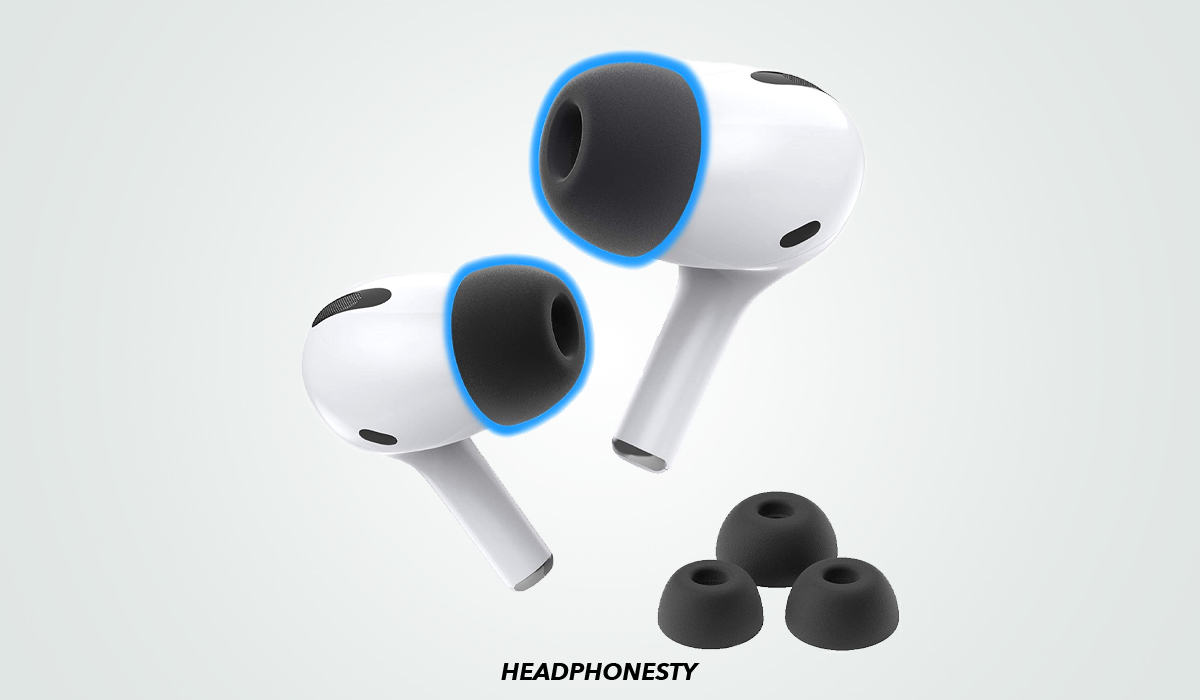
3. Switch to Memory Foam Tips(for AirPods Pro)
Although Apple developed the AirPods Pro’s silicone tips with the good intention of improving overall fit, they still ended up recreating the same type of problems experienced by AirPod users. A solution to this is to try a different kind of ear tip made from another material.
After silicone tips, the best material to go for is memory foam. Unlike Apple’s silicone tips, memory foam seamlessly molds itself to the shape of the ear, providing a better seal in the ear canal.
Here is a step-by-step guide on how to change your AirPods Pro’s ear tips to memory foam:
- Remove the silicone tips. You can do this by gently pulling on them until they pop off the earbuds.
- Choose the right memory foam ear tip. The rule of thumb is that your silicone tip and memory foam tip should be the same size. Try to go for brands like Foam Masters that actually follow Apple’s sizing. These brands are made specifically for AirPods, so there should be no issues with the fit.
- Squeeze and push the new tips in until they’re locked in. Squeeze and push the memory foam tips the same way you would when putting on silicone tips. Once the ear tip is securely placed on the earbuds, you should hear a click.
- Squeeze and plug the AirPods into your ears. While the process of attaching silicone and memory foam ear tips to the earbuds is the same, the method of wearing them is slightly different. When putting on AirPods equipped with memory foam ear tips, you’ll need to squeeze the tip first before doing the push-rotate-wedge action. It will take approximately 4 seconds before the memory foam ear tips fully expand and take the shape of your ears to seal the canal properly.
4. Apply a Waterproof Tape
Applying waterproof tape is another popular solution from MacRumors, this time from a user named NewZealandMatt. Waterproof tape retains its stickiness even with moisture present, so using this material can help give your AirPods a better grip that’ll keep them from falling out.
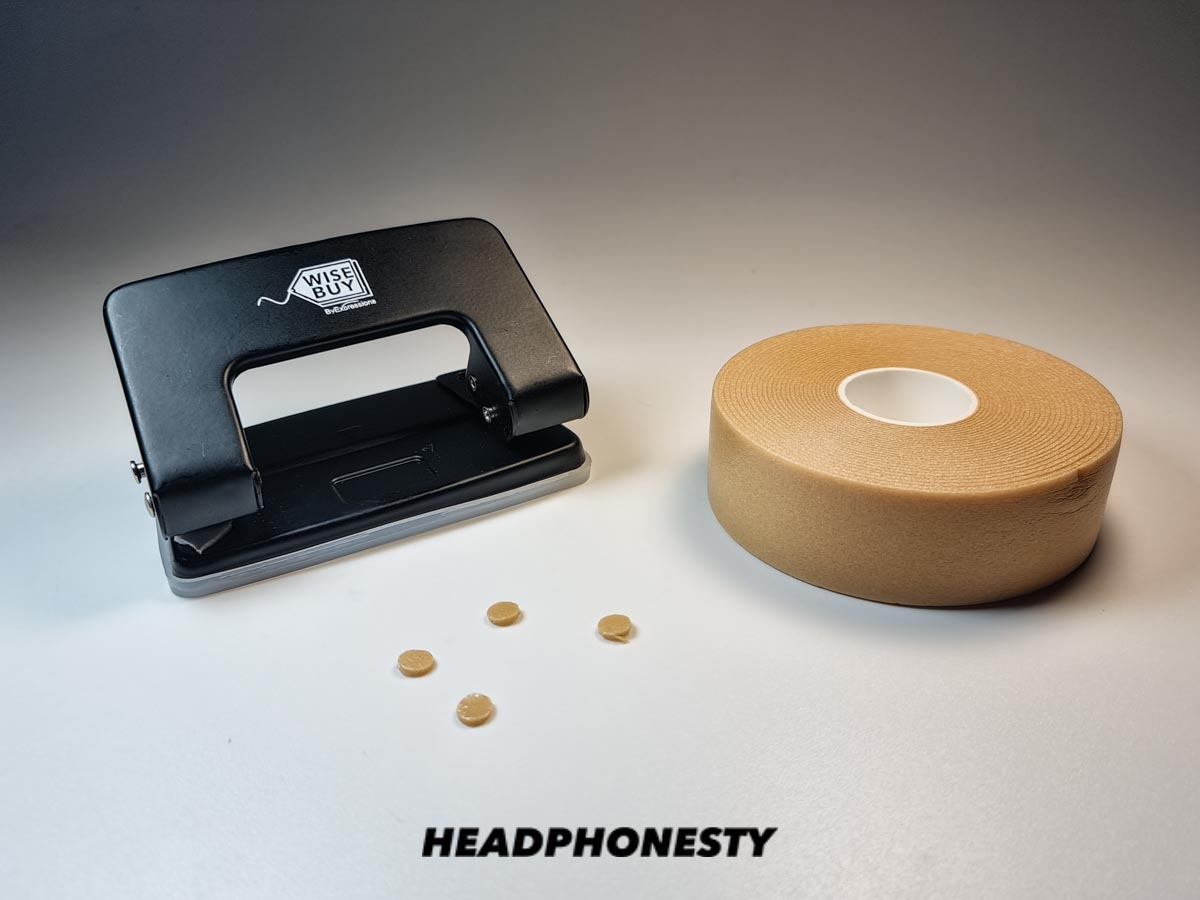
Here are the tools you will need for this method:
- Nexcare Absolute Waterproof Tape
- Hole Punch
Here’s a quick step-by-step guide to adding waterproof tape to your AirPods.
- Punch out a couple of small dots from the waterproof tape. Punch as many dots as you wish so you’ll have extra ones you can use if your initial placements do not work. Also, since you may need to change the tapes from time to time, it doesn’t hurt to have a collection of waterproof tape dots ready.
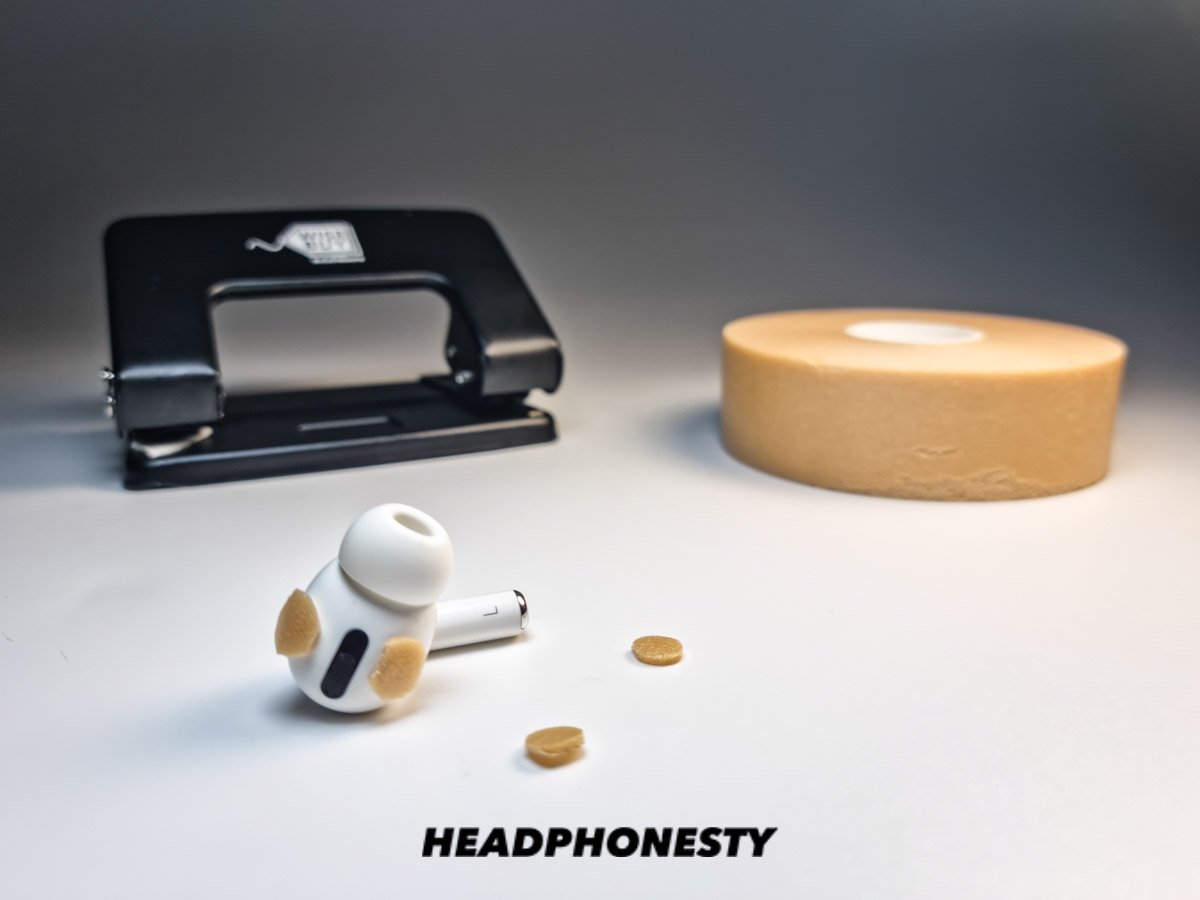
Punched out circles from silicon tape - Place the tape below and above the black sensor dot. This may require a bit of trial and error as we all have differently shaped ears. You can even try experimenting with different shapes to achieve a better fit for your ears. In the end, it depends on what makes you comfortable. Once you’re good, it should look something like this:
AirPods with waterproof tape dots attached for grip
5. Use Third-Party Accessories
If all else fails, you could look into third-party accessories to improve the fit of your AirPods. Some of these accessories are specifically made to address common issues regarding making AirPods fit better or keeping them from falling out.
Here are some of our favorite third-party accessories for AirPods:
DamonLight AirPods Covers
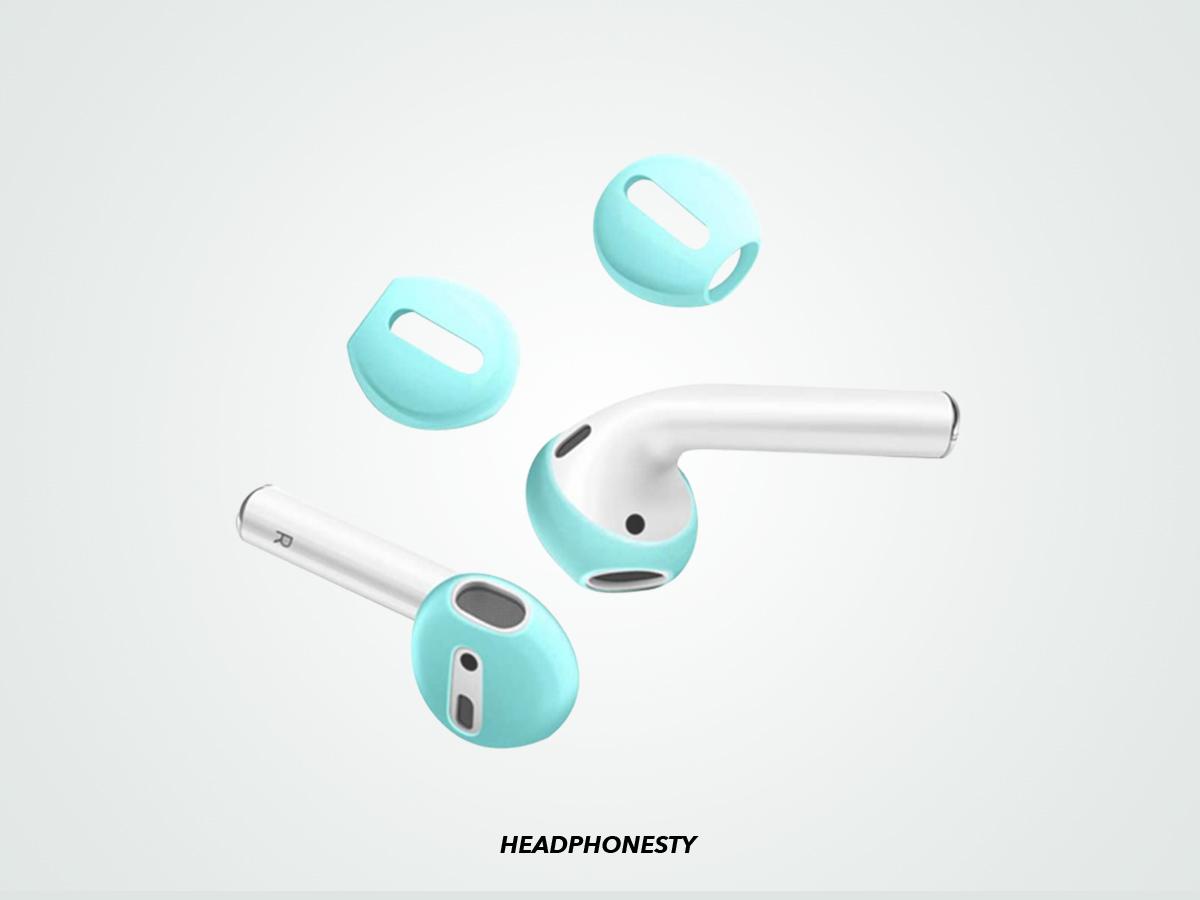
The DamonLight AirPods Covers are silicone ear tip covers that provide additional grip to the earbud part of the AirPods. They come in two variants – one for the standard AirPods and one for the AirPods Pro.
These silicone covers are thin enough to fit inside AirPods and AirPods Pro charging cases. So, you won’t need to keep taking them off every time you want to put them away.
Ahastyle Silicone AirPods Ear Hooks
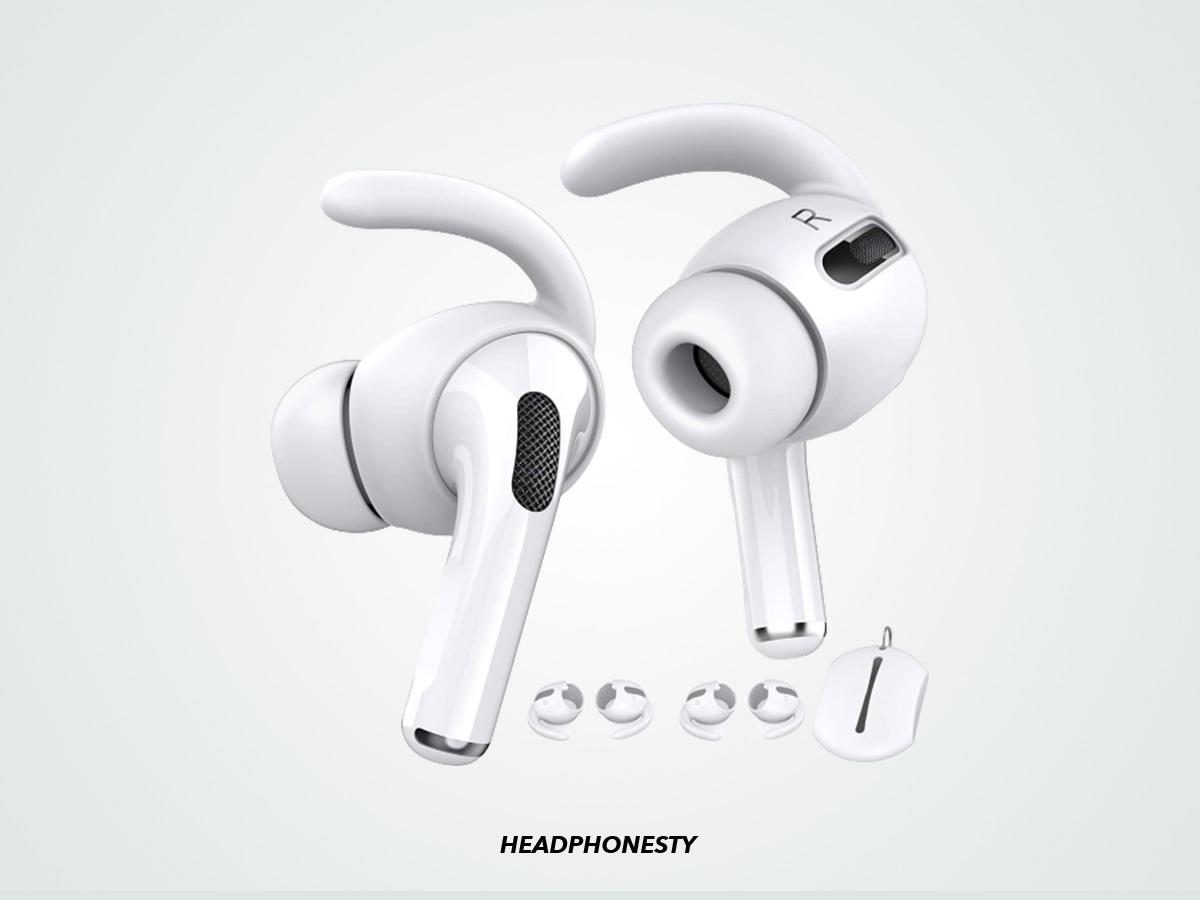
The Ahastyle Silicone AirPods Ear Hooks are AirPod covers much like the DamonLight option mentioned above. What makes the two different is that the AhaStyle covers come with a hook and a silicone tip extension for the regular AirPods. The AirPods Pro version of these covers, on the other hand, only includes a hook.
Hooks are often found in earphones or earbuds designed for sports use. So, if you’re thinking of using your AirPods for contact sports, such as basketball, these are worth considering.
GOGOSODU AirPods Strap
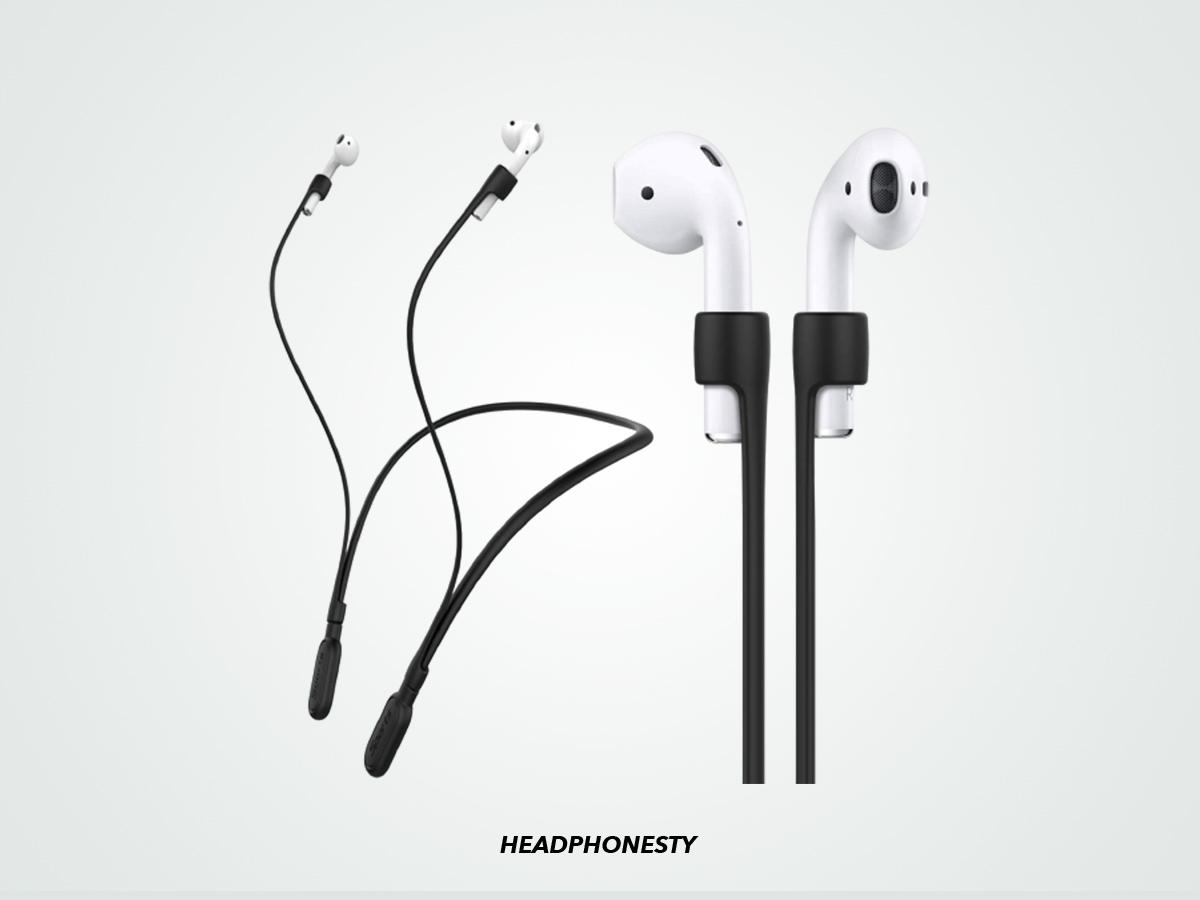
Finally, we have the AirPods strap from GOGOSODU. This product doesn’t directly address in-ear fit. Still, it does offer an extra layer of security for your AirPods in case the earbuds decide to pop out of your ears.
In a way, this AirPods strap acts as insurance for those involved in a lot of outdoor activities and are worried about losing their AirPods.
FAQs on AirPods Falling Out
Why do AirPods fall out easily?
In all fairness to Apple, the AirPods aren’t that hopeless in the ‘fit’ department. Their perennial creation has always been known for a snug fit good enough to rival sports-type earbuds. After all, there’s a reason why AirPods are preferred by most folks, from casual joggers to professional athletes.
So, how is it possible that AirPods falling out is still a common problem? Well, there are a few reasons for that. Let’s go over them one by one below.
- Wrong fit: Naturally, if your AirPods’ earbuds are too big or too small for your ears, it’ll be challenging to get them to stay put. The driving factor behind this is that each person has a highly unique ear shape and size. This makes the one-size-fits-all approach the biggest reason your AirPods don’t properly fit in your ears.
- Silicone tips on AirPods Pro: Many thought the replaceable silicone ear tips were the right solution for the fit problems. But, the silicone tips birthed a couple of new problems: they were slippery and prone to dirt accumulation. Some users have even reported the AirPods feeling less snug, especially when running/moving long distances.
- Getting physically hit: Though quite obvious, another reason why our AirPods fall out of our ears is due to external forces. For instance, you could knock your AirPods out while shedding your workout clothes or fixing your hair. These days, it’s also pretty common to accidentally hit your AirPods when taking off your face mask.
Can you return AirPods if they don’t fit your ears?
Yes, you can return your AirPods if you find that they don’t fit snugly on your ears, granted you meet certain requirements:
- You should return them within 14 days from the time you received them.
- They should not have been tampered with, and should be in good physical condition.
- You should return them with the box, receipt, and all other items they came with (warranty cards and cords).
- You should’ve bought them in an official Apple Store, whether online or offline.
The good news is that 14 days is enough time to fit and test your AirPods!
You can either return your AirPods online via the Order Listing Page, or visit a nearby Apple Store – preferably where you purchased your AirPods.
Conclusion
The AirPods are indeed a revolutionary device in their own right, but the unfortunate fit issues can take away from their appeal for some people. The good news is that the above fixes can efficiently address this.
Hopefully, with these solutions at hand, you no longer have to worry about your AirPods falling out when running, exercising, or playing sports.
Did you find these tips helpful? We’d love to hear about what activities you do while wearing your AirPods, and how you manage to keep them where they’re supposed to be. So, if you have your favorite DIY or professional solutions, please share them in the comments section below. We’d love to hear from you!
I’m one of those people who had a better fit with Airpods before the silicone tips were added. While I haven’t had one fall out while running, I have had it happen while stretching afterwards when my head was tilted. I’ve recently had good success with a pair of Spinfit CP1025 tips. They feel more secure and there’s been no problems falling out before or after my run.
Literally no one makes earbuds of any kind that fit small ears / ear canals. The smallest tips eventually fall out of my ears just walking around the house or will not maintain a seal especially on the left (which seems tighter than the right).
Omg this is me!!! Same with left and everything!!! I feel like they hurt my ears because they are small. Also if I bend to pick something up one will fall out 😢
Mine did hurt initially but persevering made them not. Although they still fall out either on their own or if I laugh, sneeze or yawn hahaha
i thought maybe i was the only one that has this problem exactly like you
Bose sport ones are amazing for fit.
Beats ear plugs fit way better. However there is no comparison to the sound of the apple air pods
AGREE! I have “small” ears. The Air pod Pro falls out more than the Air Pods. Would really like a pair that fit.
Me too! Small ears and they fall out!
I’ve had this problem since forever and i tried the tape hack and it WORKS !!! Thank youuuu .. you have made my life better haha literally
Love the idea wear it upside down. Works great!
It unfortunately does work better but the option for active noise cancellation cannot be activated as it doesn’t detect both air pods in ears even though they do play while in the ears upside down
My noise cancelling works upside down. Just tried it out!
Like the idea of wearing upside down. This may be the solution as I have tried everything else. Trying to keep my earPods from going into the oven and toilet. Also because the pods are slippery I wipe down with alcohol strips. That also helps.
Thanks for the article…wearing reverse and upside down works for me and more comfortable in my ear. I suggest you give it a try…
I agree. That seems to work
Can I ask if you know what that does to the quality of the mic?
Person I tried putting the left airpod on my right ear and the other way around and it works pretty well
I guess we are left with wearing ear muffs over our airpods to keep them from getting lost.
That works for up here in Canada
thanks for the tips, i’m definitely going to give that hook a try. so, uh, where does apple get the 90% number from? i was unaware my ear holes were so odd but i guess it’s either that or 90% of apple’s userbase are literally Dumbo.
I used the tape hack and it works wonderfully!
Previously I’d bought and used the silicone cover and it was completely useless. I still had to adjust the pod on my left ear to prevent it from falling, causing the silicone cover to slide around and come off the pod. Thank you for the advice.
Thanks for the upside-down tip! I’ve had these airpods for years and have never been able to get them to remain in place for more than a few minutes. I’ve had them in now for two hours and they haven’t budged or even slipped, and I’ve been working around the house.
Airpods pro used to hurt my ear so much. The plastic on the back. But after trying upside down in 2nd tip it really works amazing. Some sound quality and noise cancelling is degraded but mic works fine. I recommend using this trick for calling purposes as it is really comfortable and will stay.
Mine won’t play upside down. Perhaps they don’t fit properly that way up. I had to buy a replacement right-ear one after only a week, because they kept falling out & one fell into the sea. 🙁 Just reset them, both work now, but keep falling out, so I can only use them at home, but away from bathroom & kitchen.
Tried the upside down tip and like you they didn’t work …… at first. Fiddled about a bit and managed to get them in and working upside down. And, they were much more secure in my ears.
Try again and fiddle a bit with them 👍👍
Upside down is AMAZING for my ears – BUT – HOT TIP – swap them around (left one in right ear). I can’t even shake them loose – brilliant!
Dry skin!!! I added a very small drop (small!) of moisturizer on the silicon. Working great. I have the best fit ever and rarely need to touch the Airpods and less frequently than I touch my glasses to sit properly. I have gone from irritated to comfortable. Dry skin!!!
Dry skin! Absolutely no amount of resizing, repositioning or anything kept my Airpods in place. Then I thought about dry skin. I put a small (very small) drop of moisturizer on the silicon tip and perfect! Airpods stay in place despite my attempts to make them fall out by wiggling my ears, making funny faces, shaking my head and leaning my head left or right and trying all movements again. Works for me and I am now confident the issue was not with the Airpods, but dry skin. I suppose I could place the moisturizer on the ear before putting the Airpods in.