
We’ll walk you through tried-and-tested solutions to when your replacement AirPod, AirPod Pro, or charging case won’t pair or connect.
AirPods are innovative gadgets, but they come with a few design features that make wearing them uncomfortable and prone to falling out.
This, in turn, makes the AirPods all too easy to lose. Even the charging case is a concern because it isn’t supported by Apple’s Find My function, which can make recovering your lost AirPods case all the more difficult.
Fortunately, getting a replacement AirPod or charging case is easy enough.
However, the problem is that replacement AirPods or cases don’t always work with the remaining original set.
This can be highly frustrating, especially since you’ve already gone through the trouble of getting them replaced only to be unable to use them. Not to mention the fact that you’ve done so at your expense since AppleCare+ for Headphones doesn’t cover losses or theft.
To save you from further trouble, we’ll explain what to do after getting a replacement AirPod or AirPod case. Let’s dive in!
In This Article
How to Pair Your Replacement AirPod or AirPods’ Case
If you’ve recently gotten replacements, you’ll need to re-pair the replacement AirPod with whatever’s left of the original set. Doing this is much like resetting your AirPods, so the process shouldn’t be too unfamiliar.
Here’s a step-by-step guide on how to connect your replacement AirPod to your AirPods’ case:
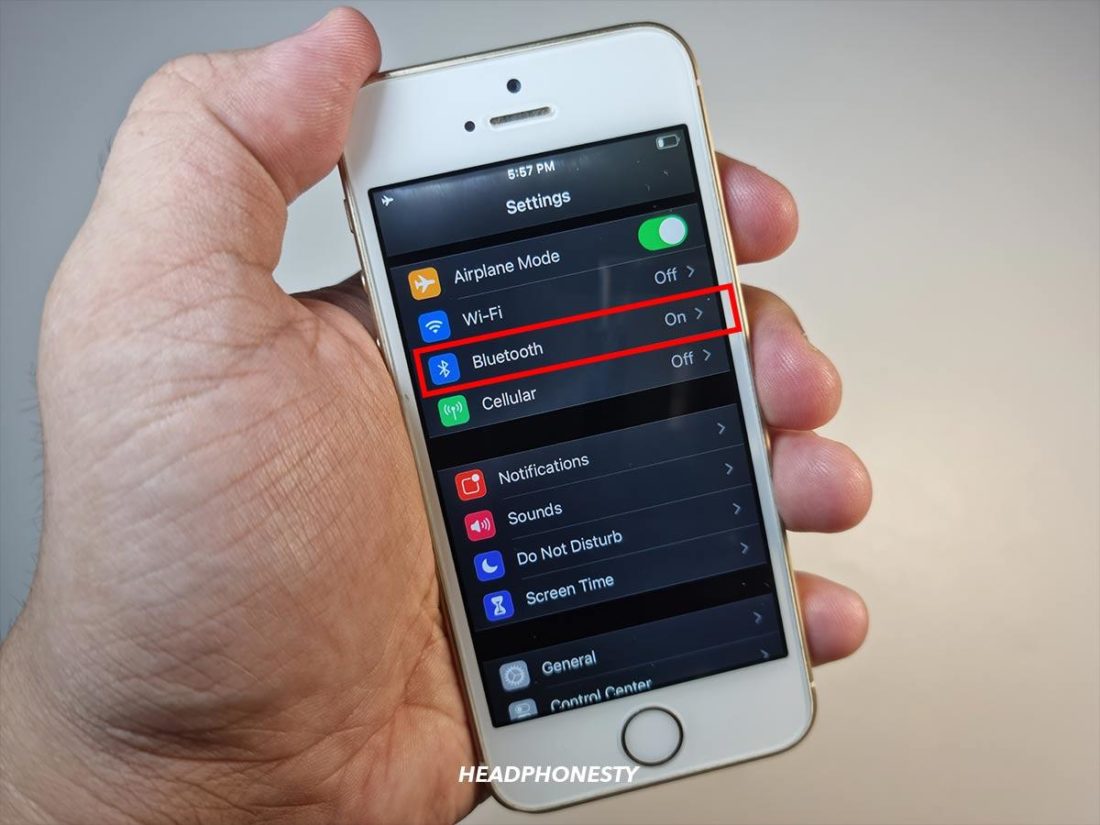
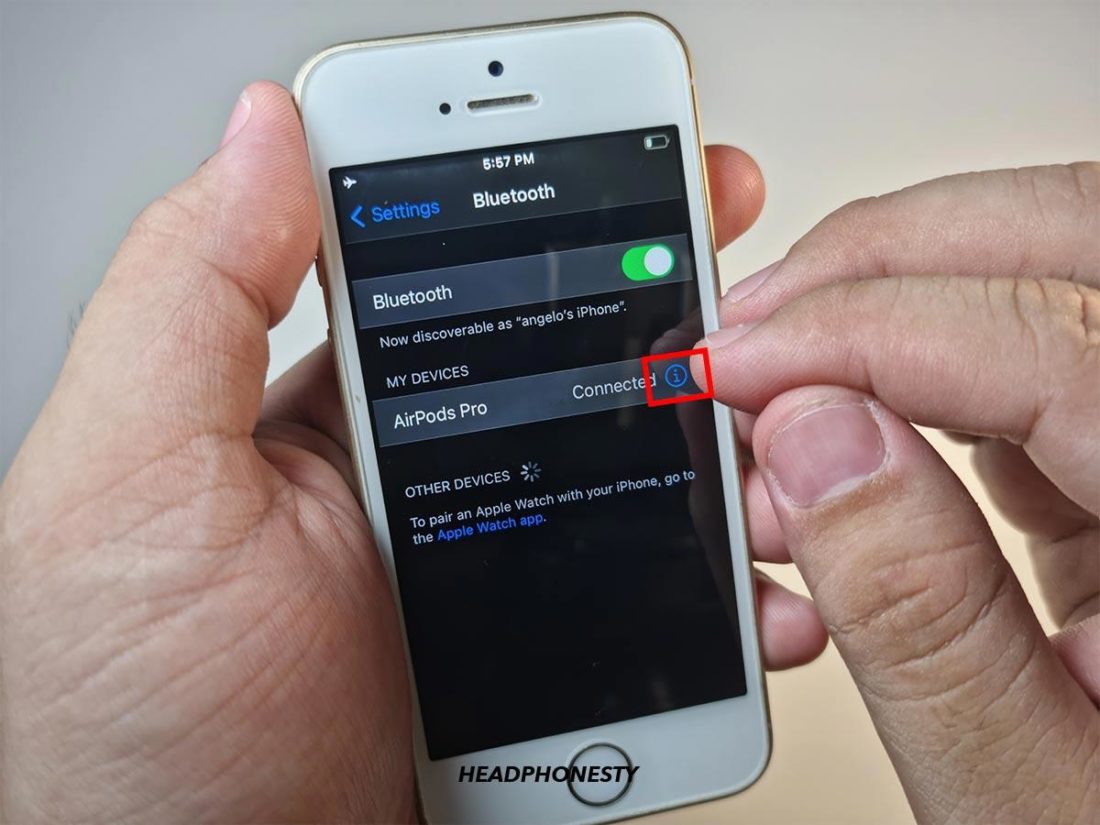
- Go to ‘Settings’ on your iPhone or iPad and select ‘Bluetooth.’

Turn on Bluetooth on your iPhone or iPad - Tap the Information icon (ⓘ) to the right of your AirPods.
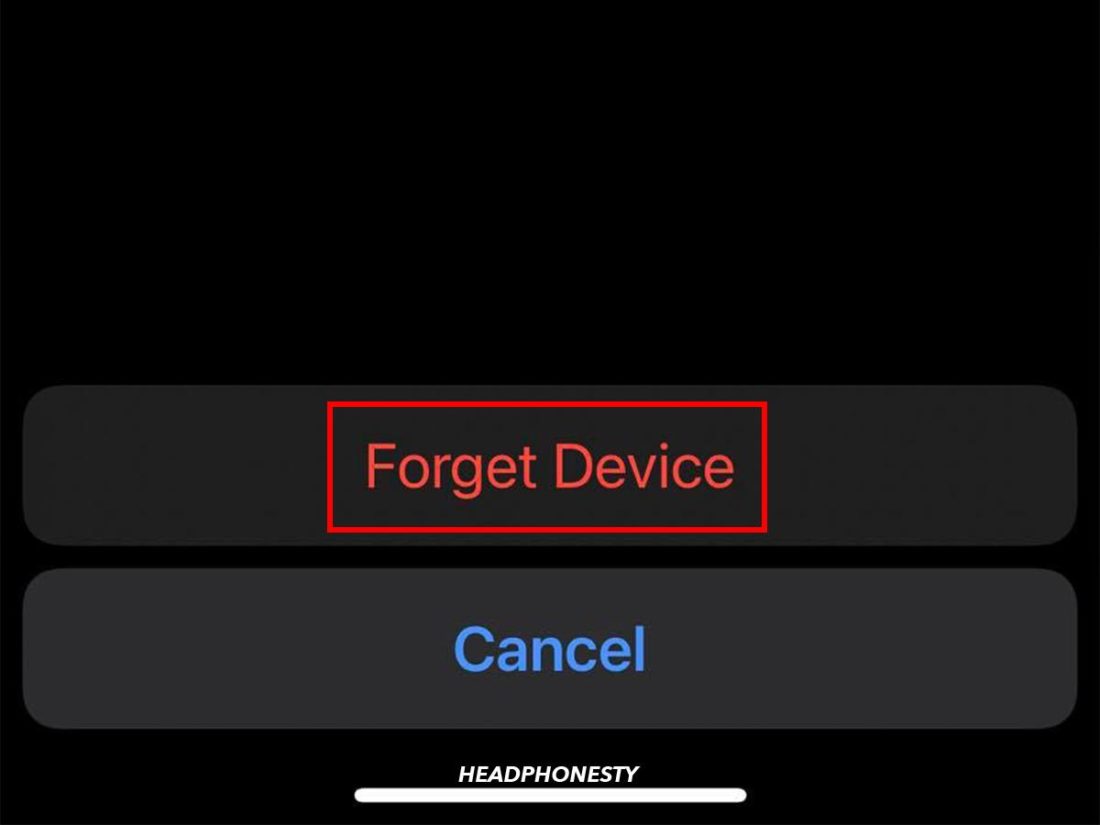
Tap the (ⓘ) button to connect your AirPods - Tap ‘Forget This Device.’
Forget the device - Tap ‘Forget Device’ in the first prompt, then again in the second prompt.
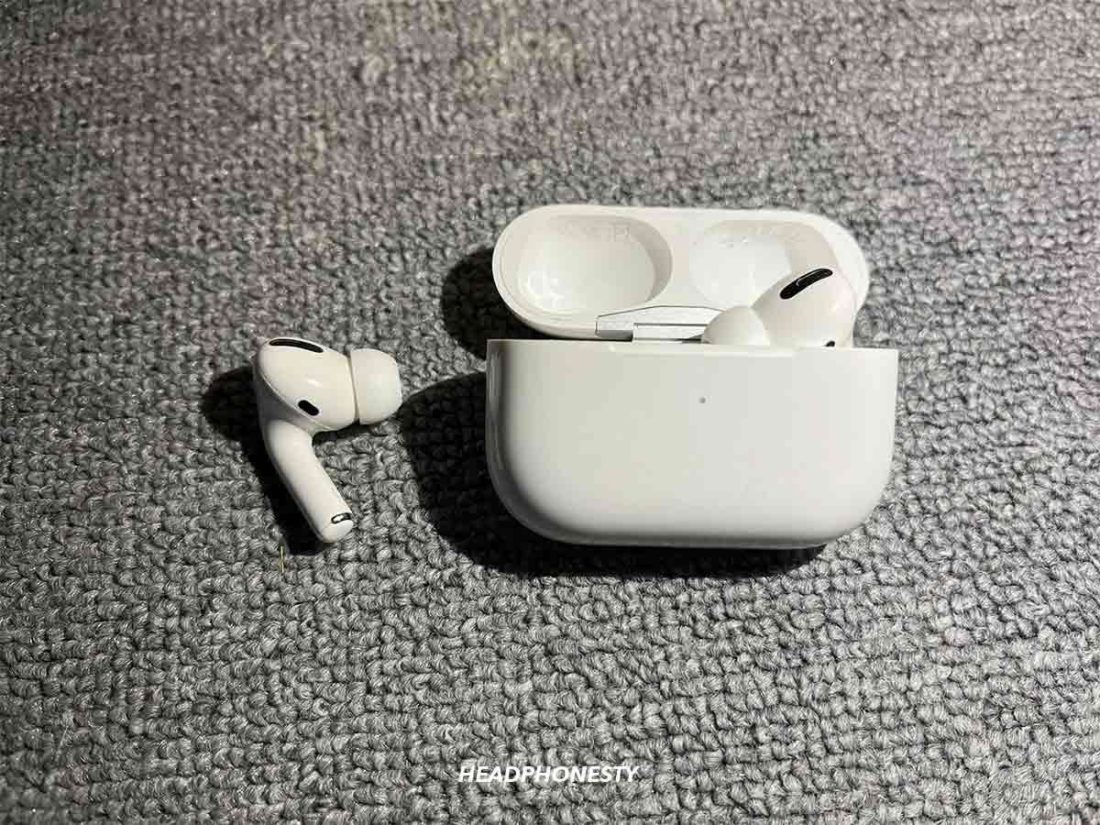
Confirm ‘Forget Device’ to un-pair your AirPods - Place the AirPods in their charging case.
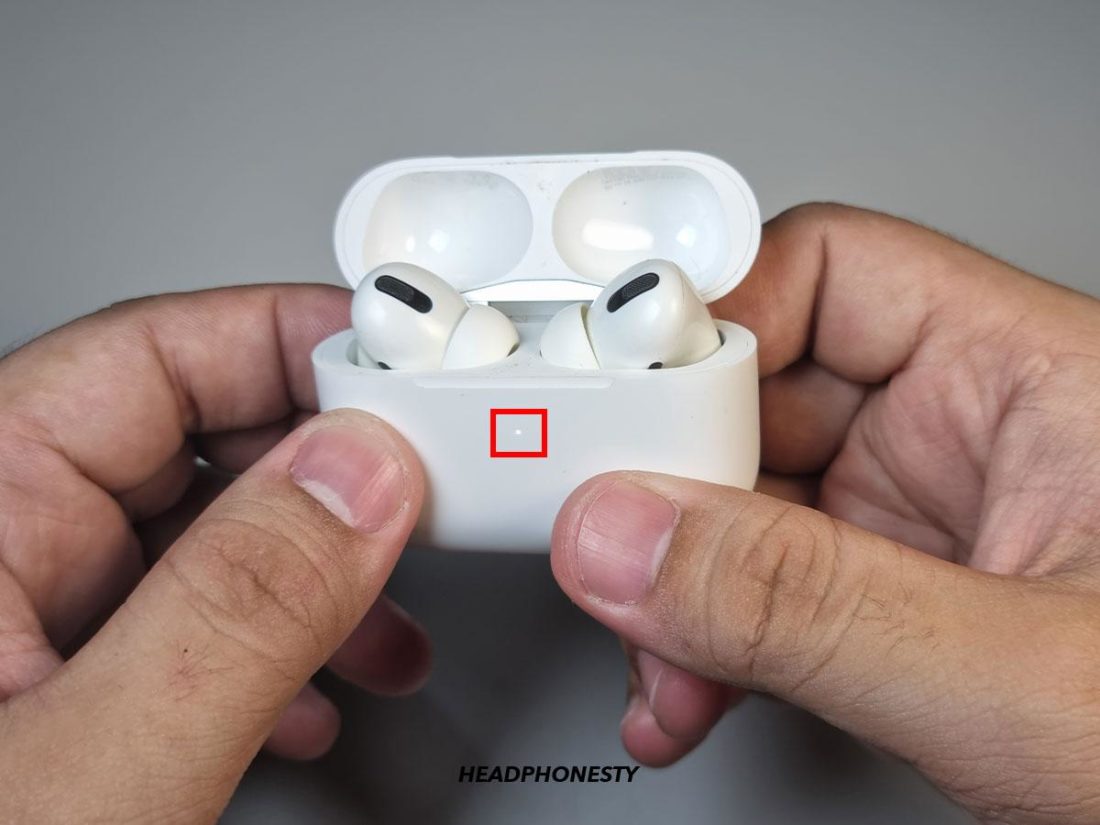
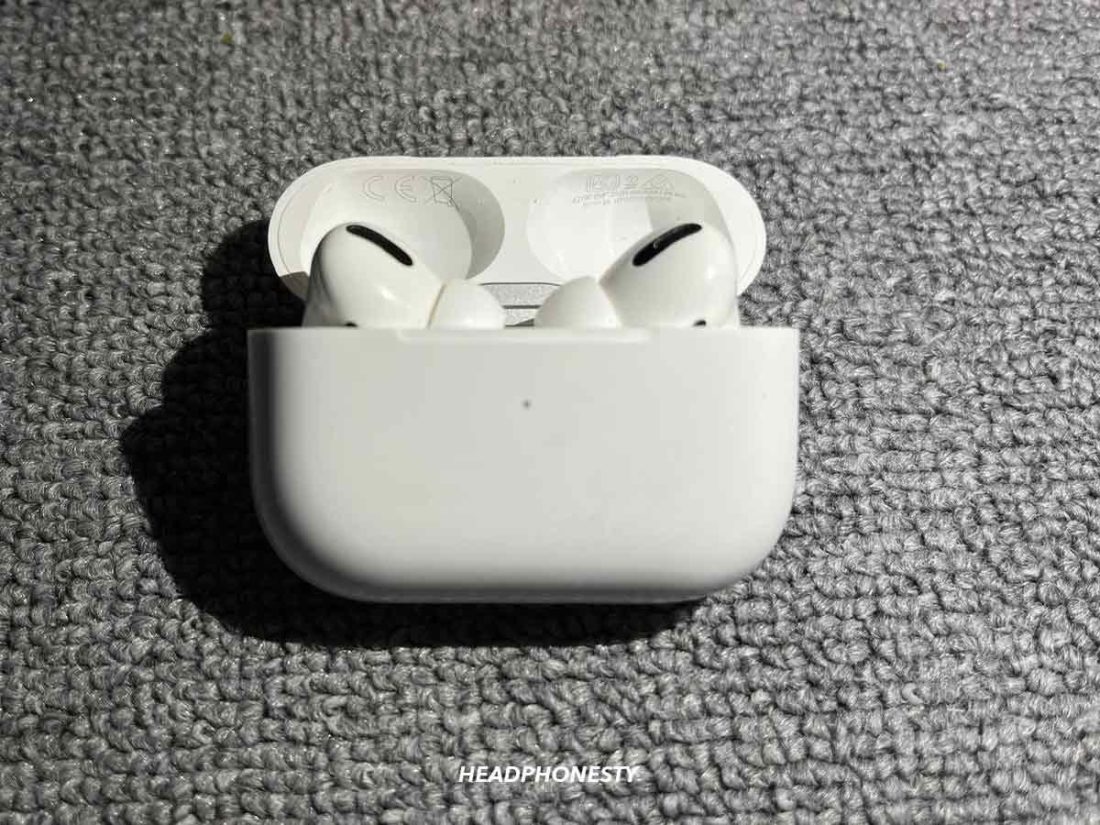
Place the AirPods back in the charging case and close the lid - Check that the status light flashes amber when you open the charging case lid.
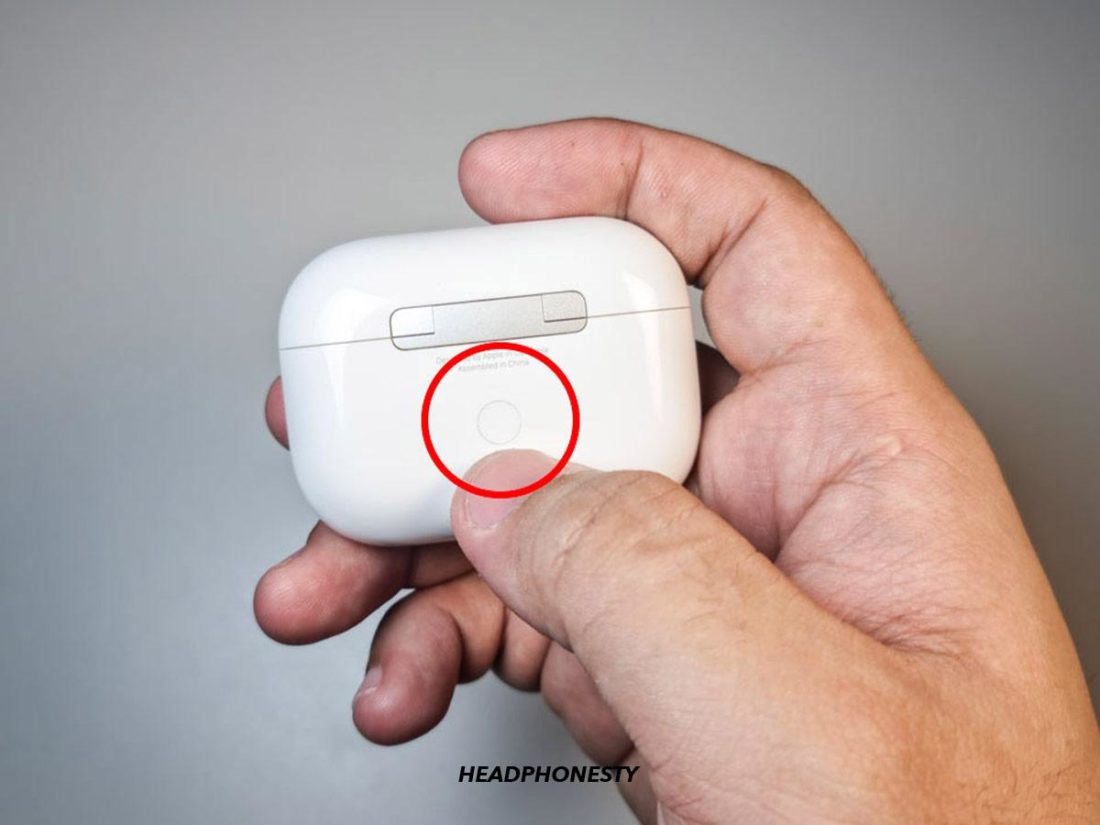
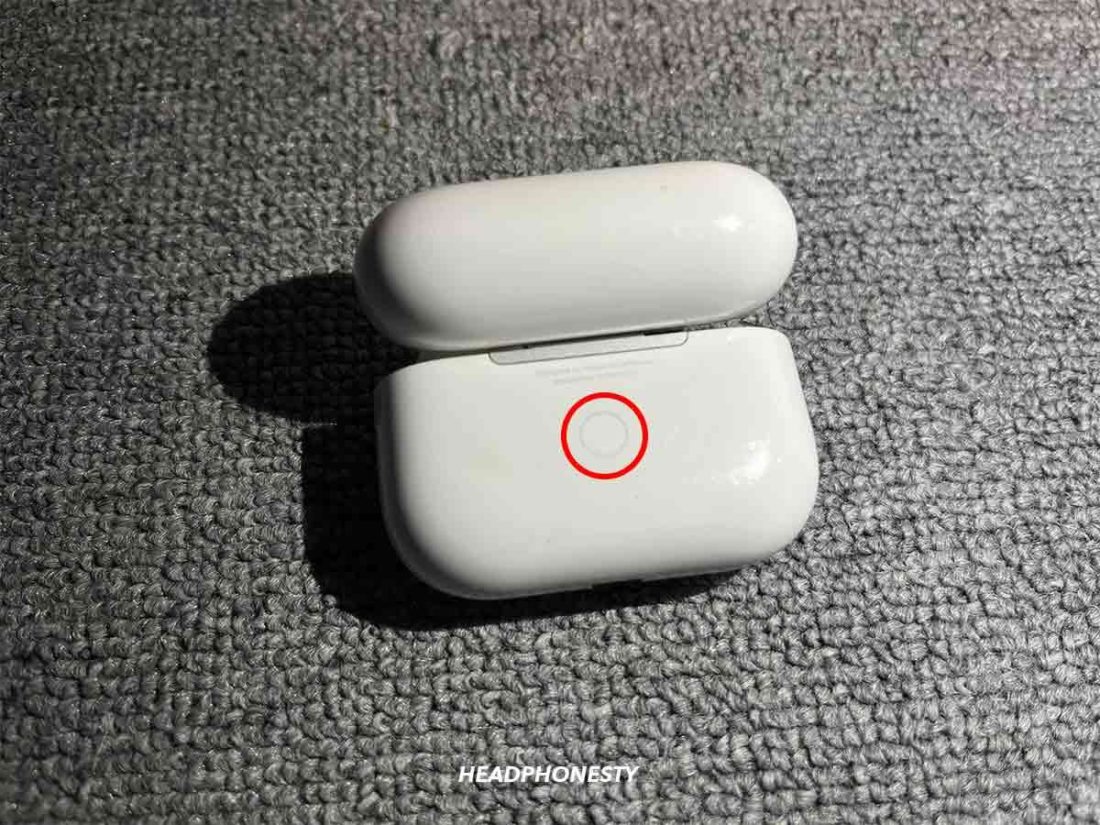
The status light must flash amber when you open the case - Close the lid, then hold the setup button on the charging case until it flashes white.
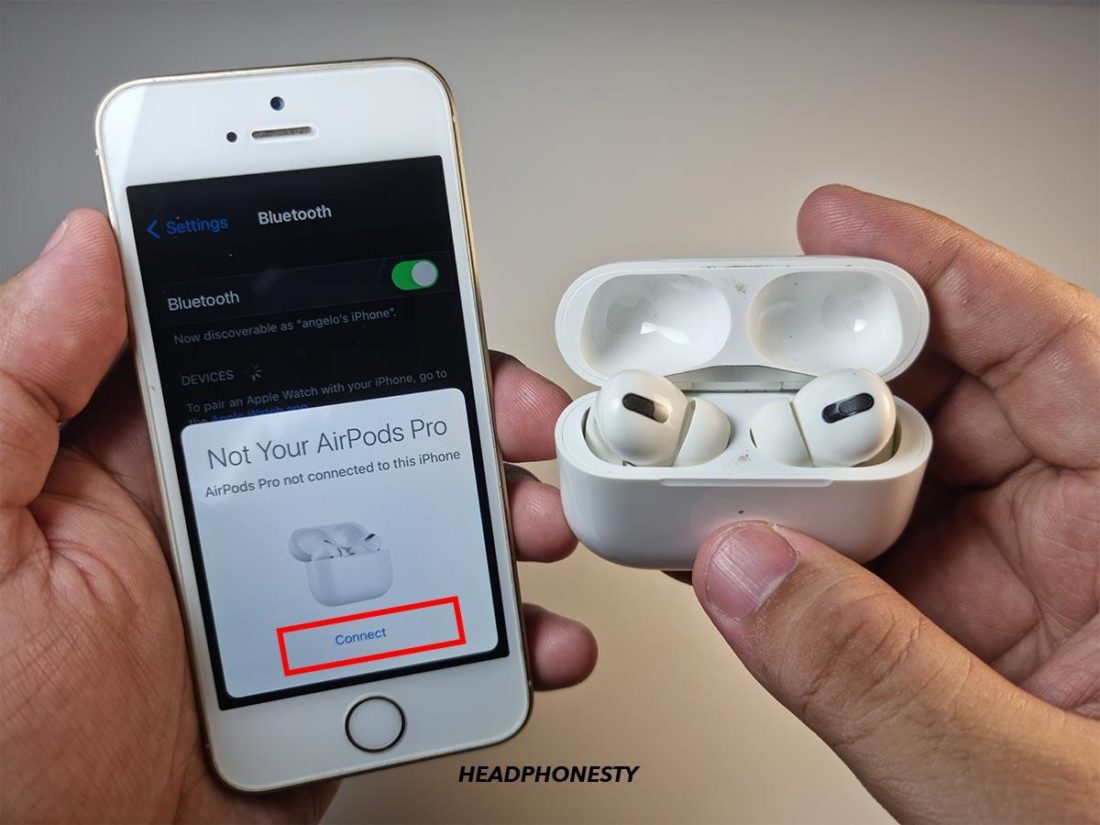
Press and hold the Setup Button on the back of the charging case - Go to the Home Screen on your iPhone or iPad. Open the charging case (with your AirPods inside) near your device and wait for the setup animation to appear.
Reconnecting reset AirPods - Tap ‘Connect,’ then ‘Done.’
Tap ‘Connect’ once the setup animation appears


What to Do When the Replacement Airpod Won’t Sync or Connect
Your AirPods don’t have to come from the exact same set to work properly. You can use two different AirPods together, provided they’re the same type or model. The same also applies when pairing AirPods with a different case.
Unfortunately, pairing two different AirPods isn’t always a walk in the park. That’s because the mismatched firmware makes them incompatible right off the bat. So, getting them to work correctly as a pair will require some extra steps.
Here’s what to do when your replacement AirPod or AirPod Pro isn’t pairing correctly:
Update the AirPods’ firmware
As mentioned earlier, mismatched firmware is often the culprit behind AirPod pairing issues. Your old AirPod has already undergone a series of updates to improve its performance. In contrast, your replacement AirPod has none of these updates. This firmware incompatibility is what creates connection and pairing glitches.
Naturally, the best way to fix this is by updating the firmware of the replacement AirPod. But since there’s no option to update AirPods’ firmware manually, you’ll need to go the roundabout way. Here’s how:
- Go to ‘Settings’ on your iPhone or iPad and select ‘Bluetooth.’
Select ‘Bluetooth’ from your device’s Settings - Tap the Information icon (ⓘ) to the right of your AirPods.
Tap (ⓘ) button to the right of your AirPods to pair them - Tap ‘Forget This Device.’ Try ‘forgetting’ all other existing Bluetooth connections to ensure this works.
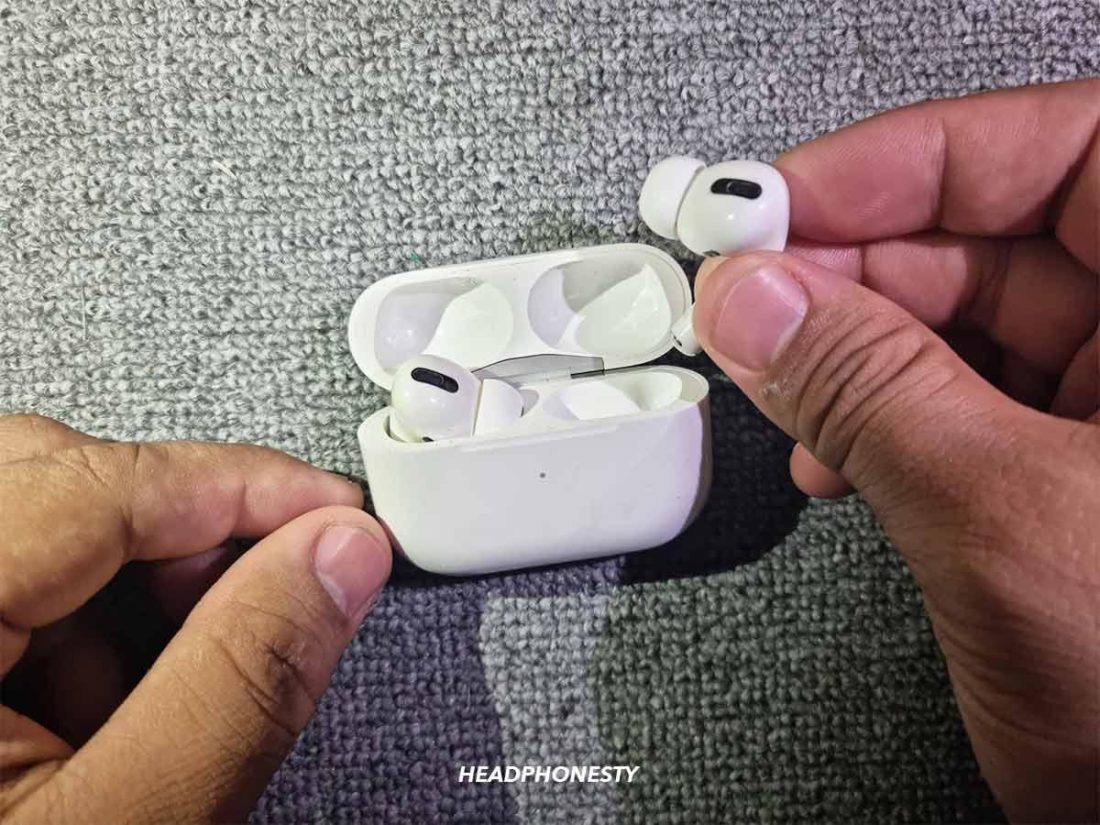
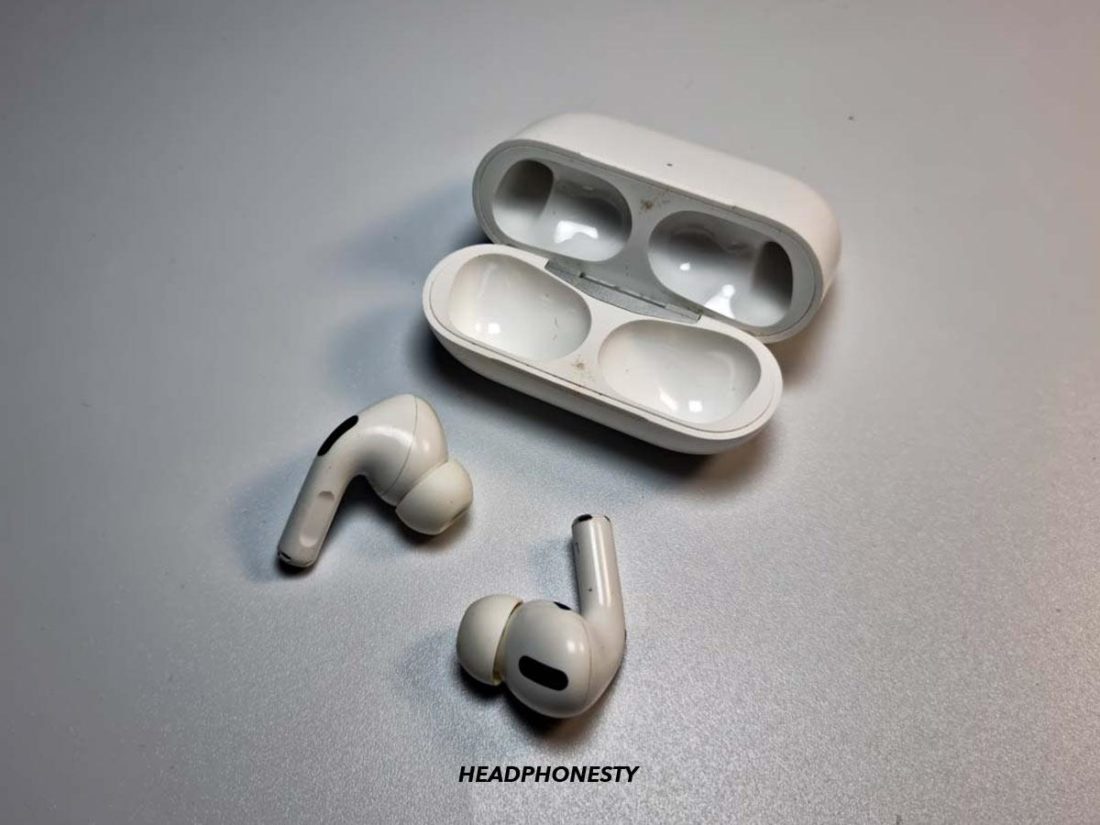
Select ‘Forget This Device’ to un-pair your AirPods - Remove both AirPods from the case.
Remove both AirPods from the charging case - Take the left AirPod only and put it back in the case. The status light should flash green.
- Press the setup button on the case until the status light flashes white.
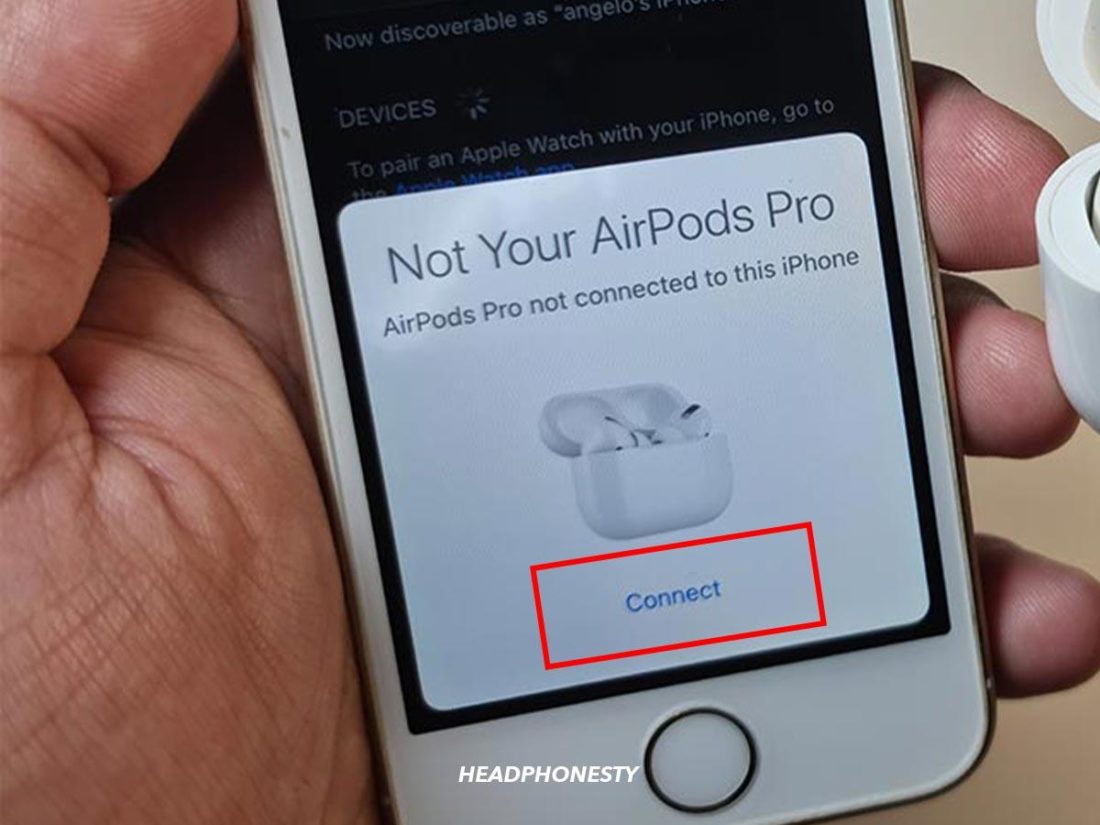
Press and hold the Setup button till the indicator flashes white - When the setup animation appears on your device, tap ‘Connect’ to pair the left AirPod.
Click on ‘Connect’ to pair the left AirPod first - Take out the left AirPod and set it aside. Now place the right AirPod in the case and repeat steps 6 and 7.
Take out the left AirPod from the charging case - Once both AirPods are separately paired, place both inside the case. The status light should flash amber.
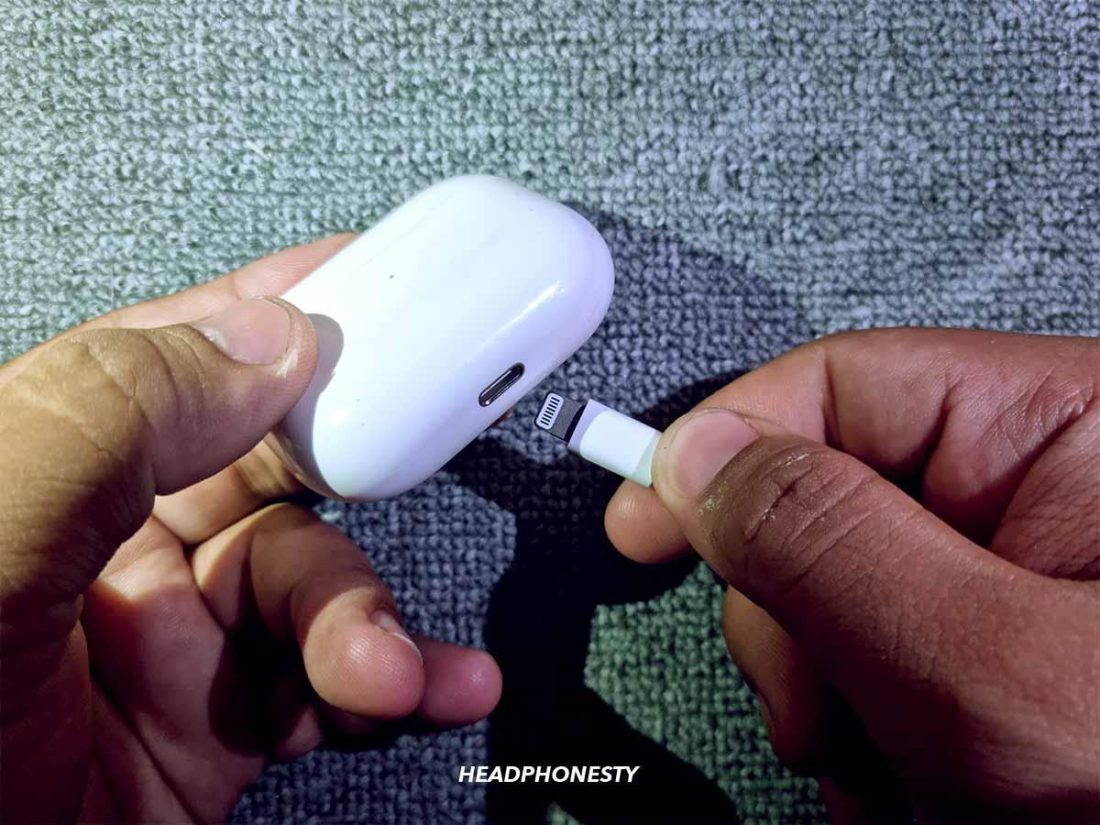
Place each separately paired AirPod back in the case and close the lid. Status light will flash amber at this point. - Plug your device and AirPods case into their respective chargers to avoid low battery interruptions. Make sure your AirPods case is open and your device is connected to WiFi during this time.
Make sure to charge both your device and the AirPods case for an uninterrupted firmware updation process - Leave your AirPods and device for at least an hour to force the download of firmware updates. Some updates take longer than others, so patience is key. Some reported 20 minutes, while others had to wait for more than an hour. Keeping your device screen on may also help speed up firmware updates.
Your device’s firmware should be updated in an hour - Once the firmware updates are done, the amber status light will turn green, and you’ll now be able to pair your AirPods the usual way.


Try connecting to your AirPods one at a time
When it comes to pairing problems, it sometimes helps to let each AirPod pair separately.
The existing connection between the original AirPod and the case can prevent the new AirPod from connecting. In fact, a few Reddit users even mentioned having to physically move their old AirPod way out of range just to get the new AirPod to connect correctly.
While this solution isn’t an exact science, it certainly won’t hurt to try and see if it works for you.
Here’s how to pair each AirPod separately:
- Go to ‘Settings’ on your iPhone or iPad and select ‘Bluetooth.’
Click on ‘Bluetooth’ on your iPhone or iPad’s Settings - Tap the Information icon (ⓘ) to the right of your AirPods.
Click on the Information icon (ⓘ) to initiate the pairing - Tap ‘Forget This Device.’
Unpair your AirPods by tapping on ‘Forget This Device’ - Place one AirPod in the charging case and the other AirPod in your ear.
Keep one AirPod back in the case, and insert the other in your ear - Keep the AirPod charging case lid open, then hold the setup button. The status light should flash white.
Press and hold the Setup button till the light flashes white. - When the setup animation appears on your device’s Home Screen, just follow the prompt to connect your AirPod.
Pair your AirPod when the ‘Connect’ prompt appears on your Home Screen - Swap both AirPods around and repeat steps 4 to 6 to pair the other AirPod.
Repeat steps 4 to 6 for the right AirPod - Place both AirPods in the case and hold the setup button to pair them as a single device.
Hold the Setup button to pair both AirPods as a single device - If this still doesn’t work, forget both AirPods and repeat the pairing process with both AirPods in the case.


Contact Apple Support
If none of the solutions above worked for you, the problem might be in the replacement AirPod itself.
For instance, if you sought out 3rd-party resellers for your replacement, you might’ve received a faulty or fake AirPod. Sadly, even Apple Repair is known to get it wrong on occasion. Some folks have mistakenly received the incorrect replacement AirPod model, which tends to happen with the similar-looking AirPods Gen 1 and 2.
What’s good about the second scenario is that you can always go to Apple Support to get another replacement for your replacement.
And yes, while it can be frustrating to keep sending back your faulty AirPods, you can at least feel assured you’re getting a legit product backed by Apple Support.
Here’s how you can set up an appointment for service in three ways:
- Chat with Apple Support
- Have Apple Support call you
- Bring your AirPods to a local Apple Authorized Service Provider (AASP).
However, before you do any of these, make sure to have ready the following for a smoother transaction:
- AirPods’ serial number
- Proof of purchase
- Your original and replacement AirPods or charging case
Replacements typically take a week to arrive. The good news is, if you’re returning a faulty replacement Apple themselves sent, you can return them for free and get another replacement.
As a last resort, if you do have to spend on replacements, here are the replacement fee amounts: USD$69 for each AirPod and USD$89 for each AirPod Pro.
The standard charging case for AirPods (1, 2, &3) comes for USD$59, and USD$79 for wireless and MagSafe charging cases, it’s USD$79 each. For AirPods Pro’s wireless and MagSafe charging cases, it’s USD$99.
Conclusion
If you know your replacement AirPod is the correct model and is sourced from an official reseller, the solutions above should fix your pairing problems. Remember to be patient, as the time estimation for firmware updates varies from case to case.
If all else fails, you can at least turn to Apple Support to help you solve the problem.
Have you tried any of the solutions we’ve shared? We’d love to hear about your experiences or any other tips you may have for pairing replacement AirPods. Don’t forget to drop us a comment below!
I have 3rd gen airpods and this did not work for me. What did work for some strange reason was leaving the airpods case open. The left one began to charge as normal and is now working fine. My right pod will charge with the case closed, but my left will only charge with it open.
that is strange
but it works
So the case kinda works, the airpods charge, but the button on the back does nothing. They wont pair and wont connect anymore. Pressing the button never brings that white light. I get the notification on my phone to connect to new airpods too. Very odd.
“Take the left AirPod only and put it back in the case. The status light should flash green.
Press the setup button on the case until the status light flashes white.”
Problem I have is that this step does not work, when I put in a single airpod and press the setup button on the case, the status light does not flash white. This happens when I have my iphone with bluetooth on and with bluetooth off. Any ideas?