
Keep distractions at bay by learning how to stop Siri from reading messages on AirPods.
While Siri is helpful, her interruptions can be annoying, especially if she reads you mundane notifications at inopportune times.
Annoying becomes obnoxious when those notifications negatively impact what you’re doing. Imagine listening to an exciting podcast and having Siri interrupt the experience to read a spam text. Or, doing a guided meditation and getting interrupted by a notification that could have waited until you finished.
You may not be able to shut down the city life’s unavoidable noise pollution. But when it comes to your iPhone, you have more control. Find out how to stop Siri from reading messages on AirPods here in this article. Let’s begin!
In This Article
How to Stop AirPods From Reading Texts
Announce Notifications is useful when your hands are busy, and you want to be up-to-date on every message that comes in. However, if you find the feature distracting, you can easily disable it.
There are a couple of ways to do so, and we’re going to walk you through each step:
Disable Siri’s text reading feature via settings
A quick way to turn off AirPods reading text is by accessing the Settings icon:
- Open Settings.

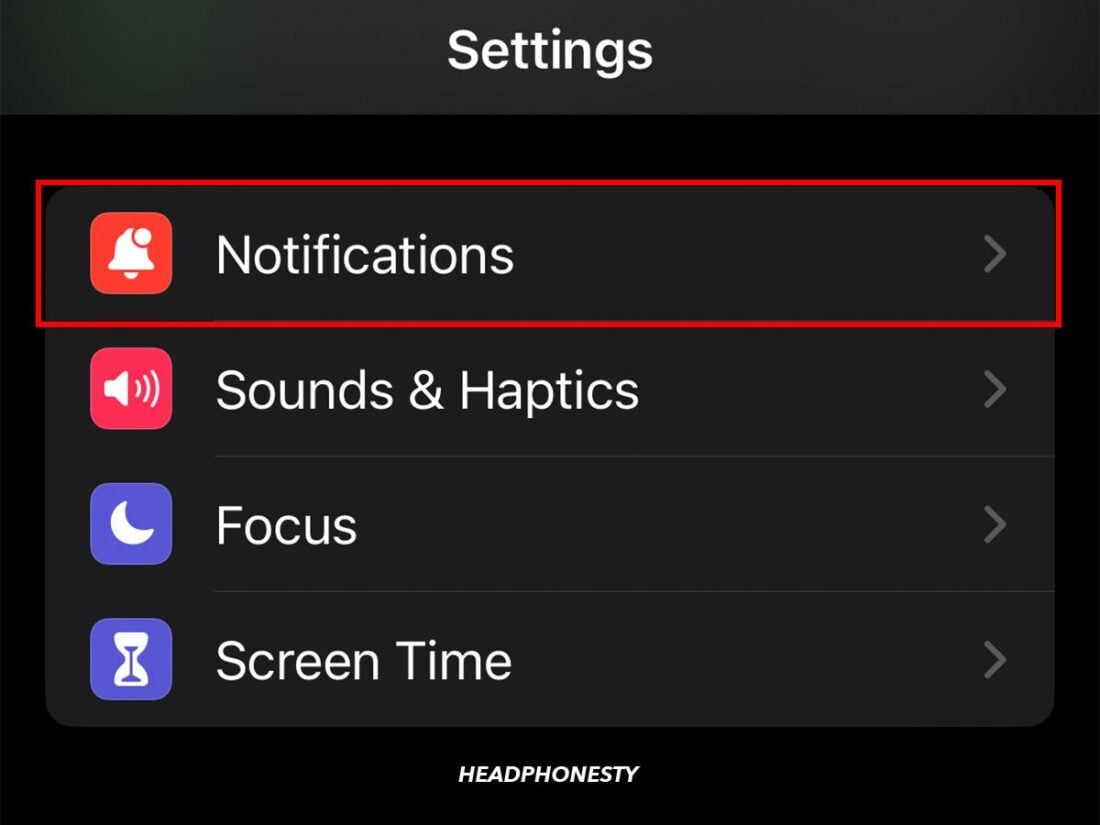
iOS Settings icon - Go to Notifications.
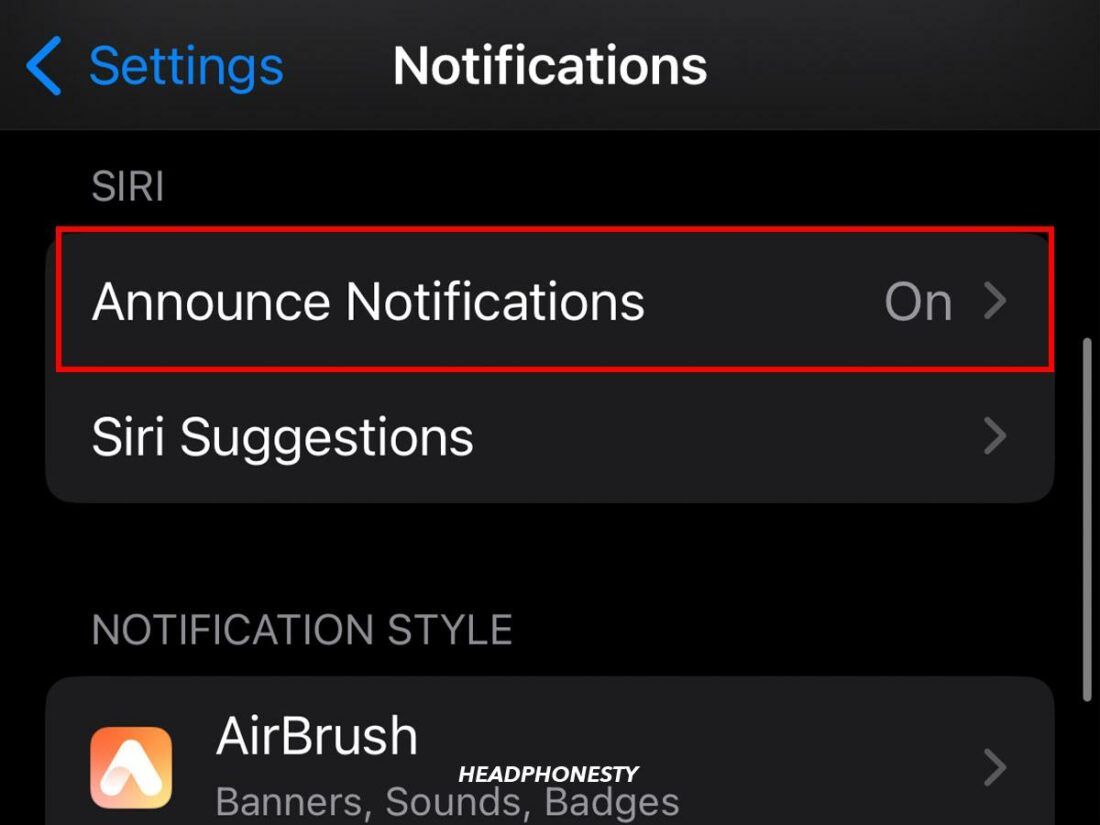
Tap to go to the Notifications settings - In the Siri section, locate the Announce Notifications box and tap on it.
Going to Announce Notifications - The Announce Notifications toggle should be green. Tap on it to deactivate the feature.
Toggling the Announce Notifications on

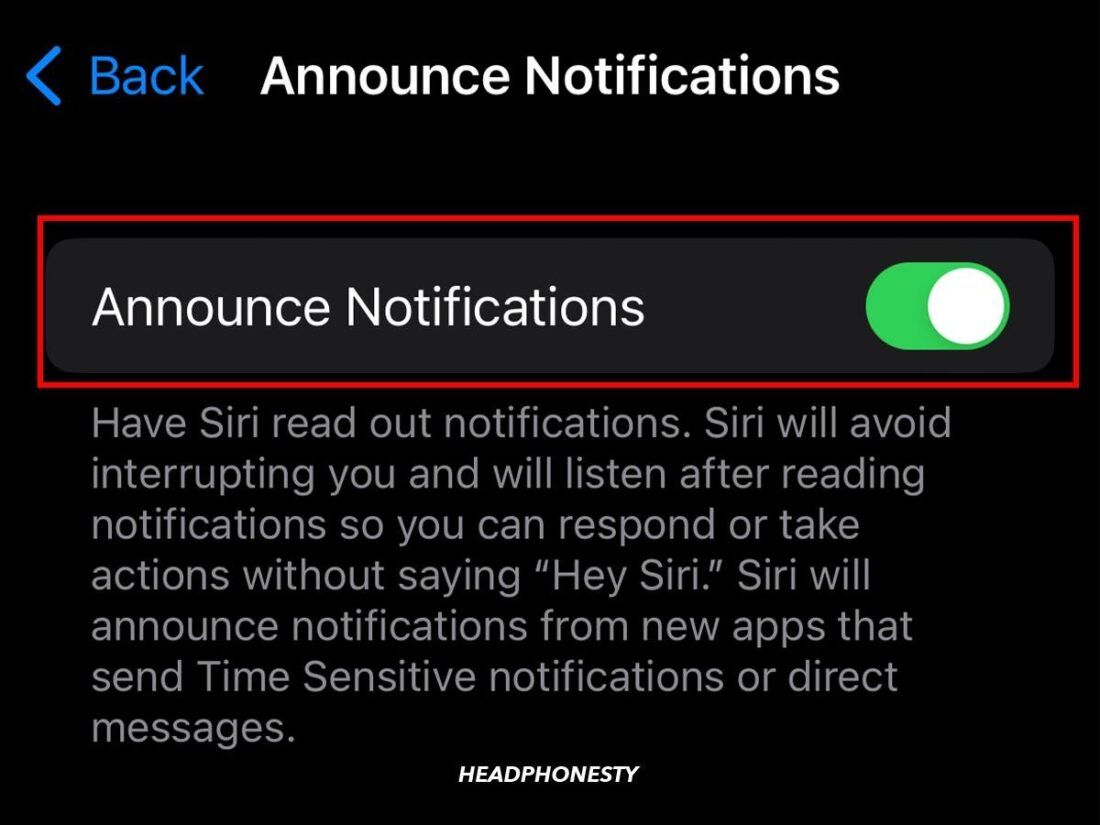
That’s it! Siri will no longer interrupt you by reading text again while your AirPods are connected.
Deactivate Announce Messages via Control Center
Alternatively, you can disable Siri from reading notifications by accessing the Control Center, either temporarily or for good.
Follow these steps:
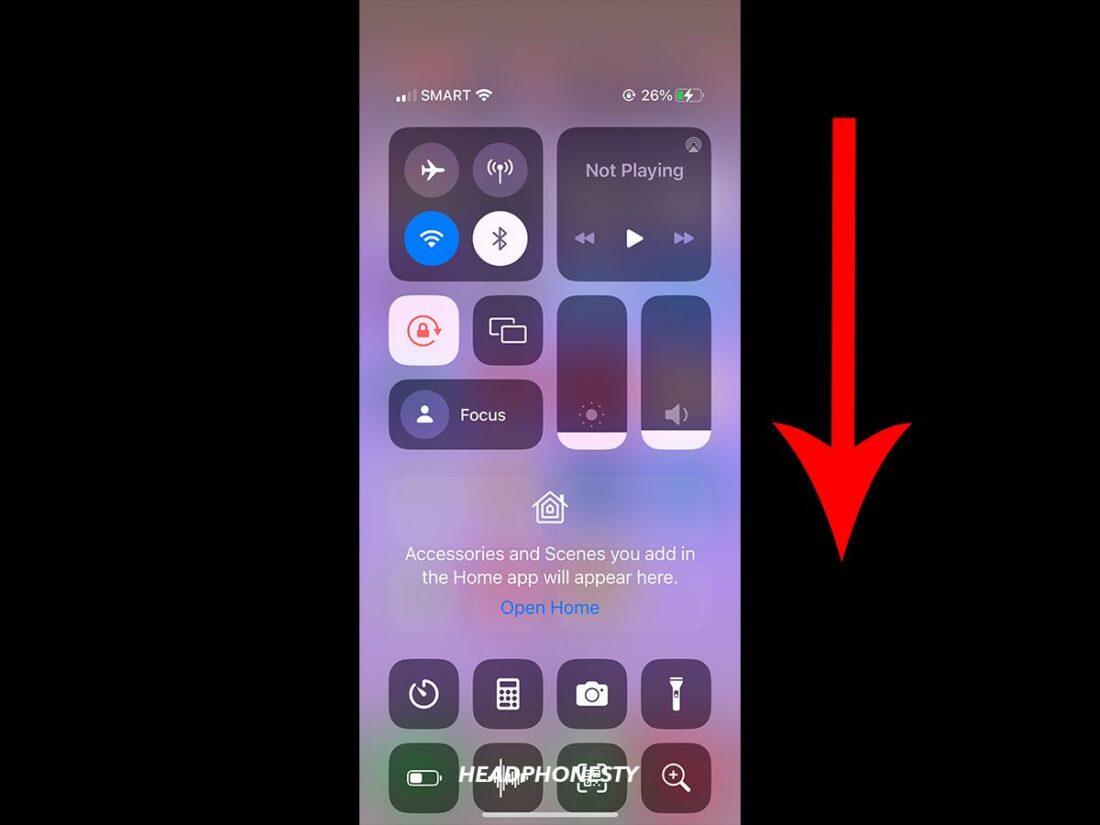
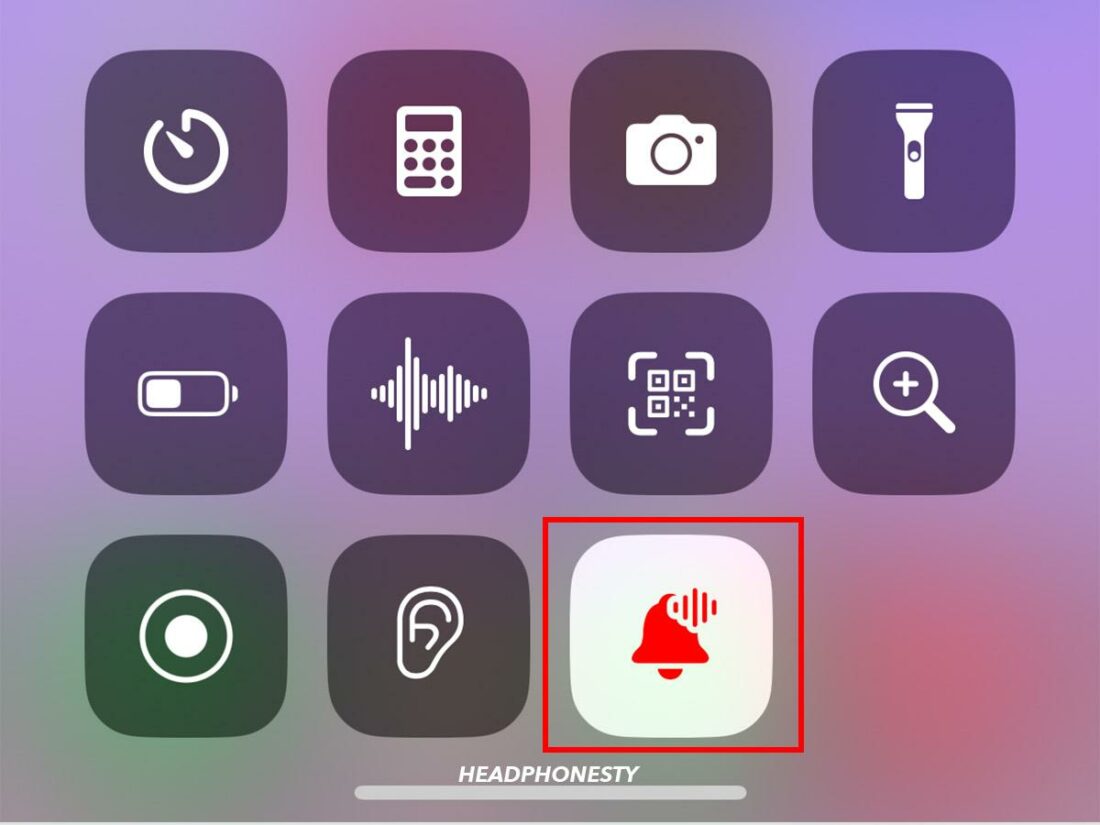
- Start by swiping down from the upper right corner of the screen to open the Control Center.
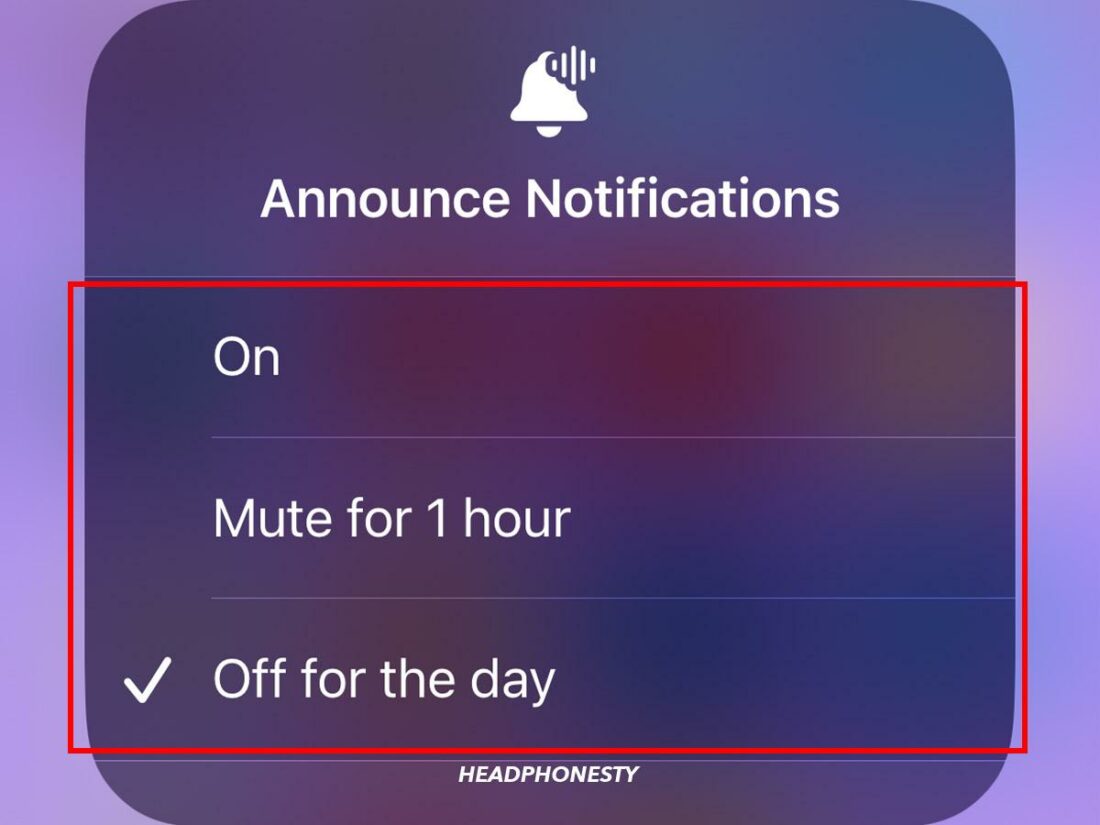
Opening the iOS Control Center - If you wish to deactivate the feature entirely, simply tap the bell icon (Announce Notifications). But, if you want to pause the feature instead, hold the Announce Notifications icon until a pop-up message appears.
Announce notifications icon on Control Center - From that screen, you can either mute notifications for an hour or the entire day.
Selecting to turn off Announce notifications for the day
This is incredibly helpful if you want to prevent Siri’s notifications from disturbing you for a limited time. Like during a deep work sprint, meditation session, or while running errands.
If you decide to deactivate the feature for good, you might want to completely remove the Announce Notifications icon from the Control Center to minimize visual clutter.
You can do so by accessing the Settings menu:
- Open Settings.
- Navigate to Control Center and locate Announce Notifications.
Announce notifications listed on Control Center options - Tap on the minus sign and the icon will disappear.
Removing the Announce Notifications via the minus sign
How to Turn Off Siri’s Message Reading Feature via Apple Watch
AirPods also connect to your Apple Watch. Even better, you can use the watch to control them when your iPhone isn’t easily accessible. In other words, you can stop Siri from reading messages with AirPods by using your wearable alone.
The steps you need to follow are similar:
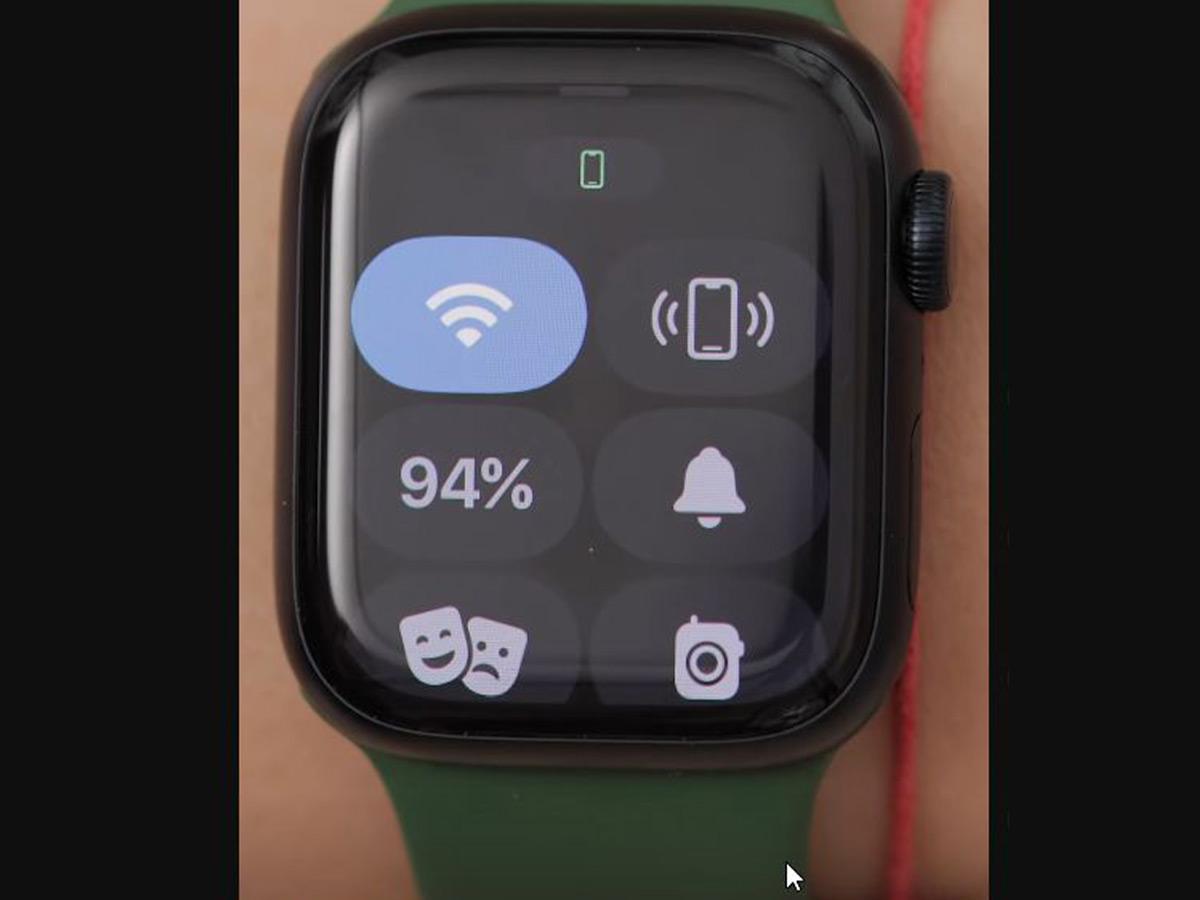
- On your Apple Watch, swipe up from the bottom to open Control Center.

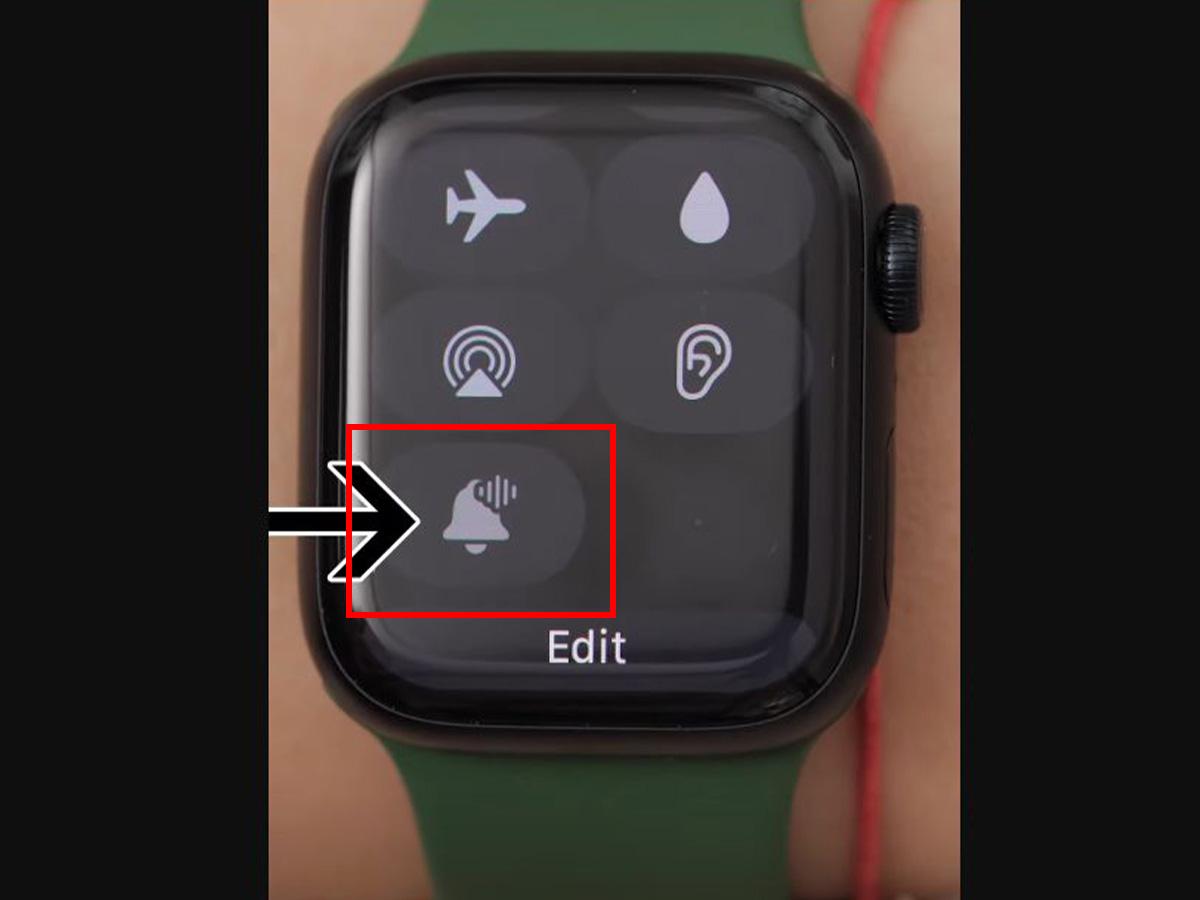
Apple Watch Control Center (From: Youtube/LoveWhatYouDo) - Tap the Announce Notifications icon to turn off the feature. Or, long-tap the icon to open the second screen and mute notifications for an hour or the day.
Turning off Announce Notifications on Apple Watch (From: Youtube/LoveWhatYouDo)
How to Customize Announce Notifications Settings Across Different Apps
The instructions have so far taught you how to stop Siri from reading all messages on AirPods. But what if you’re interested in getting some notifications while muting others?
Let’s say you’re not a fan of Siri reading text while your AirPods are on but you’re expecting an important email. You want to know what that email says as soon as possible.
At the same time, you’re on the go and can’t spend the entire afternoon staring at your phone’s screen. (Also, this practice can bring up flashbacks of when your crush left you on Read for an entire afternoon. How unpleasant!)
Thankfully, you can customize the Announce Notifications feature for each compatible app. Even better, iPhone users can play with these settings at any time.
Here’s how:
- Navigate to the Settings menu.
- Go to Notifications.
Notifications settings - Locate Announce Notifications in the Siri section.
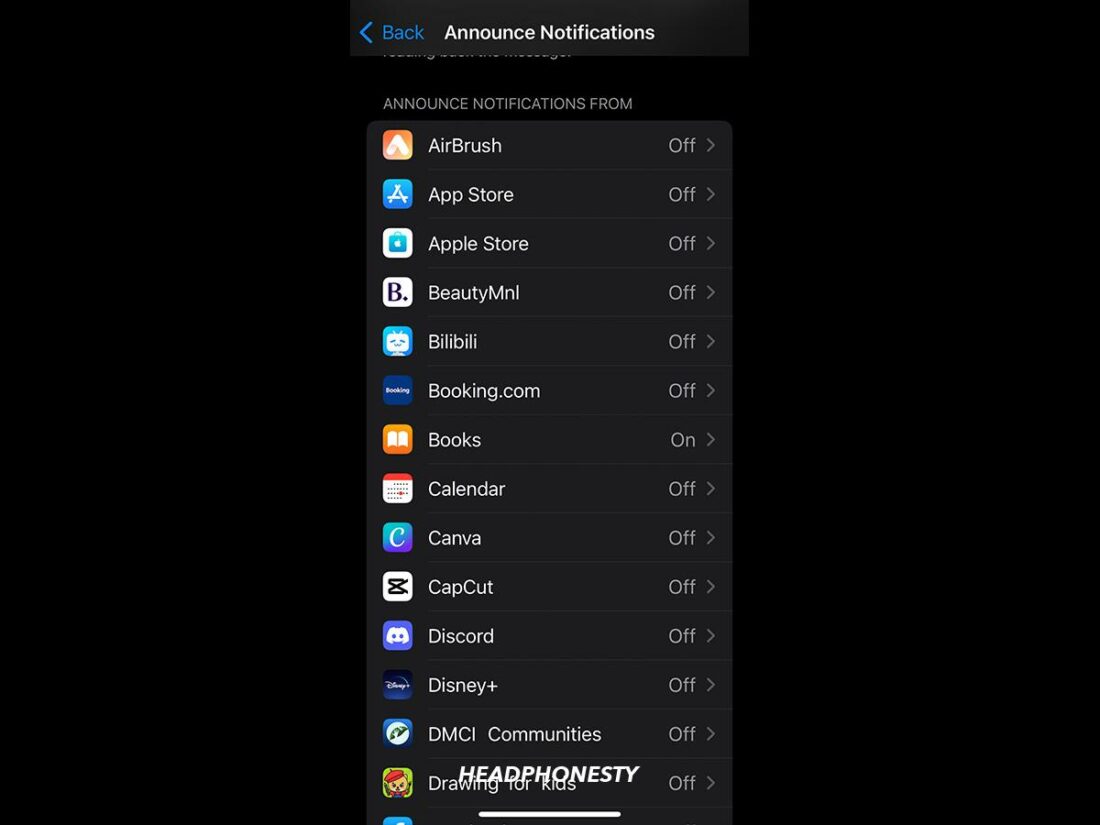
Announce Notifications under Siri - Scroll down and you will notice the list of compatible apps.
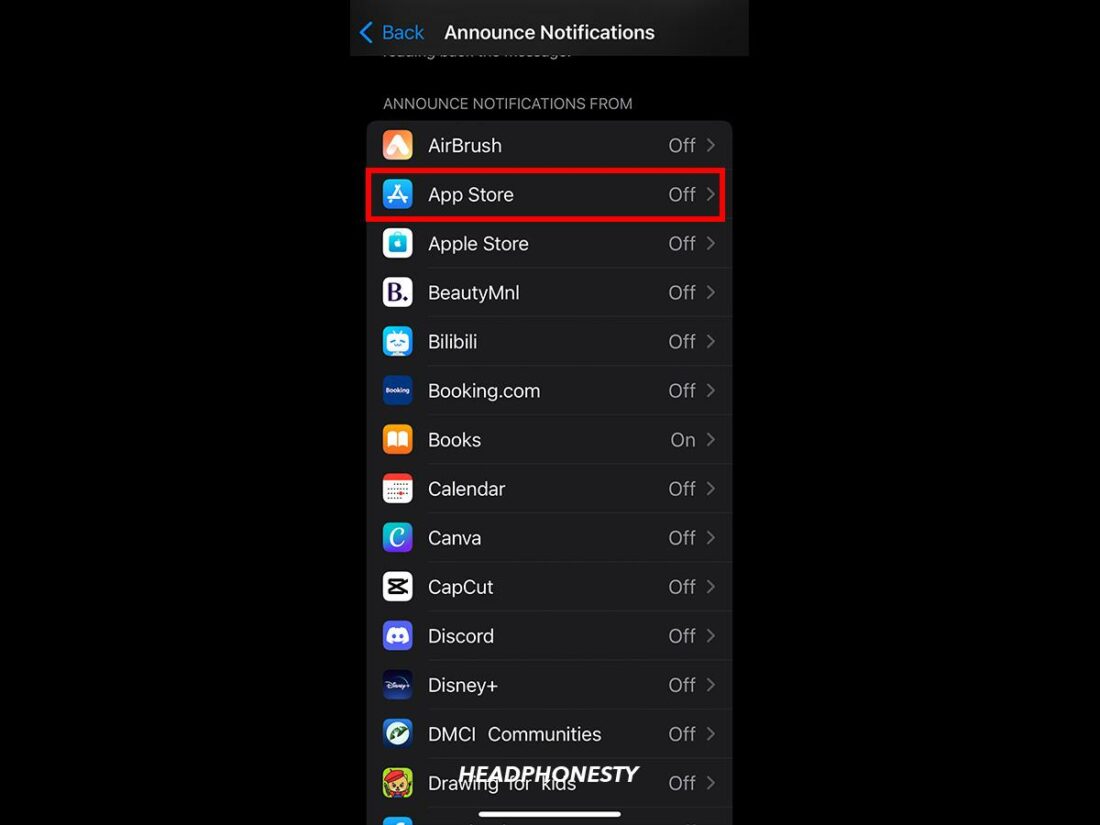
List of Apps compatible on Announce Notifications - Tap on the app you’re interested in.
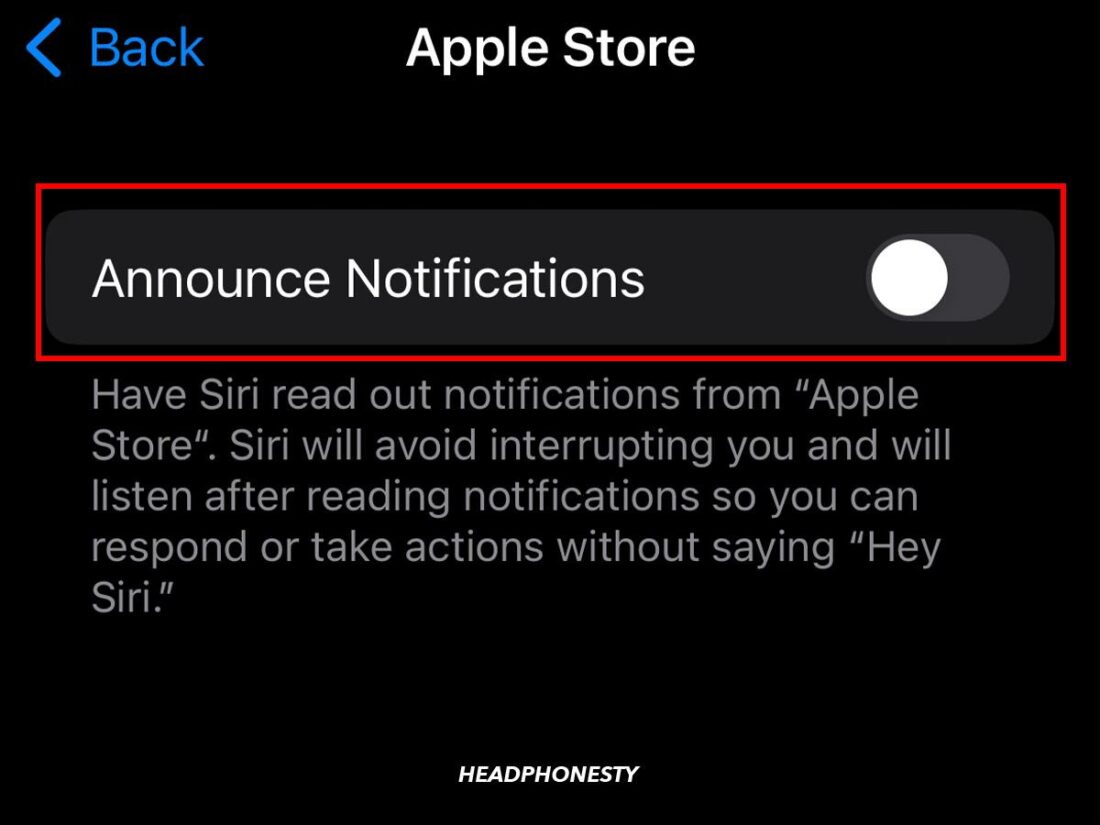
Selecting App store from the list of compatible apps - Enable and disable notifications as needed.
Toggle switch related to app


FAQs on Siri’s Message Reading Feature on AirPods
Does Siri read all notifications on AirPods?
Yes. As long as the Announce Notifications feature is enabled, Siri will read all notifications, provided your headphones are connected to your device (iPhone or iPad) and the device is locked.
The voice assistant will read notifications from Reminders and iMessages. It will also read notifications from supported third-party apps. These include:
- Slack
- Facebook Messenger
- Snapchat
- TikTok
Basically, all apps sending you notifications that appear on your device screen should work with Siri as well. You can customize the settings for each one until you’re comfortable with the results.
Additionally, depending on the app, you can choose to enable certain notifications or all of them.
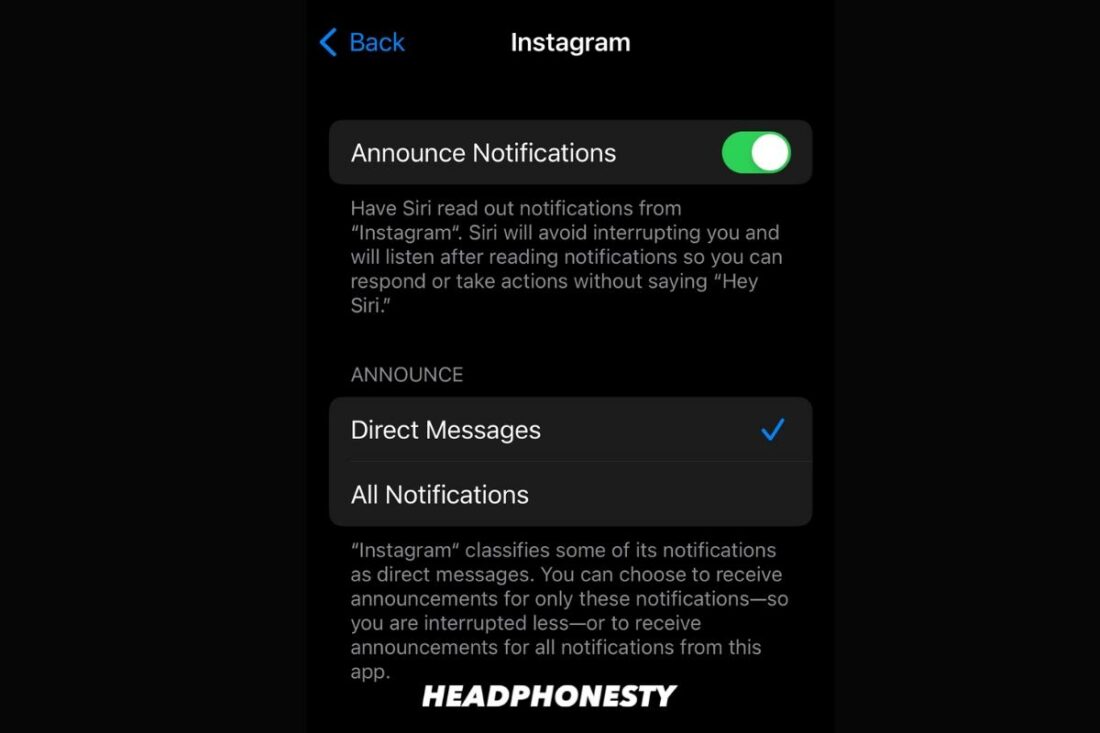
With Instagram, for instance, Siri can announce either all notifications or only direct messages.
Can I reply to notifications via AirPods?
Yes. After Siri reads a notification, you can reply by saying something along the lines of “Reply, that works for me.” Depending on your settings, Siri will read you back the message and wait for you to confirm it’s correct.
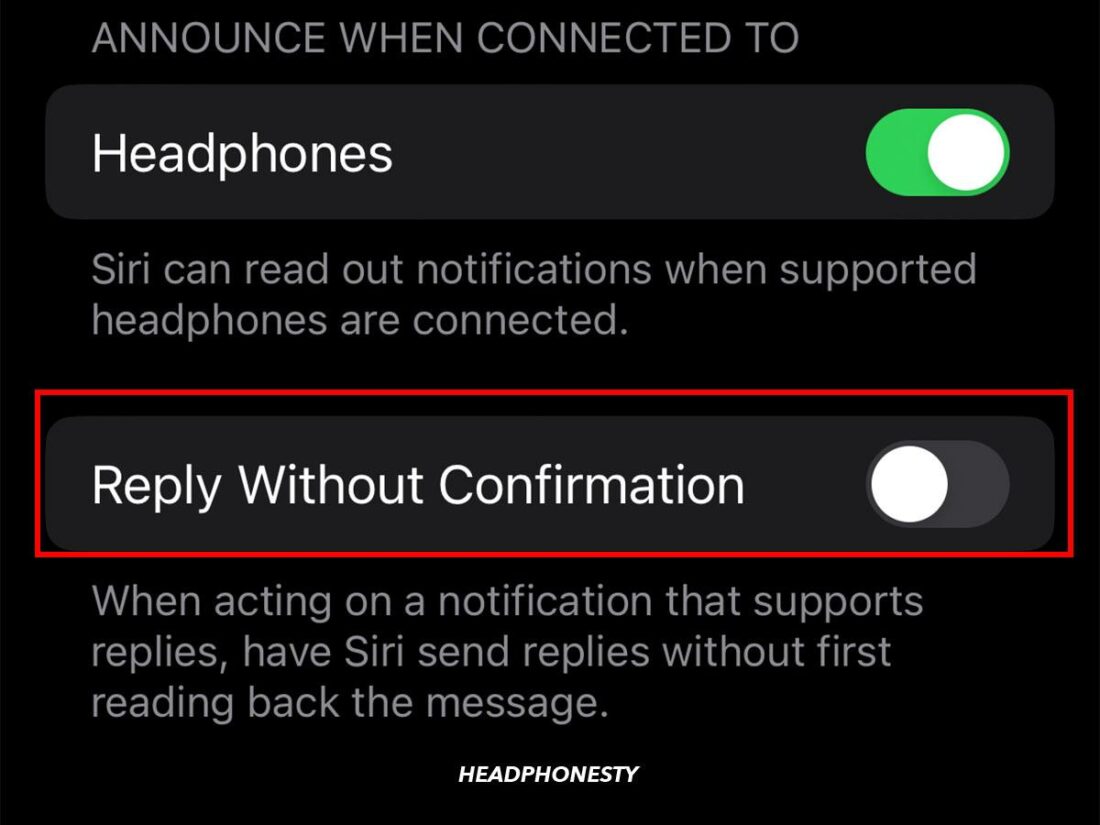
You can also enable the Reply Without Confirmation feature so that Siri sends the reply directly without double-checking. To do so, follow these steps:
- Navigate to Settings > Notifications > Announce Notifications.
Announce Notifications settings on iOS under Siri - Tap on the toggle to turn on Reply Without Confirmation.
Toggle ‘Reply Without Confirmation’
Can I just turn off Siri completely?
Yes, if you’d rather not use this feature at all, you can fully disable the Siri function via iPhone, iPad, and Mac.
Conclusion
By now, you should be a bona fide expert regarding the Announce Notifications feature. Hopefully, you now know how to stop AirPods from reading texts and customizing settings to better fit your lifestyle.
You will no longer be flooded with mundane notifications from WhatsApp groups or interrupted by news of a sale you don’t care about. At the same time, you’ve figured out how to take advantage of the feature, so you never miss an important text again.
Did you find the guide useful? Do you have additional questions not covered by the tips above? Our servers are on a hunger strike and feed exclusively on user feedback. Help us out.