These seven hacks will fix your muffled AirPods in record time.
AirPods are known to have a clear and balanced sound right out of the box. Even better, you can also play with the settings to adjust their audio quality to your liking.
Yet, there are cases when the AirPods suddenly sound muffled, as if you’re listening from another room. This is likely due to an accumulation of dirt or a software bug.
Thankfully, there are easy ways to fix these types of issues, ranging from deep cleaning your AirPods to tweaking your audio settings. Read on for our detailed troubleshooting tips on the top eight proven-and-tested fixes you can try.
In This Article
1. Deep Clean Your AirPods
Your AirPods gradually accumulate dust, earwax, and debris over time. As these worsen, they may eventually cover the crevices of your AirPods’ speakers, blocking the soundwaves from entering your ears and causing muffled audio.
So, if your AirPods sound like you’re underwater, there’s a good chance they could use some gentle scrubbing. A deep clean removes gunk, clears the speakers, and returns the AirPods to tip-top shape.
To get started, gather a few supplies:
- Dry lint-free cloth
- Disinfectant solution (preferably with 70% isopropyl alcohol)
- Cotton swabs
- Soft toothbrush
- Toothpick
Once you have the supplies, follow these steps to clean your AirPods:
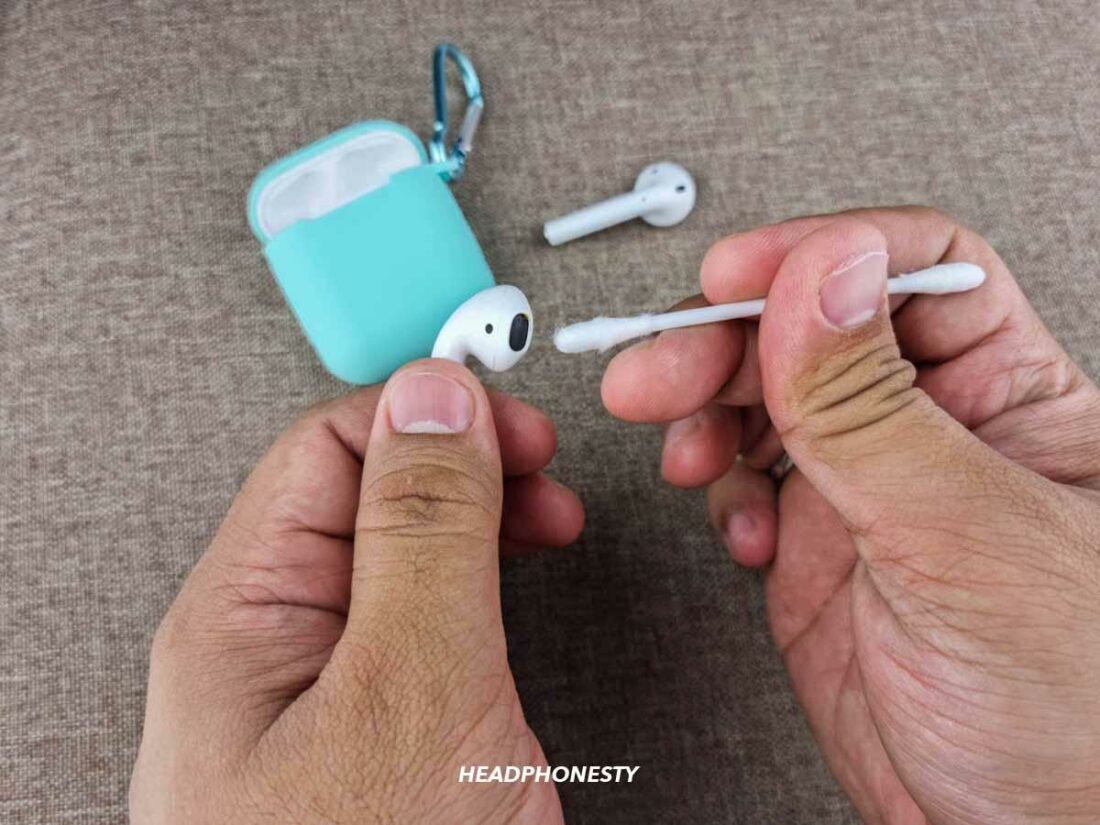
- Apply a small amount of disinfectant solution to a cotton swab and clean the surface of the AirPods. Use the cloth to pat them dry.When cleaning AirPods Pro, remove the ear tips before you do this first step. Clean them separately with the cotton swab soaked with disinfectant or soapy water.

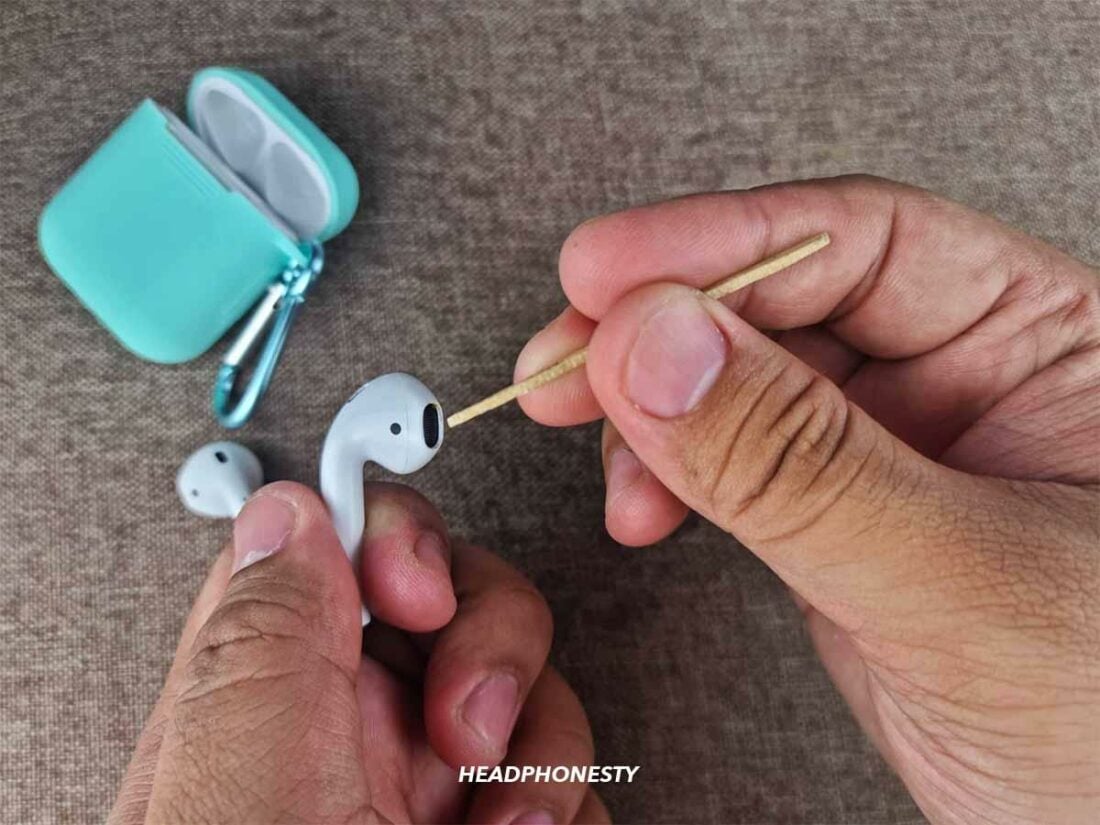
Clean the surface of the AirPods with a cotton swab. - Use the toothpick to remove debris from the areas the swab couldn’t reach, like the inner edges of the AirPods. Make sure you don’t apply too much pressure when using the toothpick. Otherwise, you risk damaging the mesh on the AirPods’ speakers.
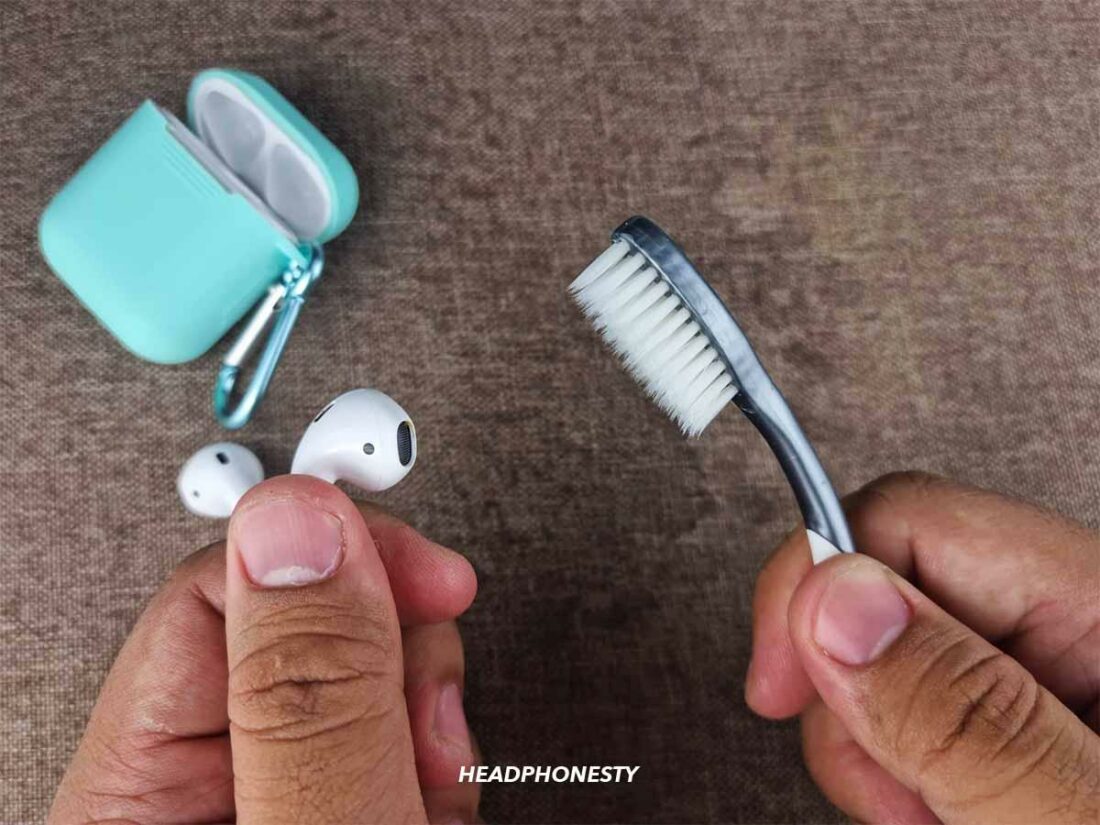
Further clean the AirPods using a toothpick - Clean any remaining debris with the toothbrush. Pay special attention to the speaker and microphone areas.
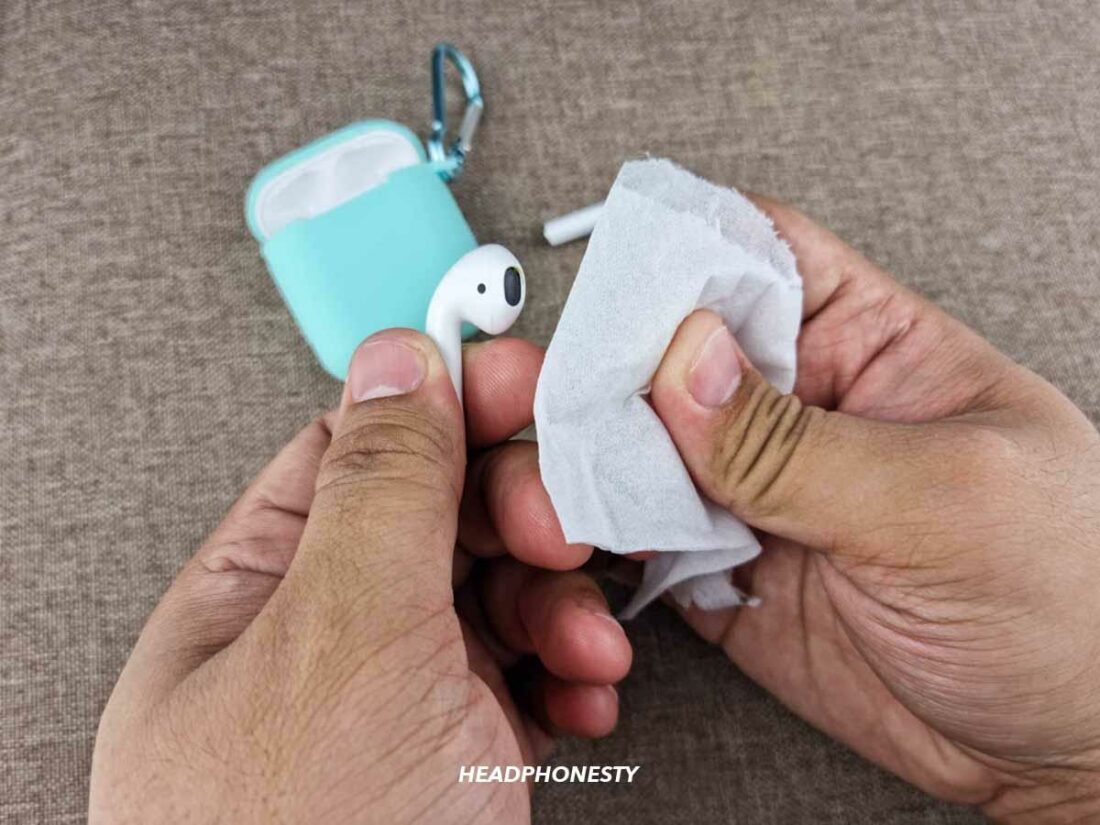
Use a toothbrush to clean remaining debris - Give the AirPods a final wipe with the cloth.
Wipe the AirPods with a cloth.
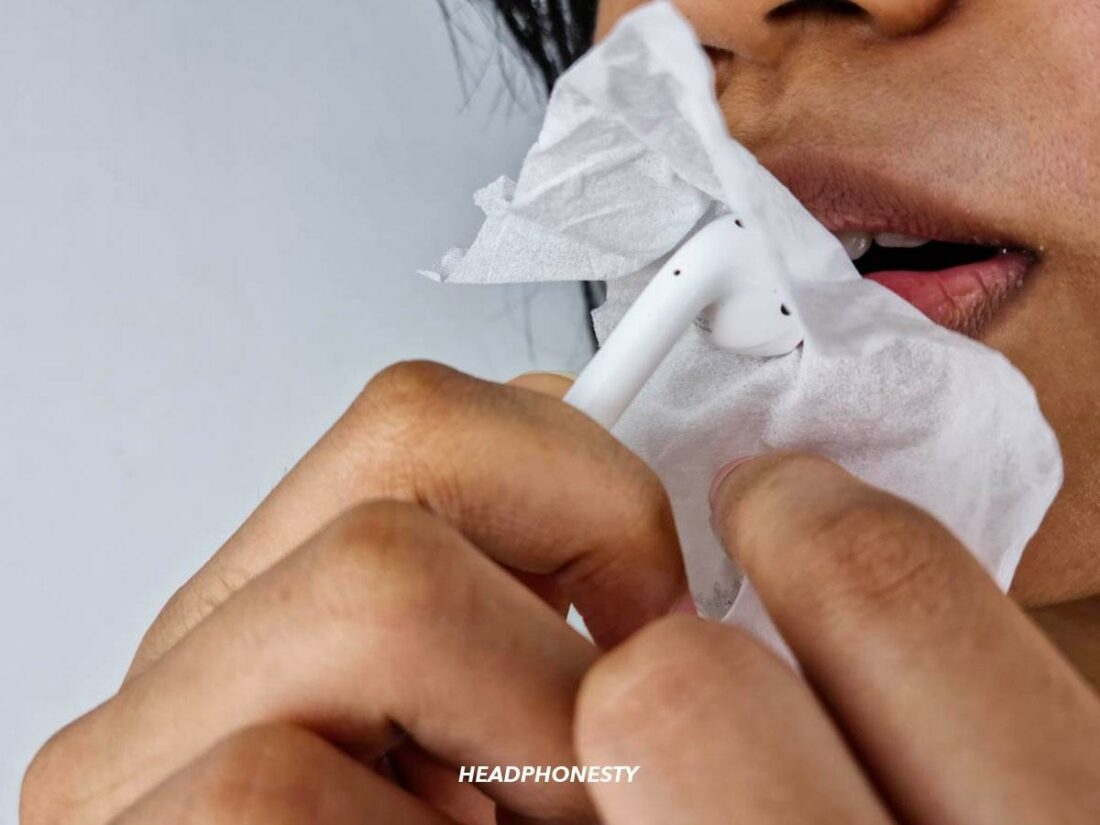
If you’ve cleaned the AirPods but don’t notice any sound improvement, it may be due to stubborn earwax stuck in the speaker mesh. You can fix this by sucking on the speaker openings of the AirPods (sorry!).
To do so, cover the speaker opening with a thin tissue and suck until you feel the air coming seamlessly through the mesh. Clean up any dirt that came out with the toothbrush or cotton swab. As gross as the process may be, it gets the job done.
2. Reset the AirPods
If your AirPods still sound muffled after the cleaning, it may be because of a software glitch, like a connection issue. To solve this, you can restore the AirPods to factory settings by resetting them.
Follow these steps to reset your AirPods:
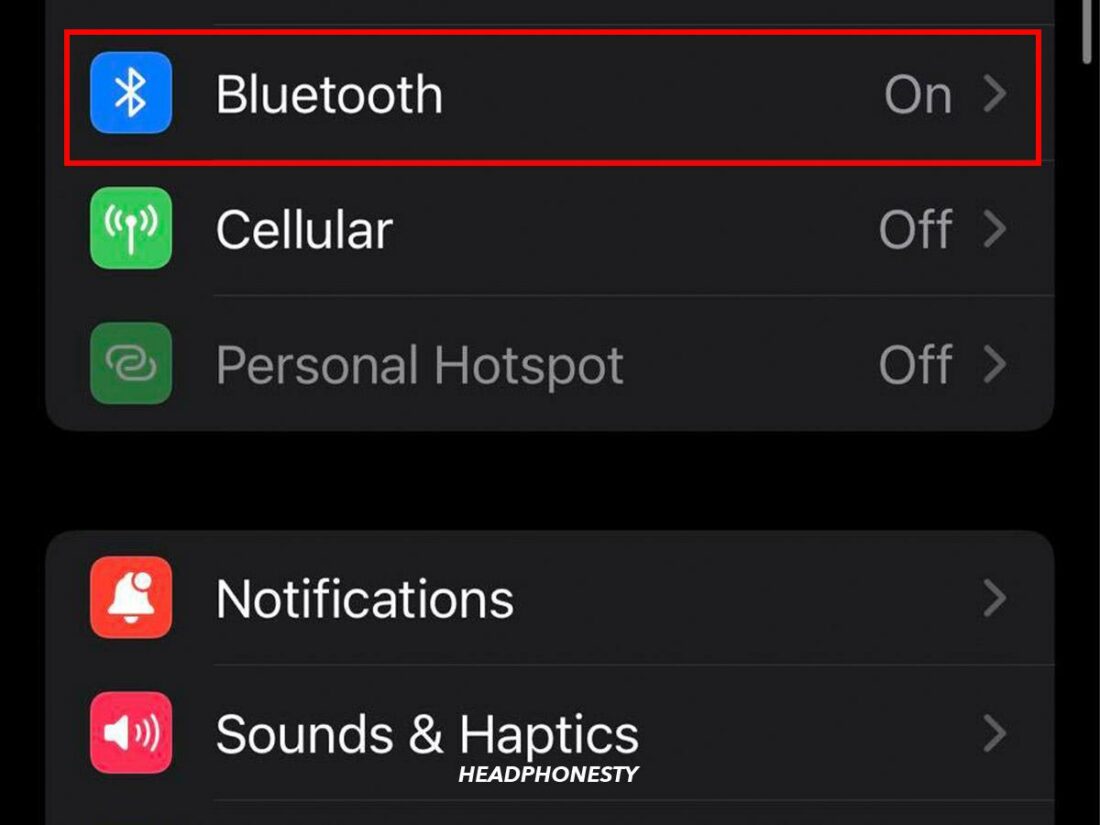
- Access Settings on your iOS device and select Bluetooth.
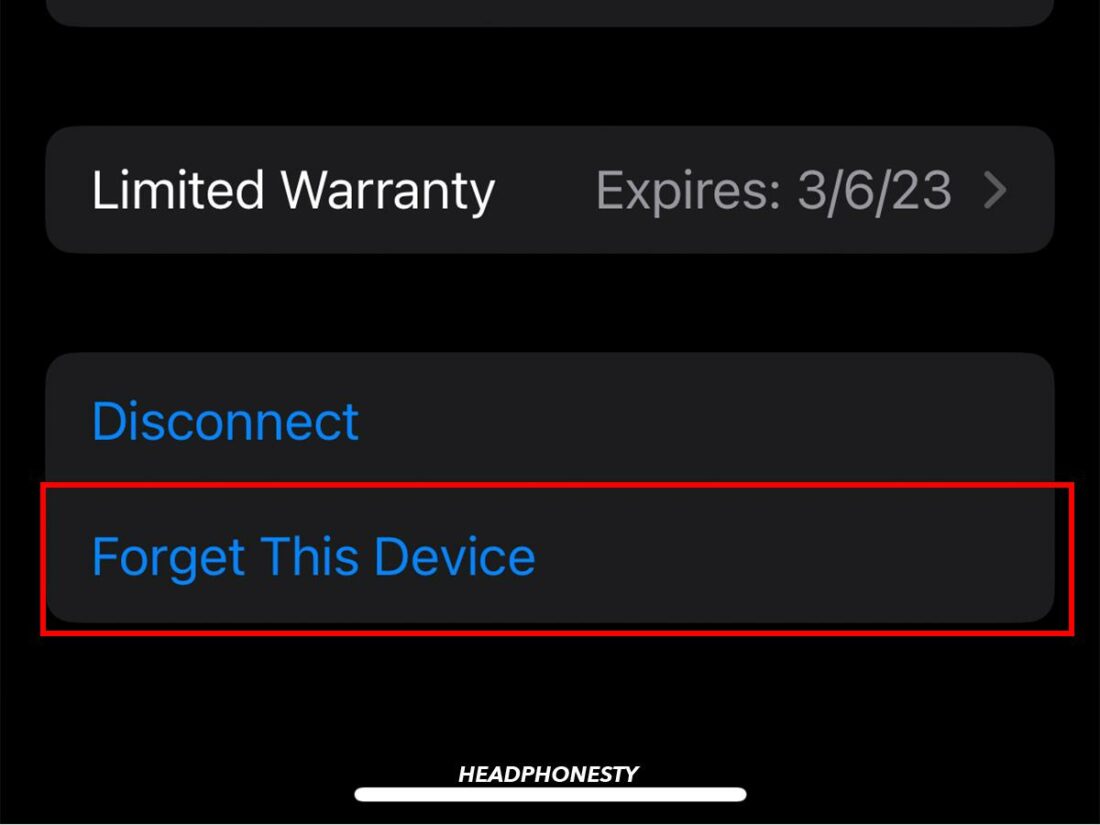
Access Bluetooth settings. - Find your AirPods on the list, tap the “i” icon, and select Forget This Device.
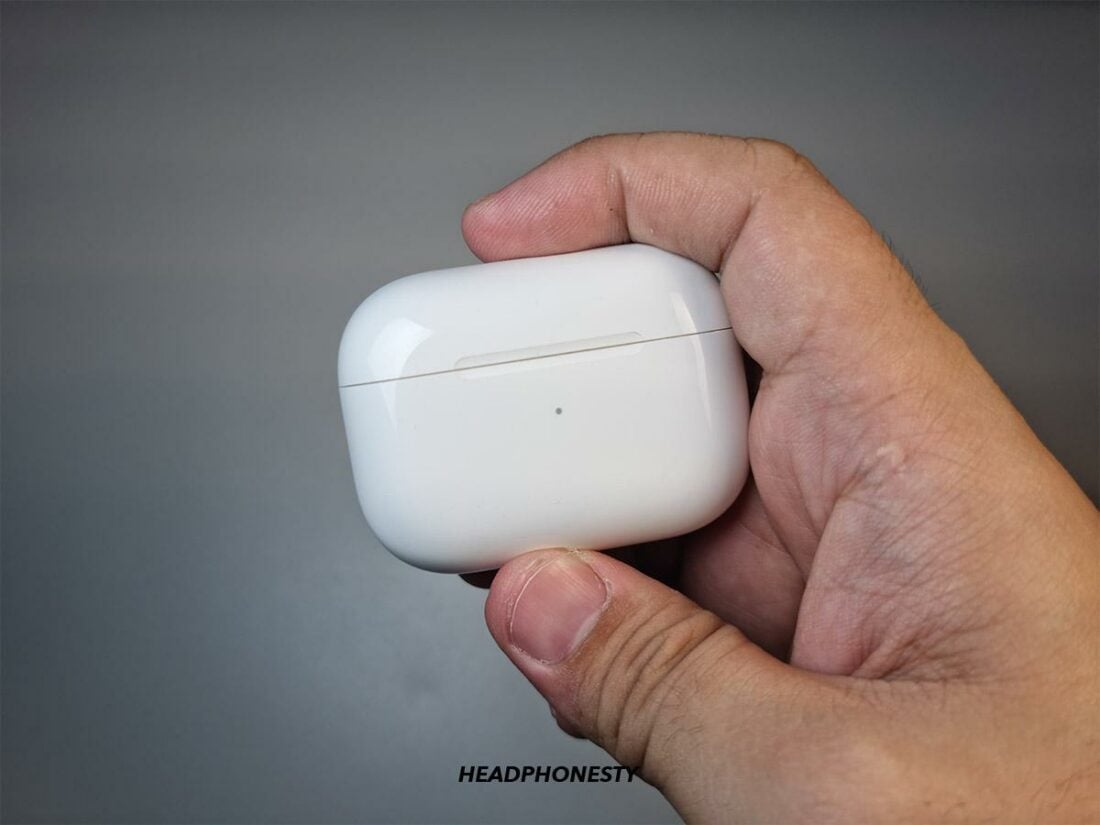
Forget AirPods from iOS device - Place your AirPods inside the charging case and close the lid for 30 seconds to perform a restart.
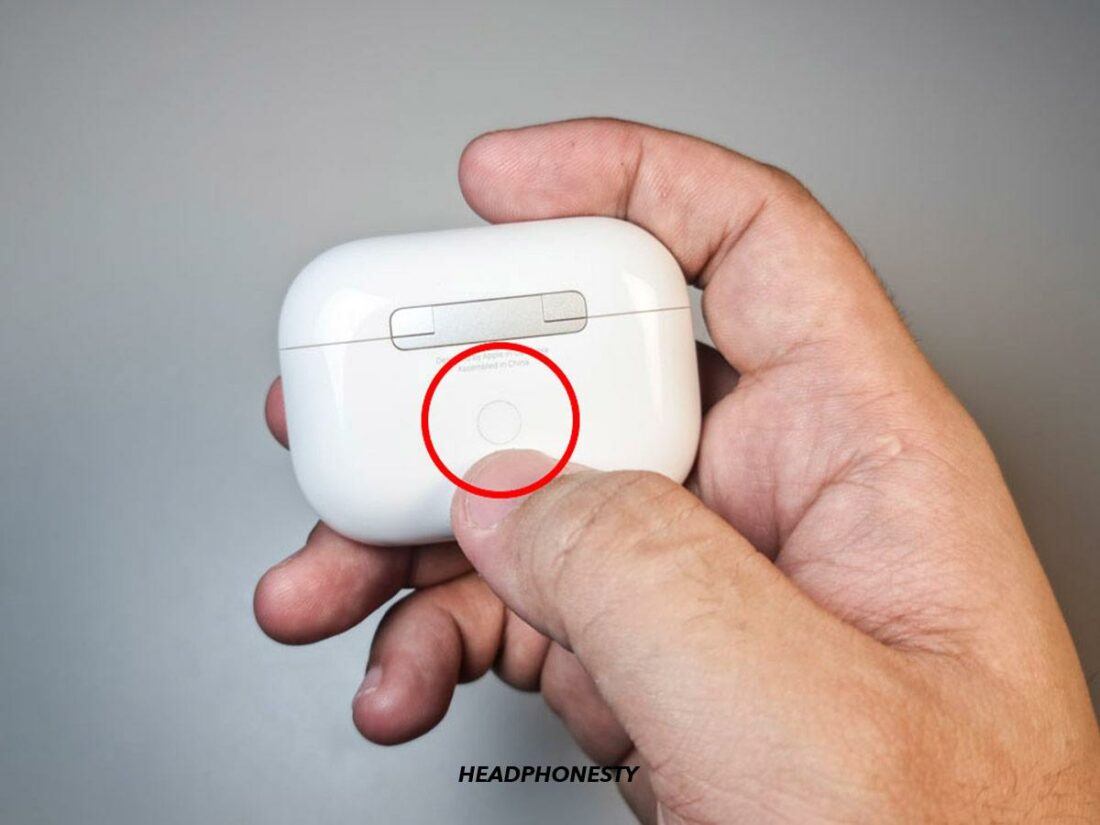
Closed AirPods case - Open the case lid and long-press the setup button for about 15 seconds. The status light should flash amber, then white.
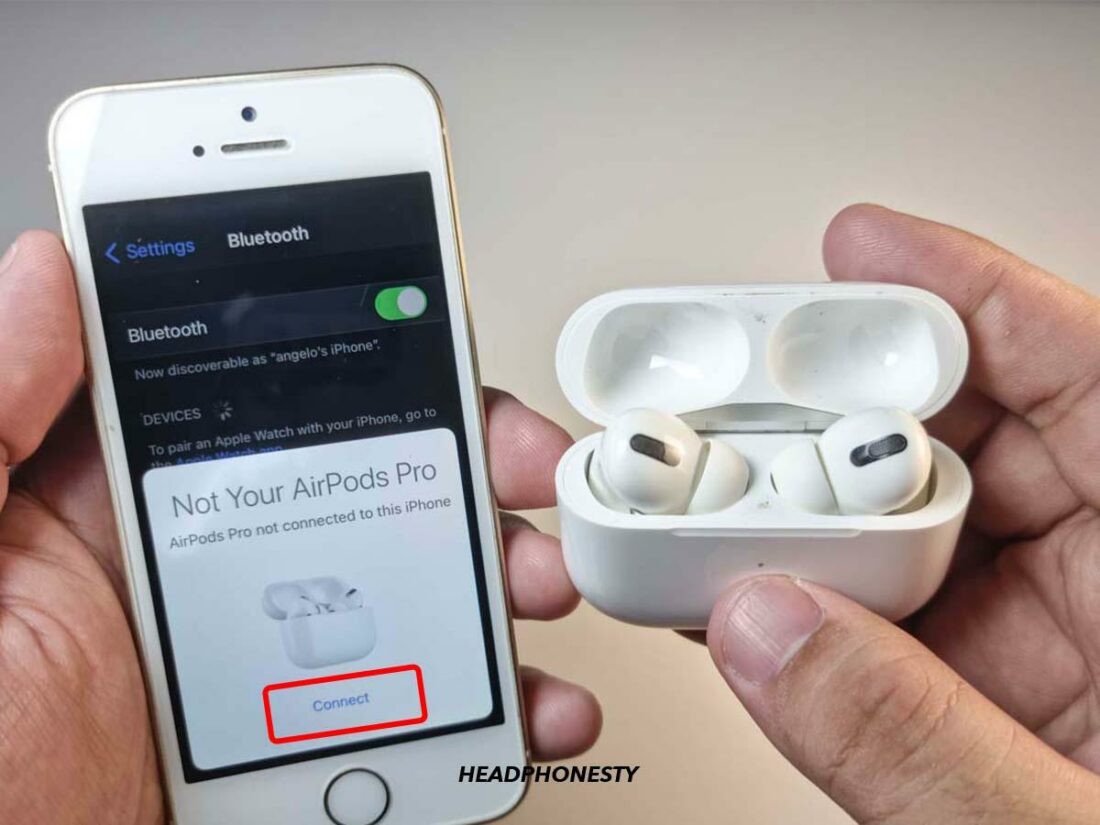
Long-press the setup button for about 15 seconds. - Place the case close to your iOS device and go through the pairing process.
Pair the AirPods with iOS device.

3. Check the Bluetooth Connection
Bluetooth interference happens when something blocks or hinders the connection between the AirPods and your device.
That something can be a physical obstruction, a Wi-Fi signal, or even a microwave oven. Regardless, this interference can cause drops in audio quality, which often translate to a frustrating muffled sound.
In better news, three effortless solutions can minimize Bluetooth interference in your home:
- Keep the AirPods close to the audio source, or at least stay in the AirPods’ optimal range. The closer the two devices are together, the more stable the Bluetooth connection should be.
- Stay away from solid obstructions. Ideally, there should be no walls or large objects between your AirPods and the audio device.
- Turn off other wireless devices. If you suspect another device (microwave, Wi-Fi router, wireless speaker, security camera, and so on) is interfering with the connection, turn it off to test your theory.
4. Tweak the Headphone Accommodations Settings
Another potential solution to the muffled sound issue is to play with the audio settings on your source device.
For iOS devices, you can use Headphone Accommodations to customize sound levels to your preferences and needs, boosting the overall audio quality. With this, you can amplify soft sounds and adjust frequencies, as well as personalize Transparency Mode on AirPods Pro.
To enable Headphone Accommodations, follow these steps:
- Connect your AirPods to your iOS device.
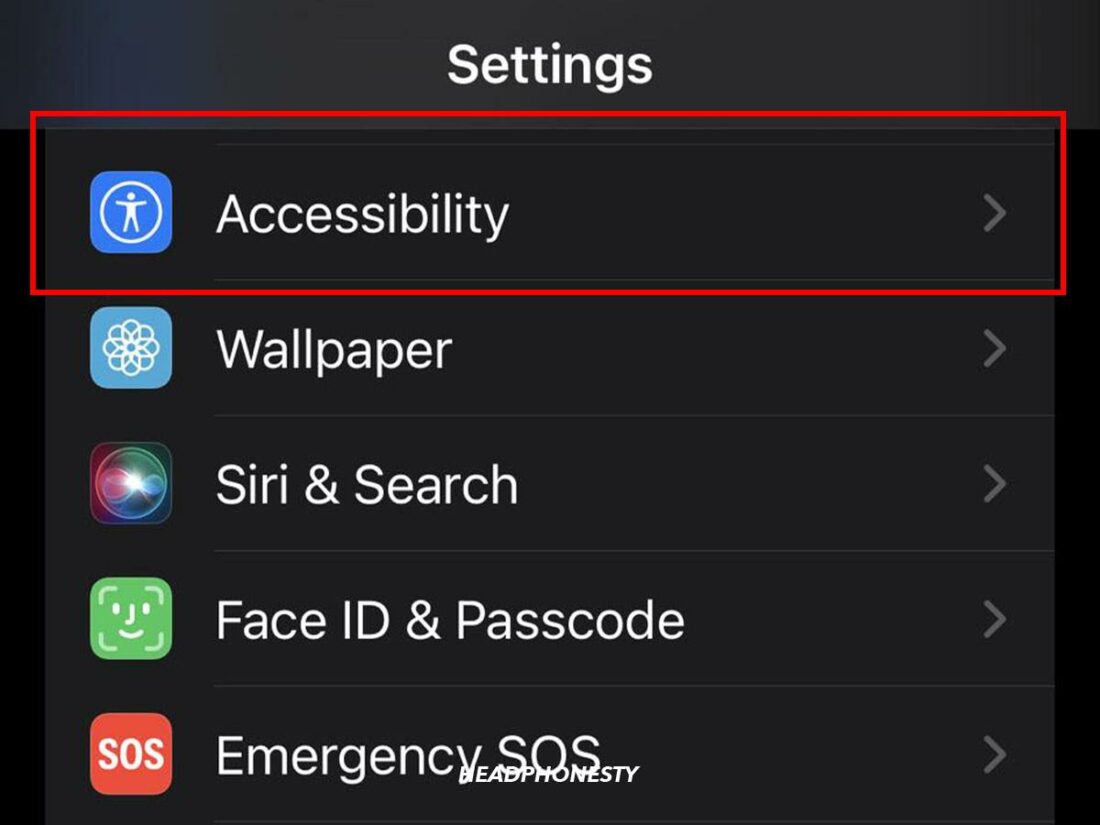
Connect your AirPods - Go to Settings on your iOS device and select Accessibility.
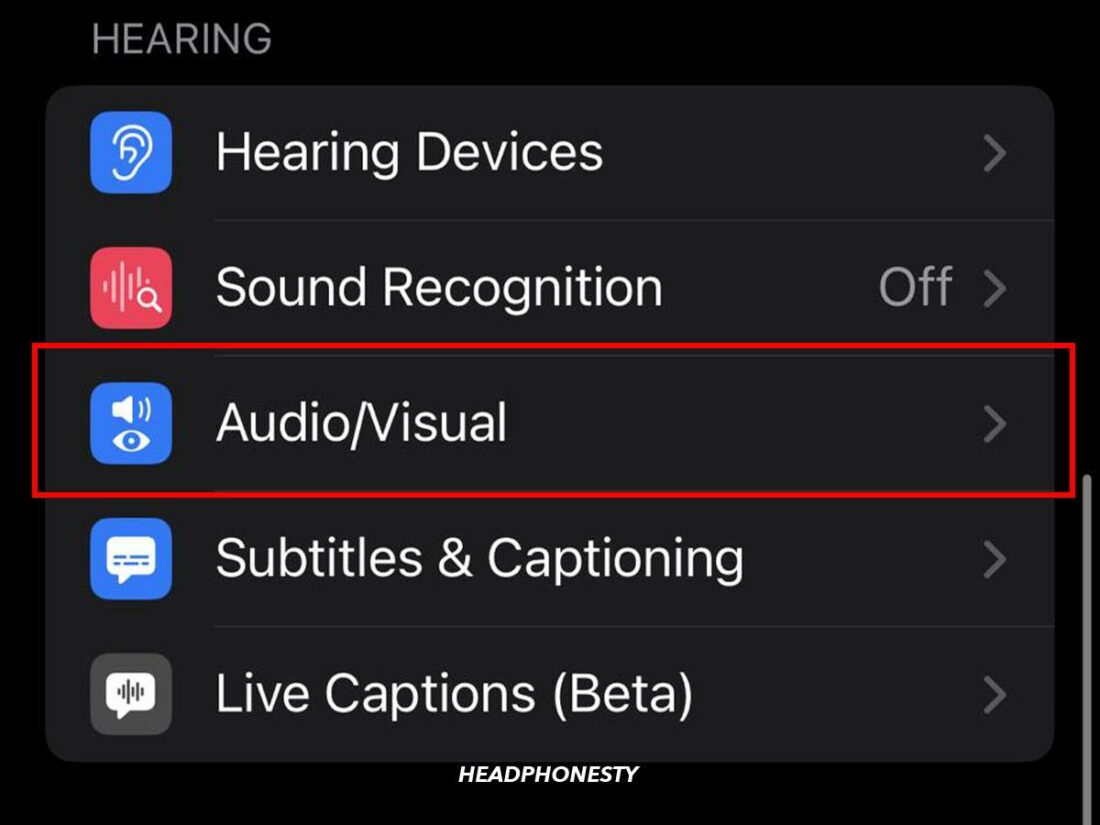
Go to Accessibility settings - Tap on Audio/Visual.
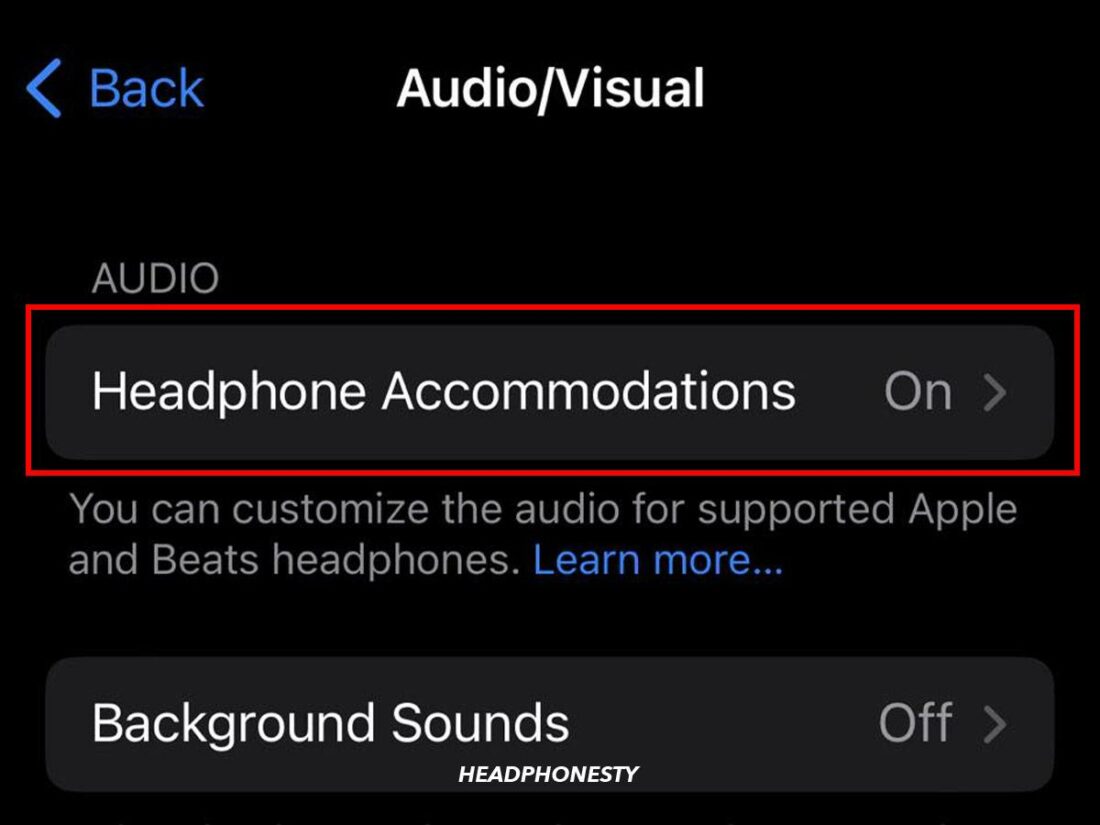
Select Audio/Visual. - Select Headphone Accommodations.
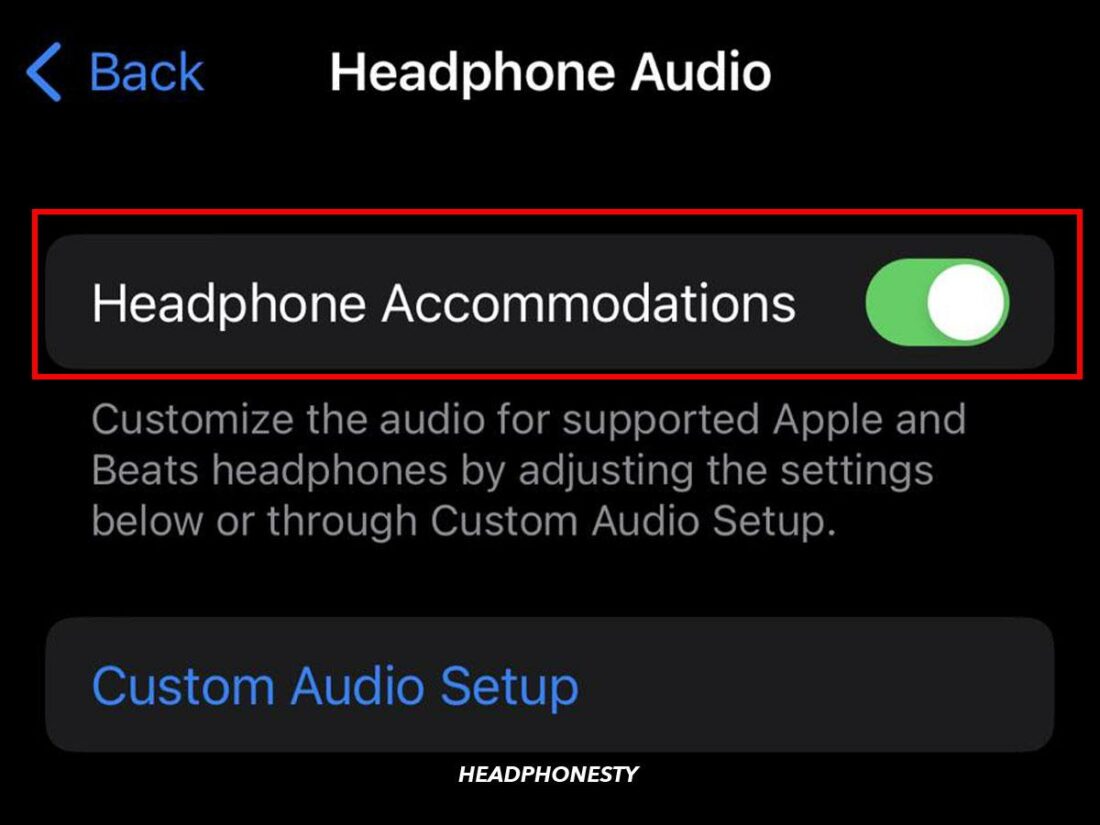
Headphone Accommodations. - Turn the toggle next to Headphone Accommodations to on.
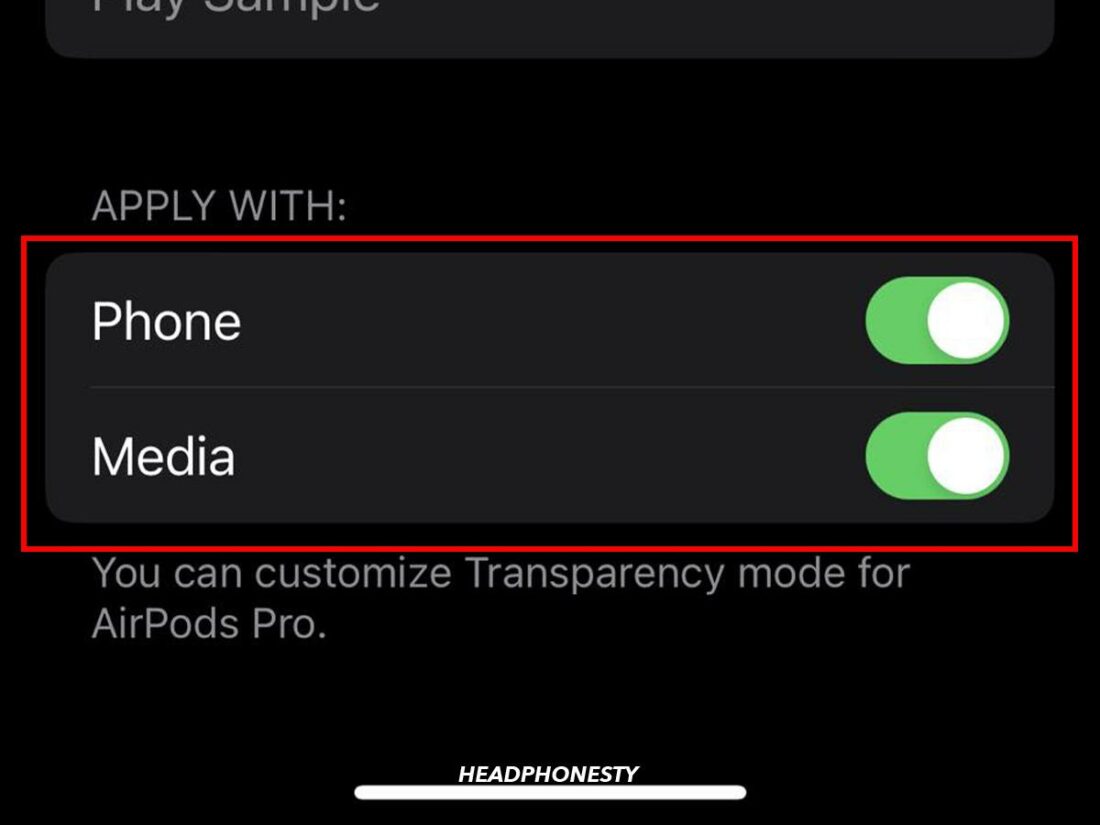
Turn on Headphone Accommodations. - Scroll down and select how to apply your custom audio settings: for Phone (phone and third-party app calls) and/or Media (music, movies, and so on).
Applying custom audio settings to Phone and Media
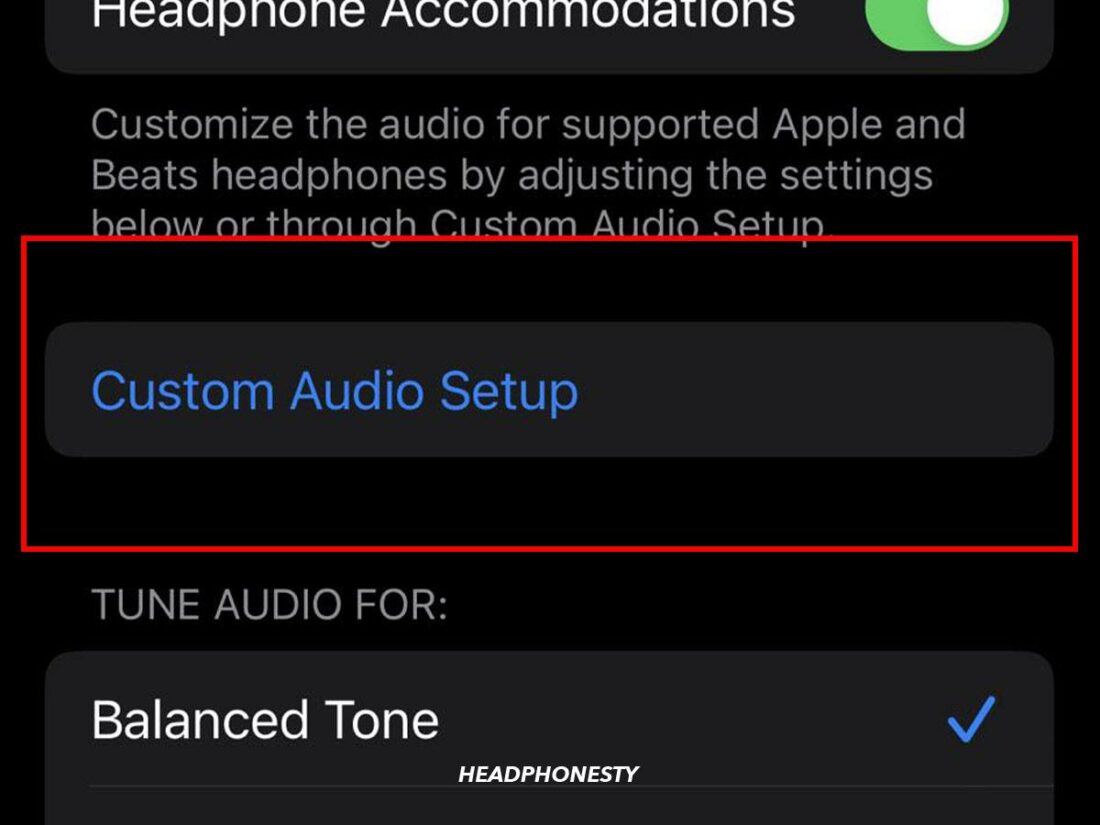
On the same screen, you can use Custom Audio Setup to adjust audio settings automatically. Here’s how:
- Tap Custom Audio Setup in the Headphones Accommodations menu.
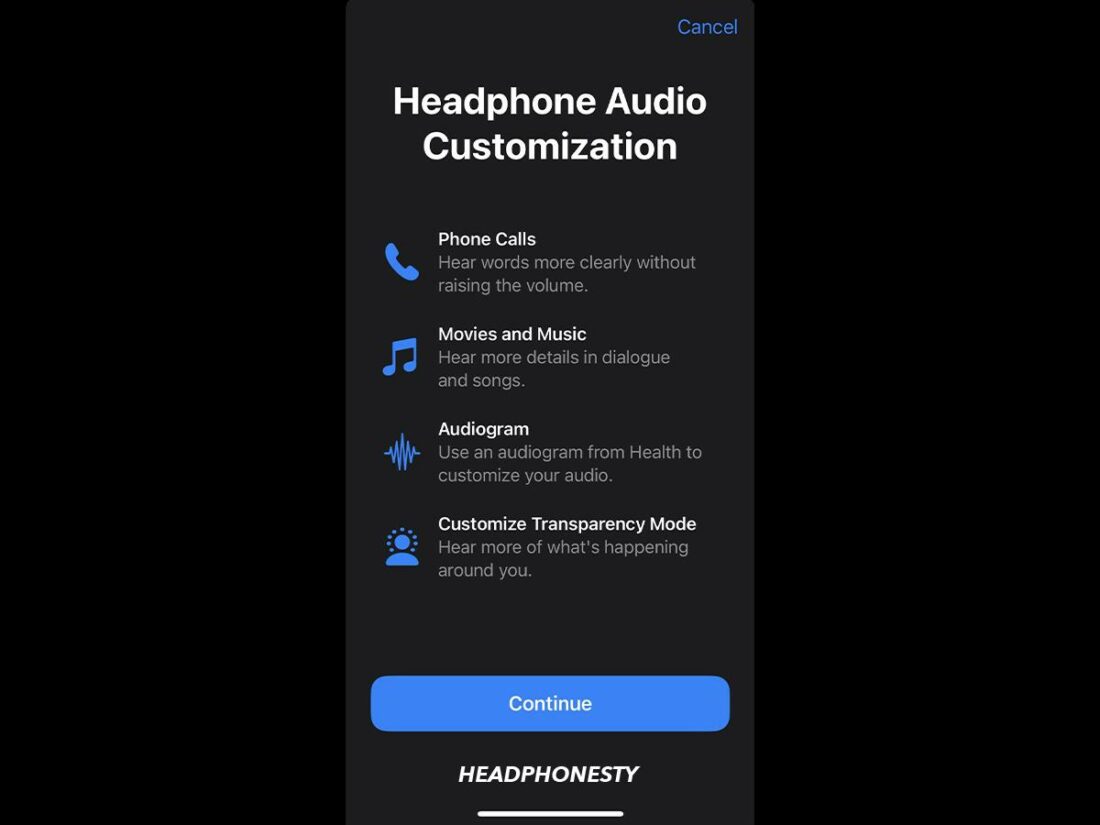
Custom Audio Setup. - The feature will take you through a series of sound tests. Simply follow the on-screen prompts.
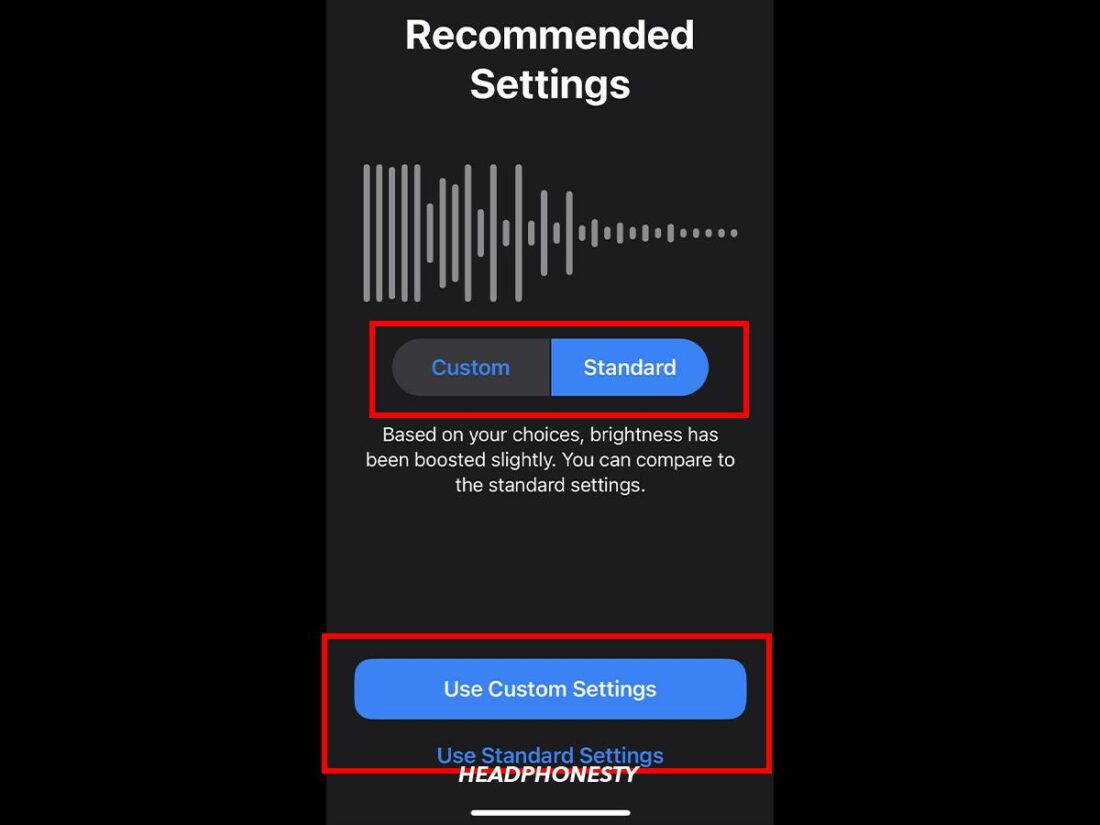
Headphone Audio Customization tests - Once that’s done, choose between Use Custom Settings and Use Standard Settings, depending on which settings sound better to you.
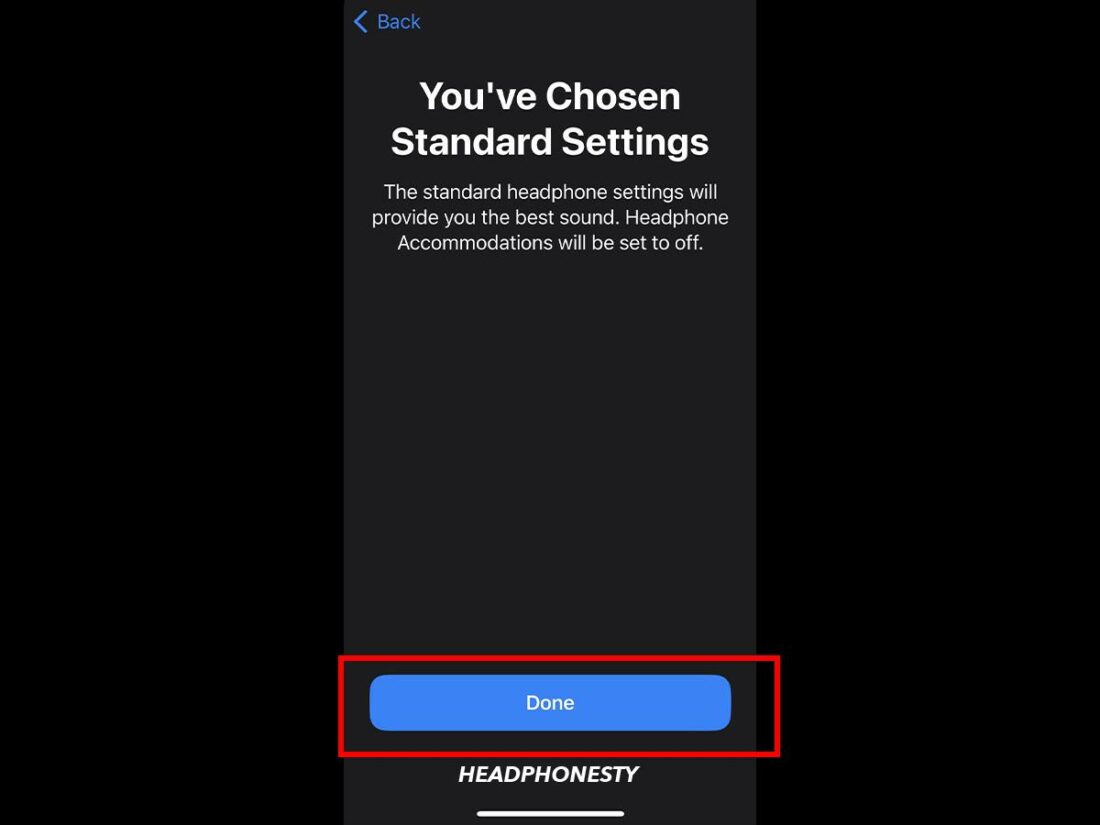
Using Custom settings. - Tap Done to finish the process.
Saving the process.
Alternatively, you can tweak audio settings by choosing from presets:
- Access the main Headphones Accommodations menu.
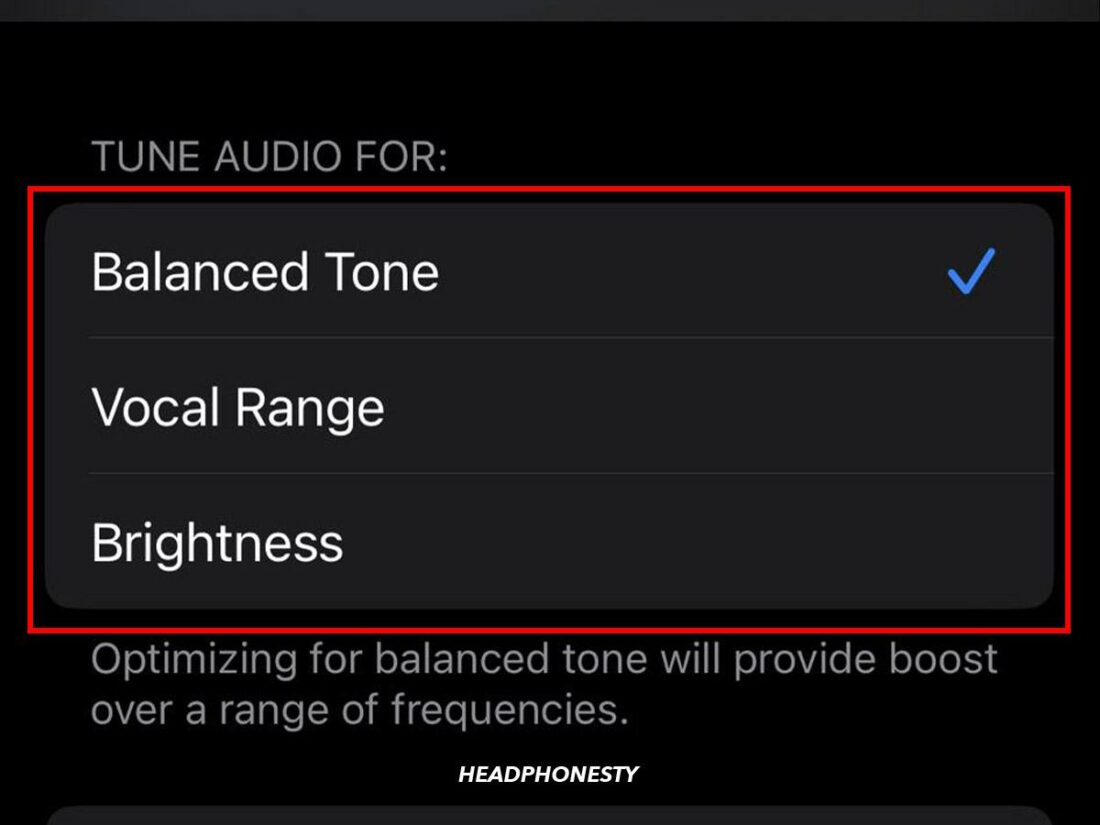
- Locate the Tune Audio For section and select an option for the list. Balanced Tone boosts all frequencies, while Vocal Range boosts middle frequencies and Brightness boosts high frequencies.Selecting Brightness should have the most noticeable effect when it comes to fixing muffled sounds since a bright sound signature gives audio a sharper, more detailed quality.
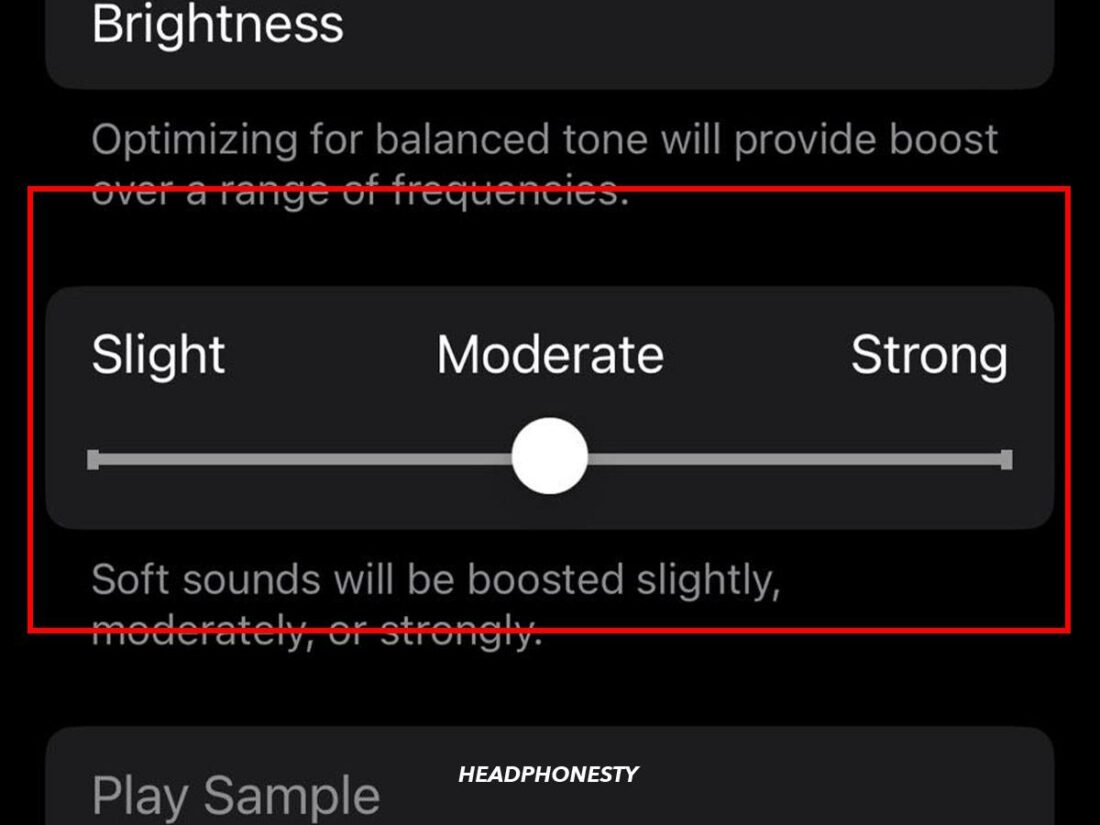
Options for tuning audio. - In the Level section, choose between Slight, Moderate, and Strong amplification of soft sounds. The Moderate to Strong settings should minimize muffling.
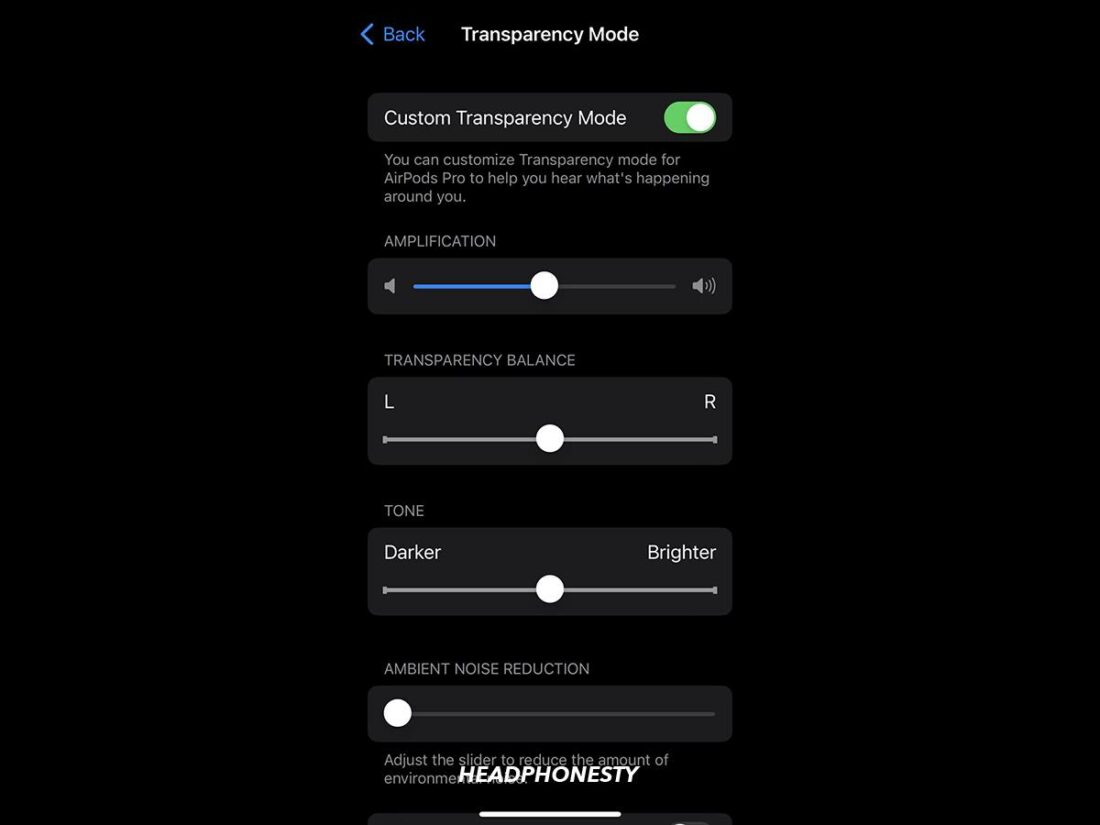
Sound amplification options. - If you have AirPods Pro, Transparency Mode is listed under Phone and Media. Tap it to access the Transparency Settings menu. There, you can adjust the amplification, balance, and tone of sound when Transparency Mode is on.
Adjusting the amplification, balance, and tone of sound.
5. Adjust the Stereo Balance
When only one AirPod sounds muffled, you can try to adjust the Stereo Balance.
This setting lets you control how the signal is split between the left and right AirPod, allowing you to make one AirPod louder than the other. As a result, it could put any muffled sound issues to bed.
Here’s how to adjust the Stereo Balance to fix AirPods’ muffled sound:
- Connect your AirPods to your iOS device.
Connect your AirPods to your iOS device. - Go to Settings on your iOS device and select Accessibility. Then, tap on Audio/Visual.
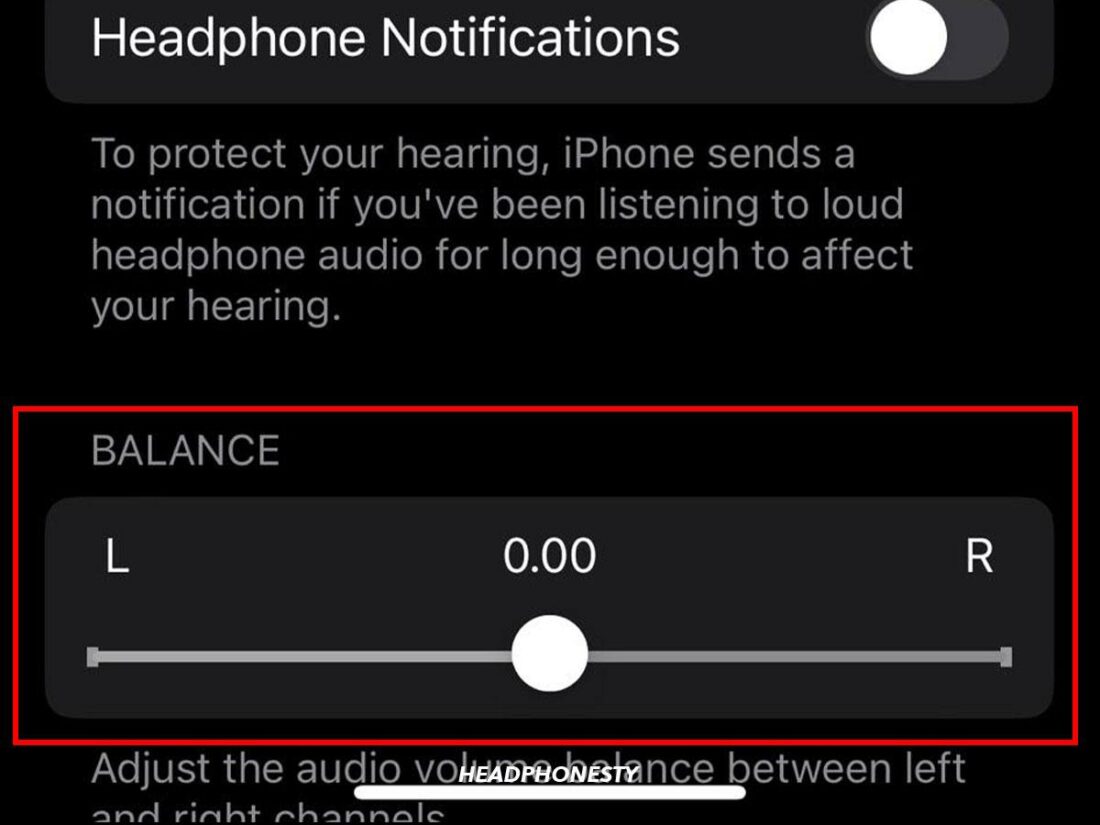
Audio/Visual settings - Drag the slider to the side of the quieter AirPod. If the left AirPod sounds muffled, for instance, drag the slider to the left.
Left & Right slider


6. Disable Spatial Sound
If you experience muffled sound issues when listening to Apple Music, it may be due to the Spatial Audio with Dolby Atmos feature. Spatial Audio is Apple’s 3D sound feature meant to make music sound more immersive.
While listening to songs with Spatial Audio can be magical, the opposite can happen if the music isn’t well mixed. Some frequencies or instruments may sound overly distant or muddy, making the tune sound muffled and causing you to believe there is something wrong with the AirPods themselves.
You can test this theory by temporarily turning off the feature. To disable Spatial Sound, follow these steps:
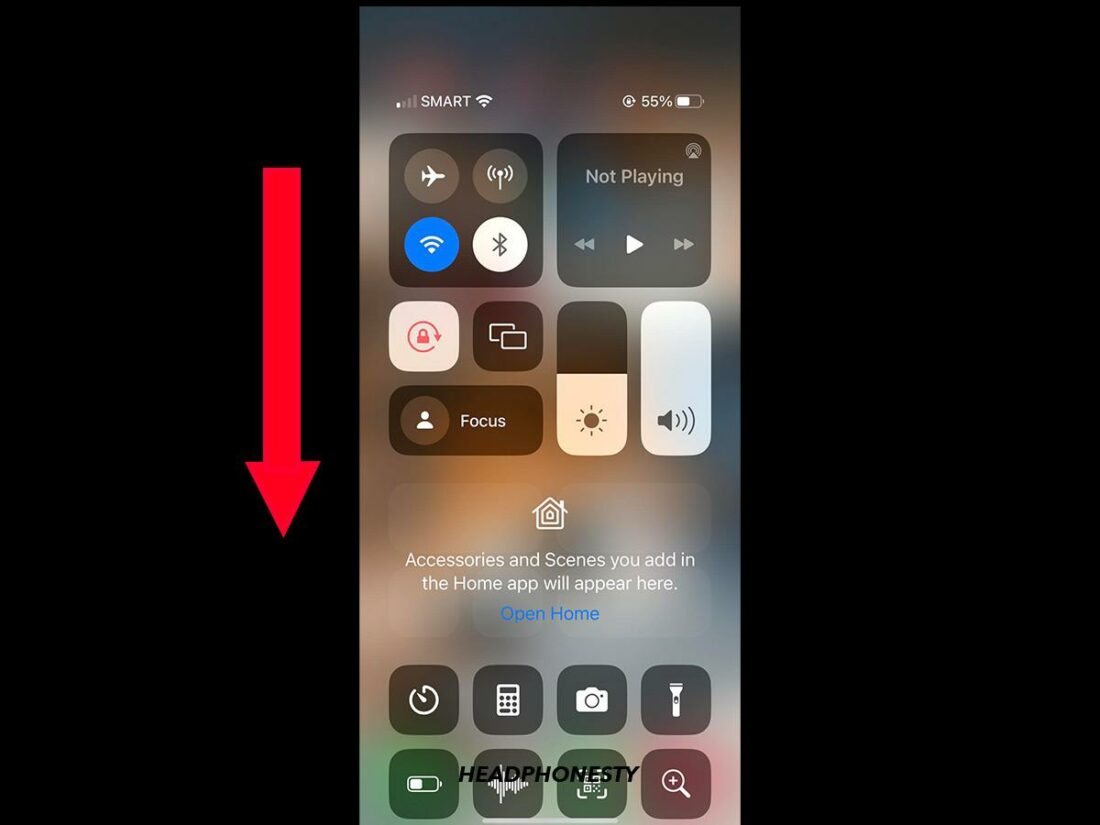
- Open Control Center on your iOS device.
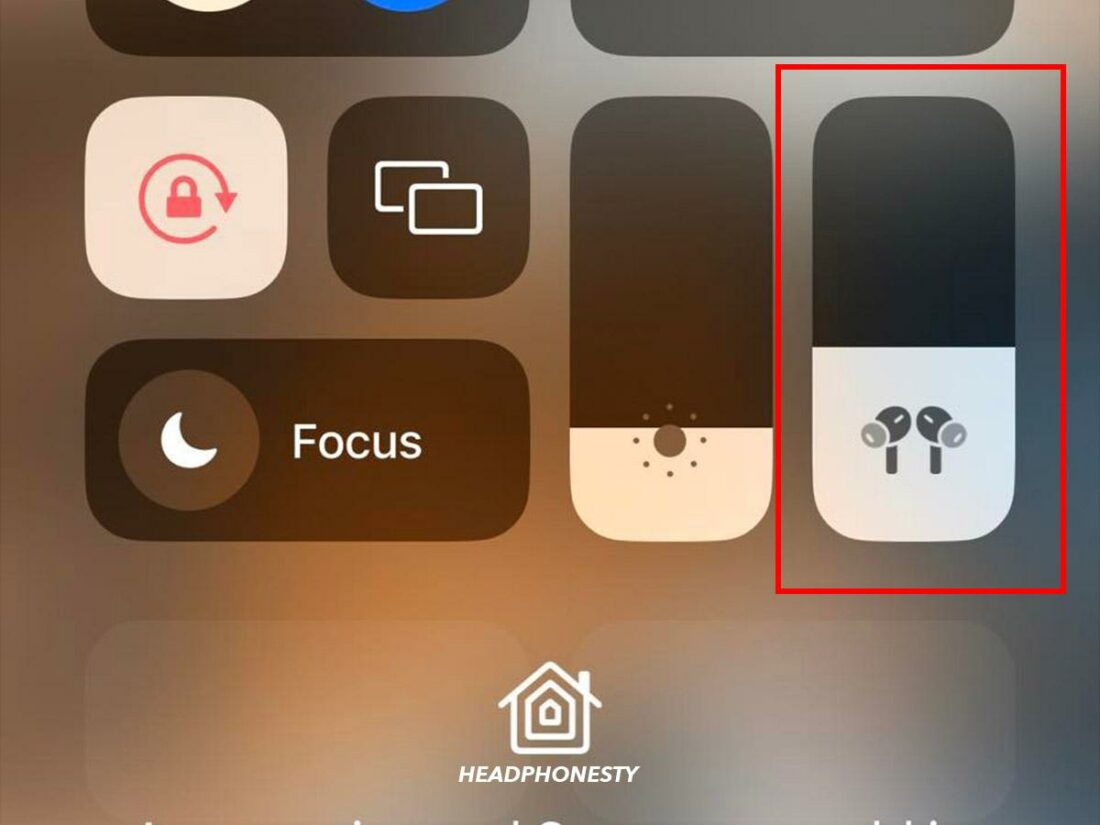
Opening the Control Center - Touch and hold the volume control.
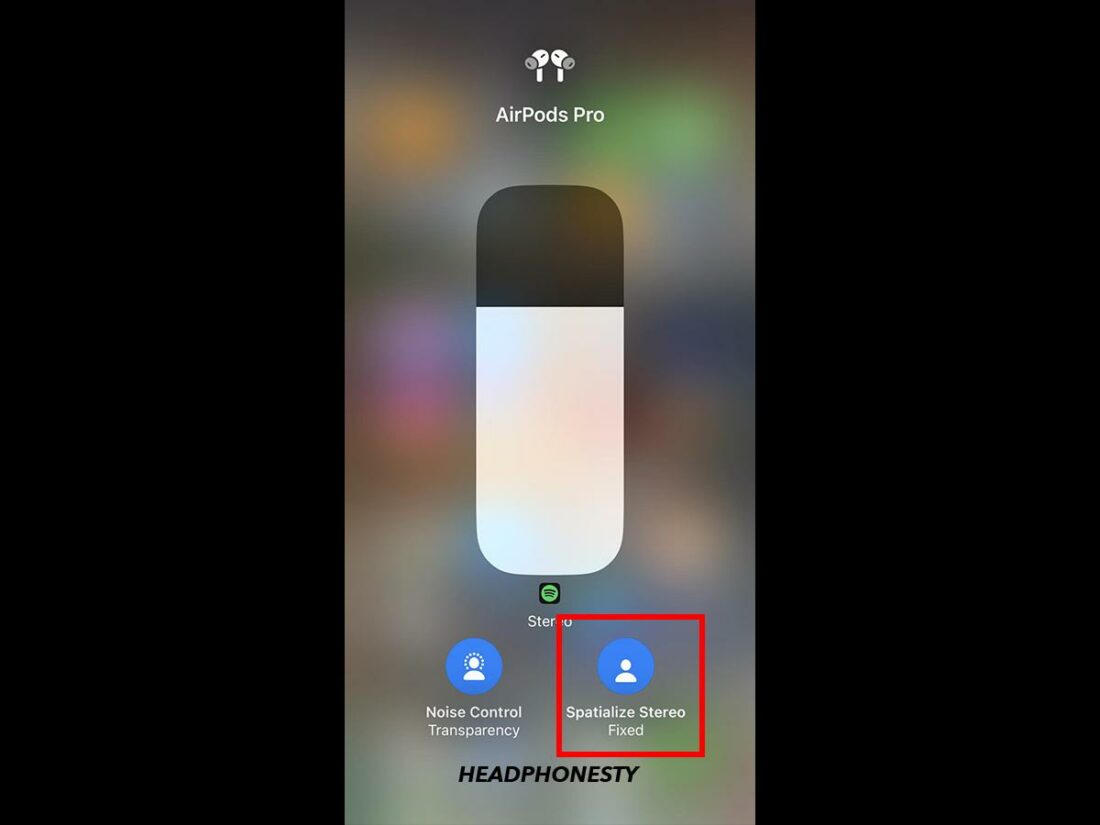
Volume control when connected to AirPods. - Select Spatial Audio.
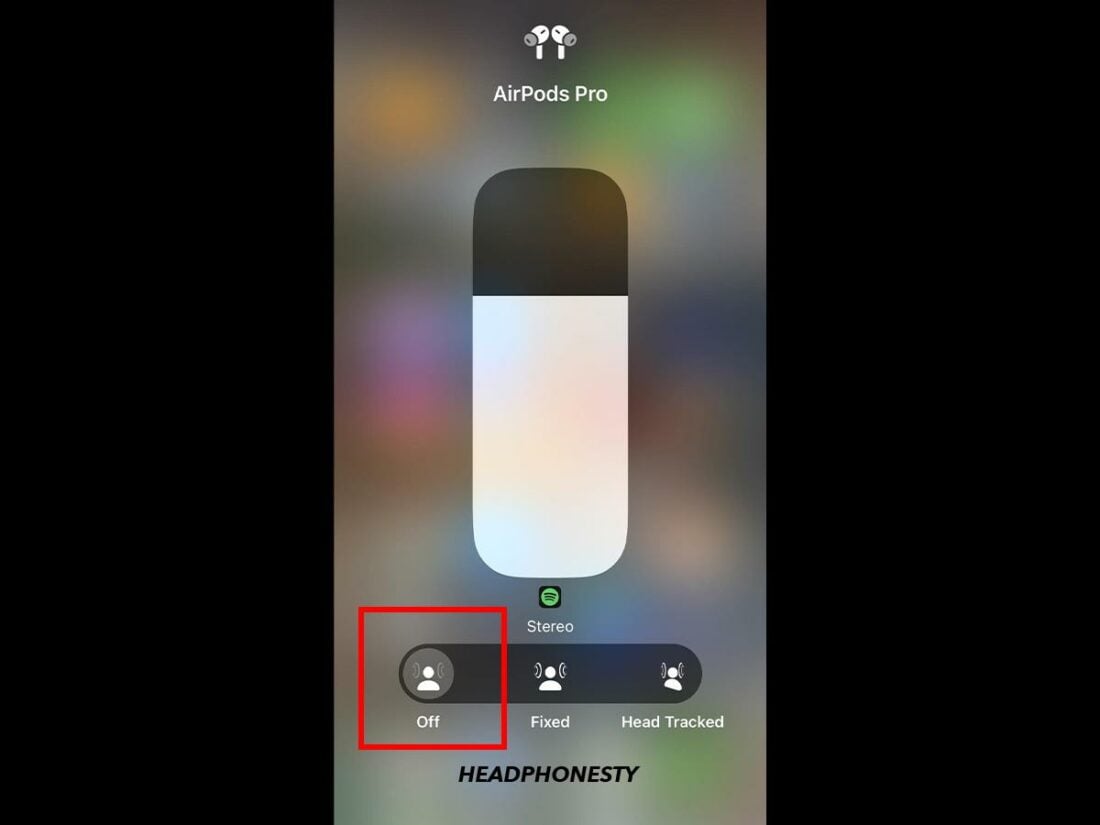
Spatial Audio feature - Tap Off.
Turning off Spatial Audio.
7. Update the AirPods and Device Firmware
Apple regularly releases firmware updates meant to improve the AirPods’ performance. These updates fix common bugs that prevent your AirPods from functioning at their best.
If the muffled sound is caused by outdated firmware, updating it might fix the problem. Simply follow these steps:
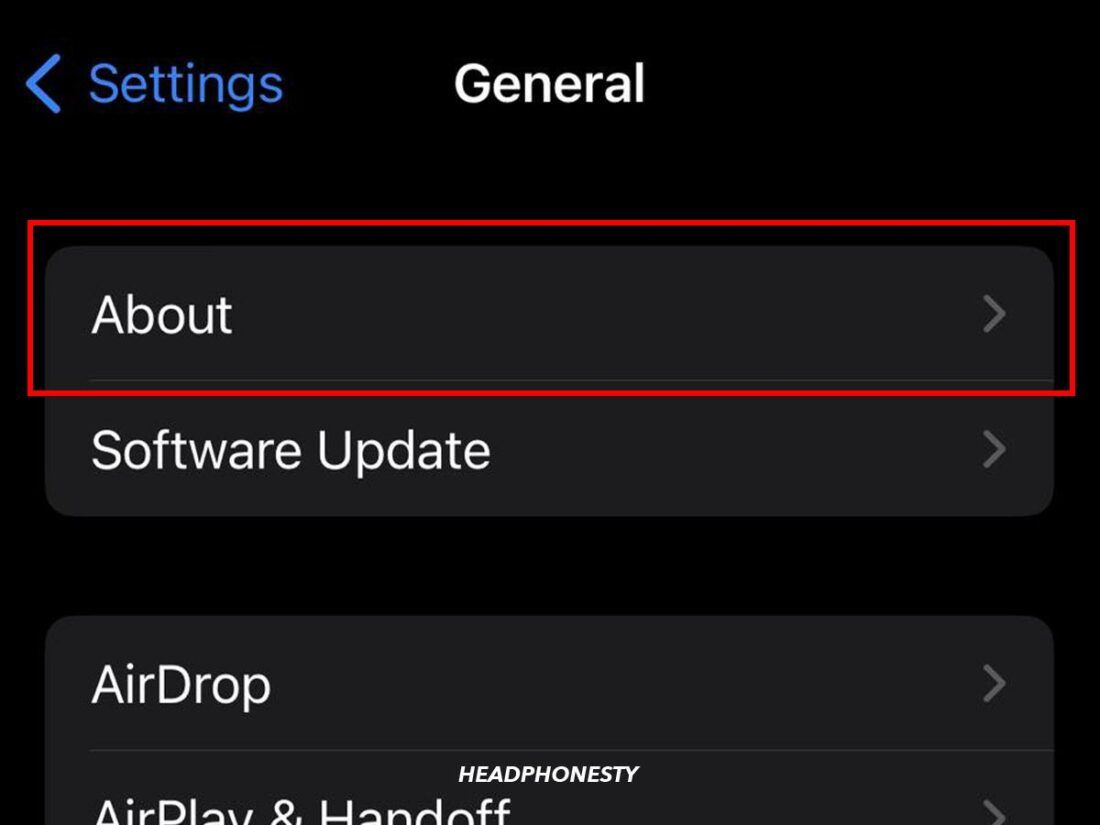
- Go to Settings on your iOS device. Select General, then About.
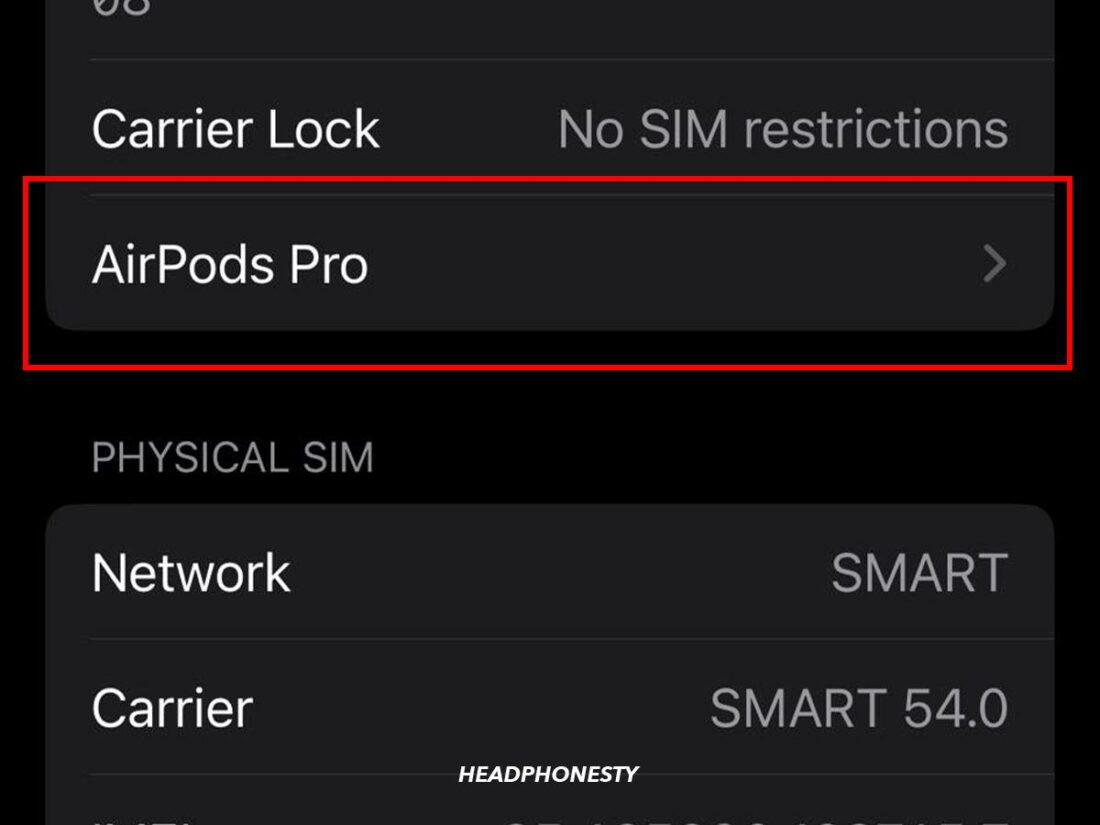
Select About. - Tap on your AirPods from the list to check the firmware version. At the time of writing, the latest firmware version is 5E135.
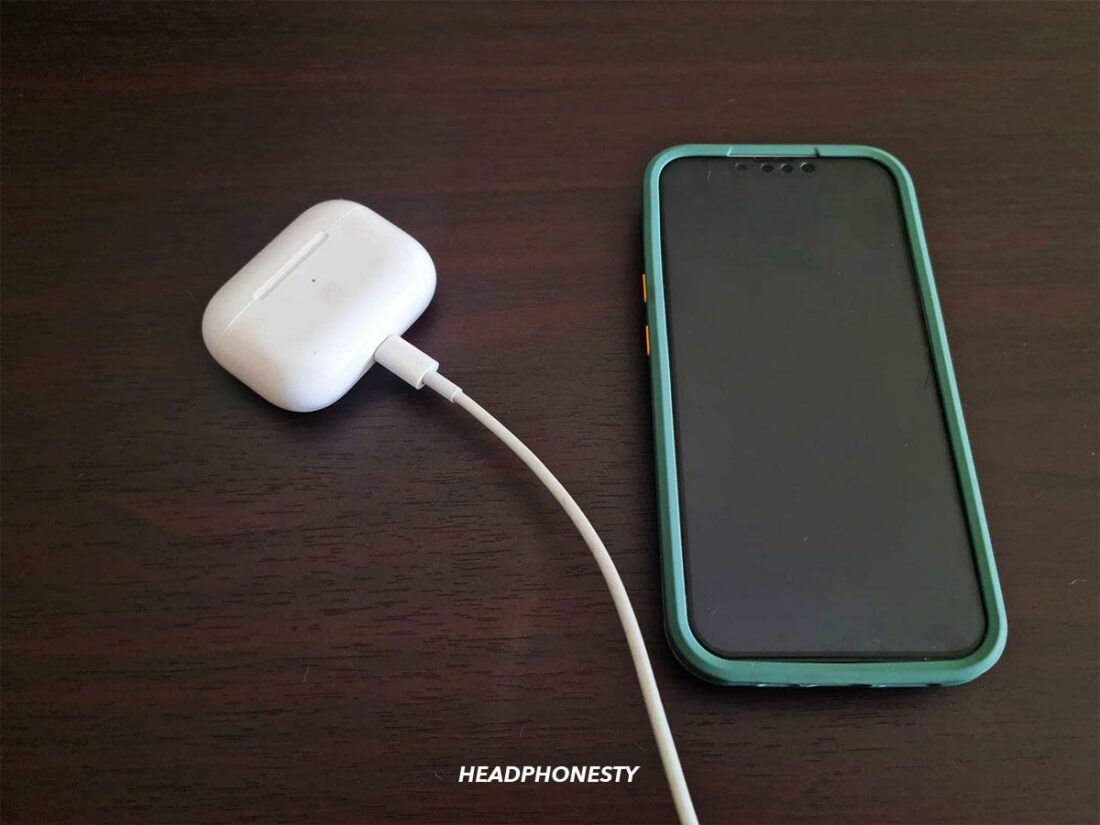
Tap on the name of your AirPods. - If your firmware is outdated, place your AirPods case near your iOS device while it’s charging. The firmware should update automatically.
Charging AirPods case near iOS device.
Since the muffled sound may be due to a connectivity problem, updating the firmware on your iOS device is also recommended. You can follow these instructions to perform the update.
8. Consult Apple Support
If all else fails, you can contact Apple Support for assistance.
The quickest way to reach a representative is to access the AirPods section. From there, follow these steps:
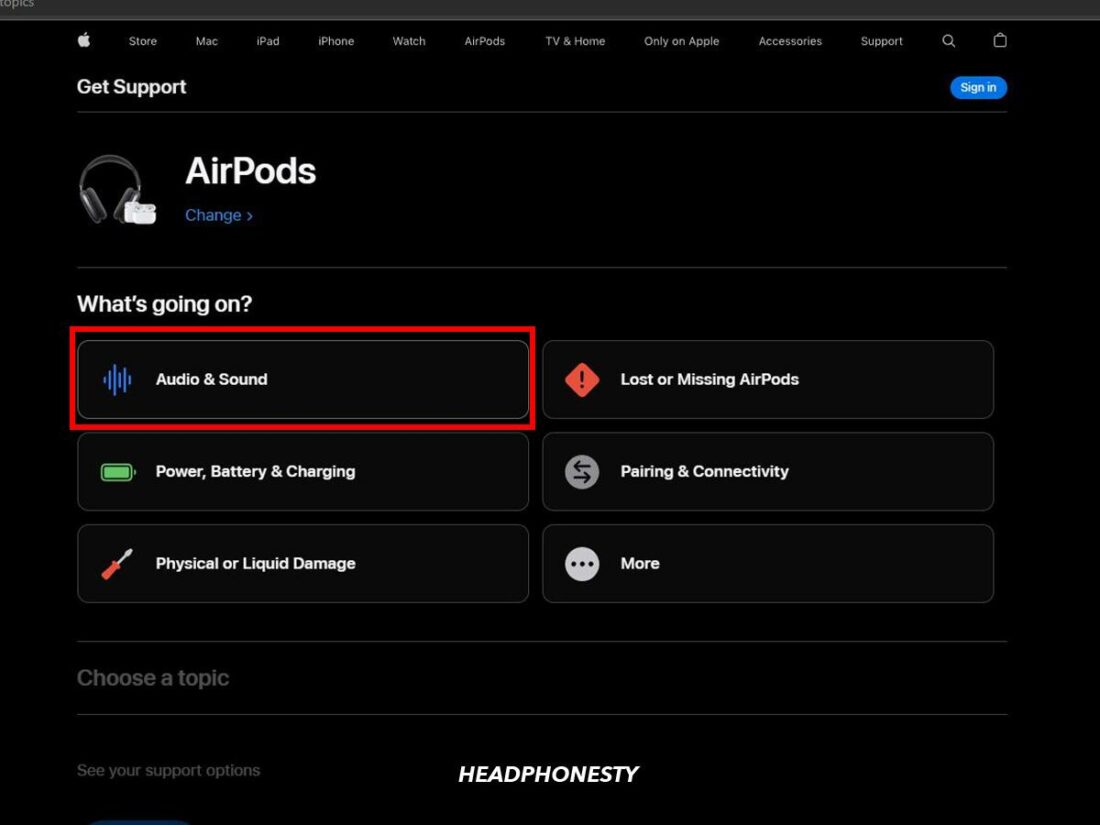
- Select Audio & Sound from the list of potential problems.
Audio & Sound option - Click Continue under See your support options.
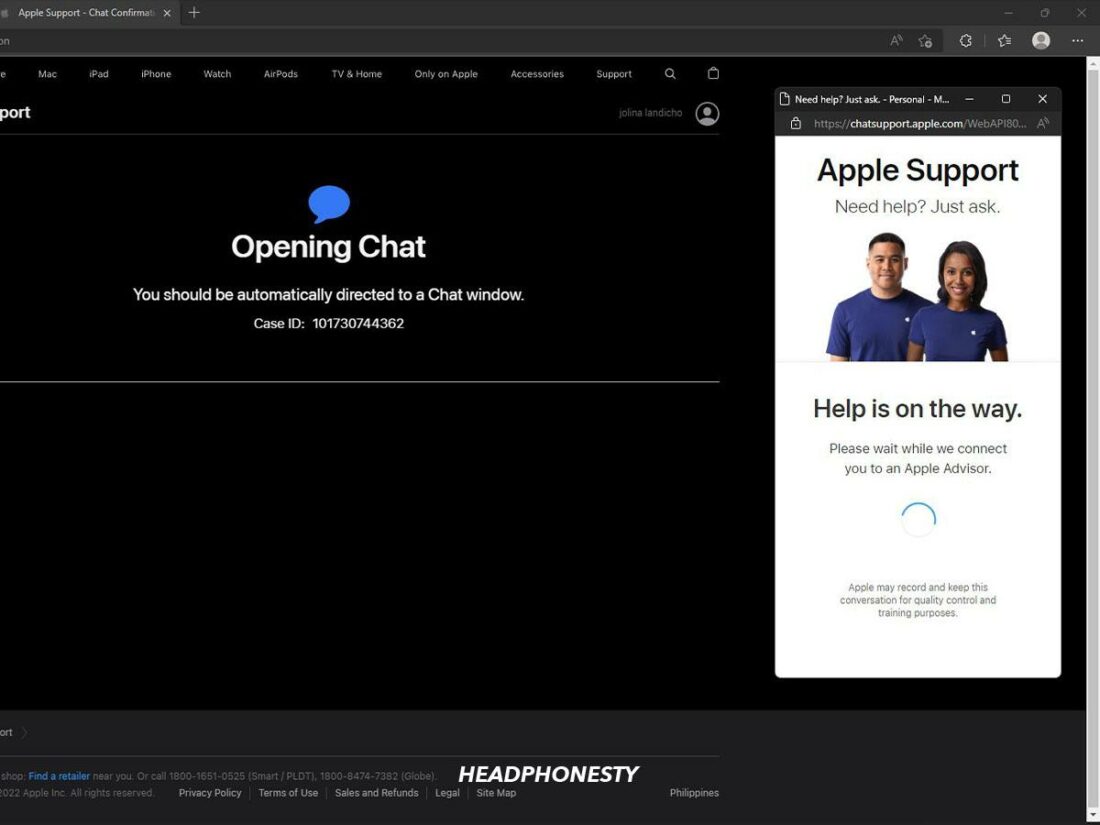
Support Options. - In the next screen, scroll down to the Contact section and select Chat or Call.
Select Chat or Call. - Follow the on-screen prompts to select your device and wait to be connected.

Now is also a good time to see if your AirPods are still under warranty – handy information to have if they need to be repaired or replaced. You can check online whether your device is covered, as well as look into what your coverage includes.
Conclusion
By now, we hope you’ve figured out why your AirPods sound muffled and managed to fix the problem. The sound is crisp and clear again, allowing you to enjoy your favorite music, shows, and podcasts with zero frustration.
Did you get to the bottom of the muffled sound issue? What turned out to be the culprit? Please let us know in the comments!